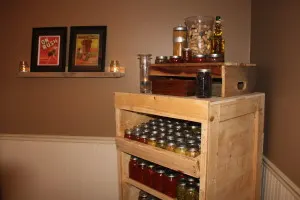
We wanted a small display shelf for between our canning cabinet and buffet hutch in our dining room. So – staying with the pallet theme used to build those two pieces – we used pallets once again to build a floating ledge shelf.
Floating ledge shelves are great because they allow you to change pictures, candles and decorations without the need to remove nails, screws or hangers each time. Big pictures, small pictures and everything in between will fit on them without ever worrying about more holes going into your walls. The best part – this shelf can be made in less than an hour with just 3 ordinary pallet boards, 8 screws and a little wood glue.
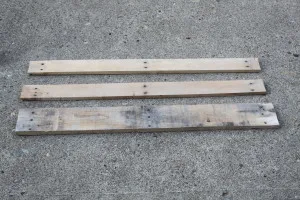
A few weeks back – we had a short tutorial on how to quickly disassemble a pallet to get a nice stash of ready-to-use boards. (http://oldworldgardenfarms.com/2012/09/18/building-with-pallets-how-to-disassemble-a-pallet-with-ease-for-great-wood/) With that wood close at hand – we were ready to get building.
This is actually a very simple piece, consisting of just 3 pieces of wood. A main center shelf (3 1/2″ wide by 36″ long), a front ledge (1 1/2″ wide x 34″ long), and a back ledge (2 1/2″ long x 36″ long)
We used about 1/4 of the wood from one pallet – so depending on the size of the shelf you wanted – you can make several from a single pallet. You could also just as easily use old barn wood or pine boards to build.
The How To:
* At the end of this post, you will find a quick pictorial to take you through our building process step by step.
Main Shelf Board:
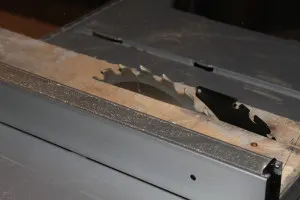
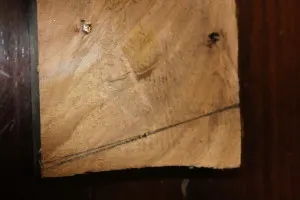
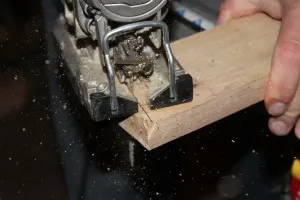
Using one of the three wider boards taken from the back of the pallet – we cut the board down to 3 1/2″ wide with a quick run through the table saw. The boards were already 36″ long, so the length was good to go. To add a little dimension to the piece – we tapered the front edge of the board 1″ on each side and cut off with a jigsaw.
Front Ledge Board:
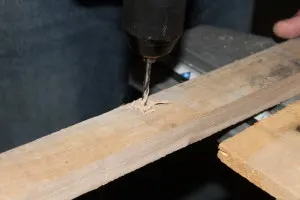
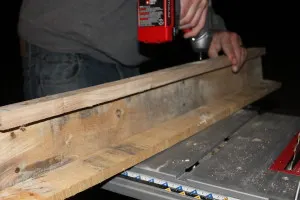
Taking one of the smaller slat boards from the top portion of the pallet – we once again ran it through the table saw to get the desired width of 1 1/2 inches. I then used the jig saw to trim off 2″ to make this piece 34″ long (allowing for the angled front taper). Next – I used a drill to pre-drill 4 small pilot holes in the lower half of the slat board – one at each end, and 2 more spaced evenly towards the middle.
Back Ledge Board:
Taking another one of the smaller slat boards – we make the back ledger board. We trim it down to 2 1/2 wide with a quick run through the table saw – and kept it at the existing 36″ length. I repeat the same pilot hole process at the bottom of the board that we did with the front ledge board. With that – it’s ready to assemble!
Assembly:
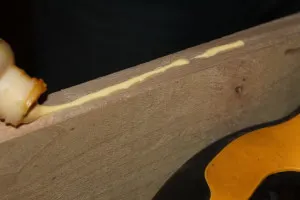
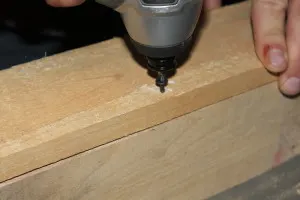
Starting with the front ledge board and the main shelf board – apply a small bead of wood glue or construction adhesive to the front edge of the main shelf board. Line up your front slat board until it’s even, and using the pre-drilled holes – assemble by drilling the screws in from the front side. You can use any wood screw you like – but I find it easy to use basic 1-3/4″ coarse black drywall screws. They go in easy, are inexpensive and hold great.
With your front shelf ledge board attached – now its time to assemble the back board. Repeat the same steps as before. Apply a thin bead of glue or construction adhesive to the back edge, and screw the back slat into the back edge of the main shelf board- screwing from the rear side towards the front.
At this point you can either leave your shelf rustic, or apply a coat or two of stain or paint to the wood. (One quick tip – if you want to leave rustic – it is amazing what a little pressure washing can do to old wood to make it look great again – no sanding needed!
After it’s all dry – your ready to hang.
Hanging is a snap. I use a stud finder to locate a couple of studs in the wall – and then drill out two holes in the front top portion of the back ledger board. Place the shelf up against the wall and using the 2 pre-drilled holes, attach with 3″ coarse black drywall screws or wood screws into the studs.
That’s it! In less than an hour – we have our shelf cut, assembled and hung! See the Pictorial below.
To receive our 3 Home, Garden, Recipe and Simple Life articles each week, sign up below for our free email list. You can also follow us on Facebook, Twitter, Pinterest, or Instagram. This article may contain affiliate links.
PICTORIAL
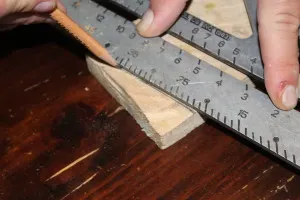
Next – we taper in the corners of the main shelf board 1″ towards the front end and make a mark to cut


