A wood lantern is a timeless look for almost any setting – and when created from reclaimed barn wood or rough-sawn pallets – it can really add a distinct rustic flair to any room.
We have wanted a few over-sized lanterns for the barn and house for a while now – and when we came across a couple of pieces of old rough-sawn wood left over from building our reclaimed barn – it was time to create!
See: (How To Quickly Disassemble Pallets) and (6 Simple Tips To Finding Free Pallets and Reclaimed Lumber)
The entire process from start to finish took about an hour and a half to complete.
The lanterns are great for decorating for Fall, Thanksgiving, Christmas or for that matter, anytime.
In addition, their over-sized nature allows using almost any size candle to change the look with the season.
The best part of all – they can be made for virtually free using recycled pallet wood or reclaimed lumber – or if you want – quite inexpensively from a single 1 x 12 x 5′ board purchased at your local lumber store!
The more rustic the piece of wood – the more rustic the lantern.
Tools:
Table Saw
Compound Miter Saw (Optional)
Nail Gun (Optional – although much easier than hand nailing!)
The project can be made entirely with a table saw – however – I used the table saw to rip down my individual pieces, and a compound miter saw to make all of my even cuts.
Although you can hand-nail or screw the piece together – the nail gun makes quick work of the project!
Materials
You can make the 20″ tall lantern shown with a single piece of 1 x 12″ x 5′ lumber – or a combination of boards that equal that. You will need the following pieces:
4 ea. 1 x 1 x 18″ – Posts
12 ea. 1 x 1 x 7″ – Cleats
4 ea. 1 x 1 x 2.5″ – T Piece
2 ea. 11.5 x 11.5 – Base
nails
wood glue
For our lantern – we used true 1″ thick rough-sawn barn wood. If you are using pallet wood or traditional 3/4″ thick lumber – you can create your stock pieces to 3/4 x 3/4″ thick instead to keep the squared look.
If you use 3/4″ thick lumber – increase your cleats to 7.5″ long from 7″ to adjust for the difference in size.
Building The Wood Lantern
Step 1 – Using the table saw, cut out two square pieces measuring 11 1/2 x 11 1/2″.
To add a little flair – you can then set the table saw on a 45 degree angle and run the edge of the piece back through on all four sides to create and easy bevel.
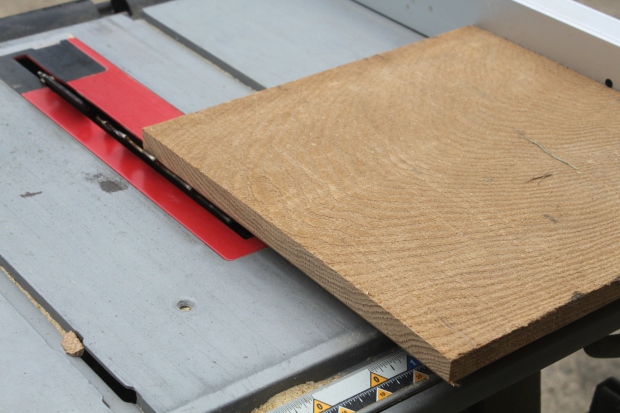
I used the table saw to cut down the base to 11.5 x 11.5 – and then beveled the blade to give the base and top a decorative touch
Next, rip down the remaining lumber into 1″ wide strips. From those strips – you can cut out the (4) 18″ strips, (12) 7″ strips, and (4) 2.5″ strips.
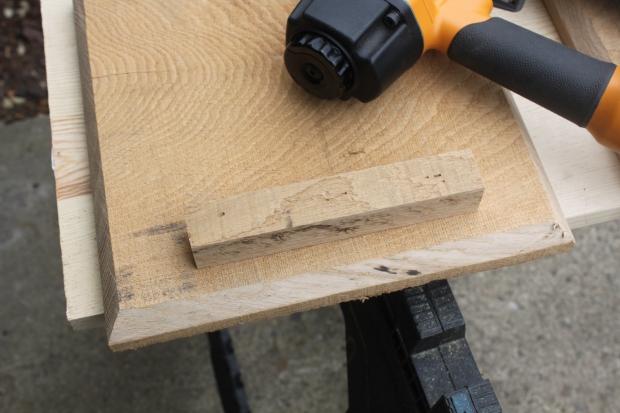
To assemble – When working with reclaimed lumber, everything tends to not always be perfect and square – so I suggest laying out the (4) 7″ base pieces and the (4) 18″ posts on the bottom lantern piece to find the best position – then mark with a pencil.
Next, attach the first base piece to the bottom of the lantern with nails.
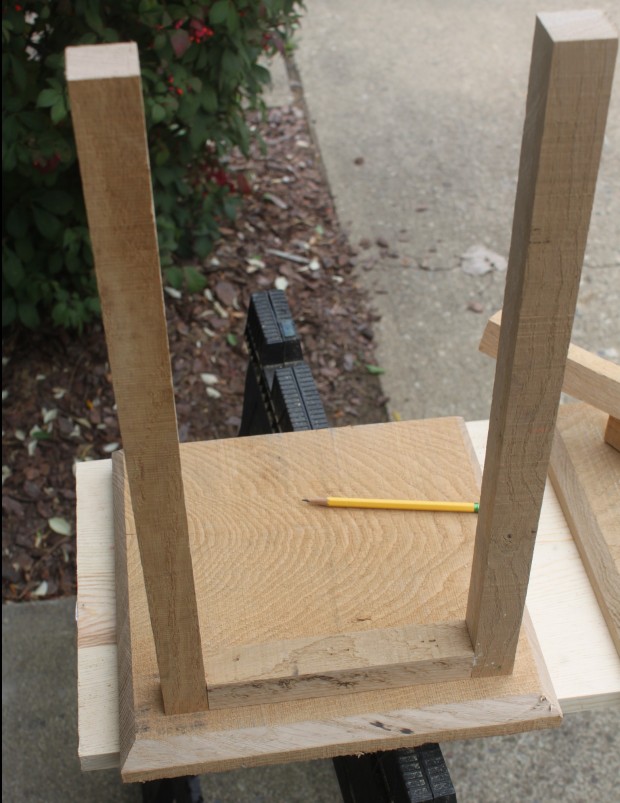
Next – follow by attaching two of the 18″ vertical posts the bottom cleat – again using glue to help keep it strong.
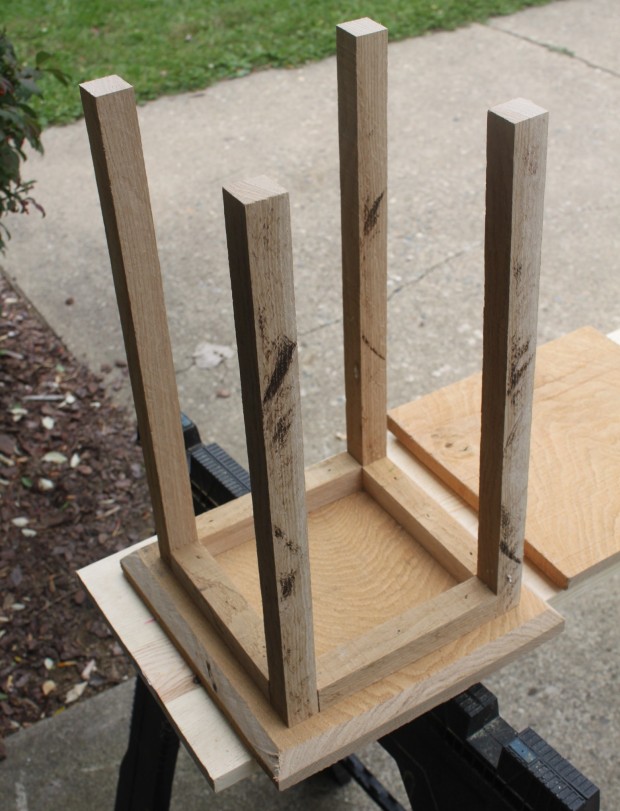
Nail down the remainder of the cleats and post to finish the bottom. Be sure to continue to glue each piece before nailing
Once you have the bottom complete – you can repeat the process for the top – attaching the cleats and posts to the center of the board.
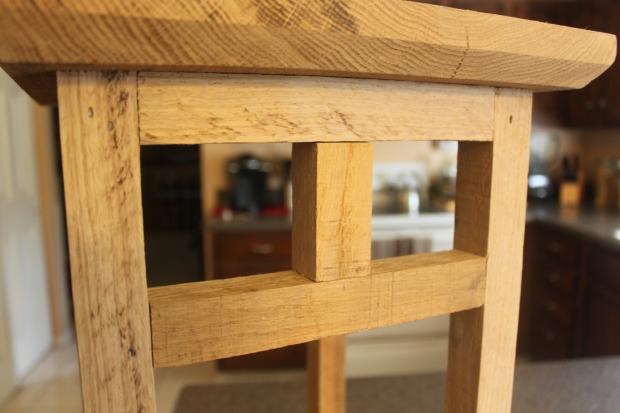
Finally – to add the decorative T-piece – simply attach a 2 1/2″ piece to the center of a 7″ cross-piece – and then attach it between each set of posts.
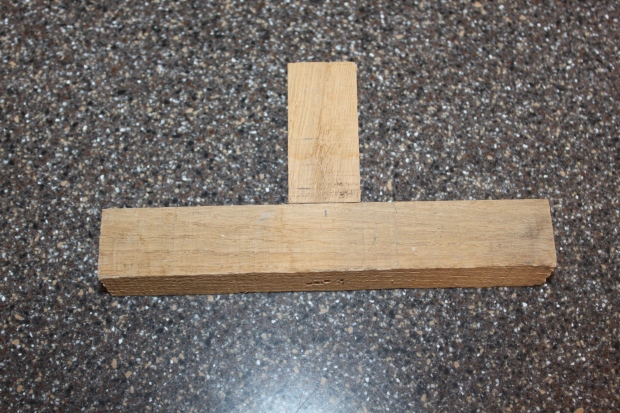
The completed T-post construction:
Your lantern is complete and ready to go! You can easily add a handle or other decorative accents if you like – or keep it simple and rustic.
Happy Building! Jim and MaryIf you would like to receive our posts each week on Gardening, Cooking, Canning and a DIY Approach to Living – be sure to sign up to follow the blog via email in the right hand column, “like” us on Facebook, or follow us on Twitter.


