After we painted our kitchen over the long Thanksgiving weekend we realized that our decorations and pictures no longer fit with the new decor. You know how it is – one project leads to another, and another and another.
We still haven’t decided what we want to hang on our wall yet, but we knew it couldn’t be bare for long because we had a Christmas party scheduled at the house in just over a week.
So with Jim being gone on a business trip, I took matters in my own hands.
A couple of weeks earlier, Jim found some pallets behind a local farm store, and asked the manager if we could have them.
He loaded them in the truck and in a short matter of time, he took them apart and stored the wood in our garage.
After verifying that there was some extra wood that I could use, I began our Hand Painted Pallet Sign Project.
DIY Hand Painted Pallet Sign Project
Use a pallet that has been heat-treated with no chemicals if this project is going to be used indoors.
Disassemble the pallet (see How to Disassemble a Pallet).
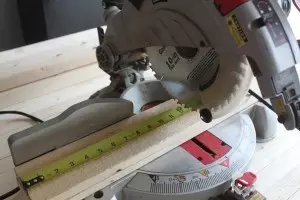
Determine the length and height of your project and cut the wood accordingly.
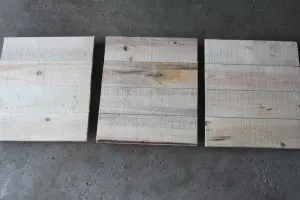
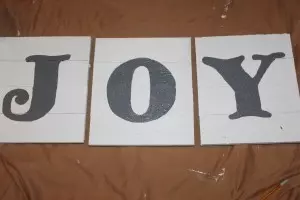
For our signs I had planned to use 12″x12″ squares for 3 signs. However, when I went to put the wood together, the 4 boards that I used added up to 14 inches in height – and I simply was o.k. with that! So each sign is 12″x14″.
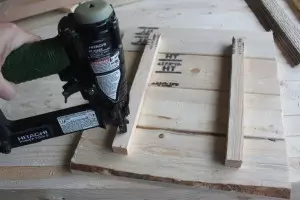
Arrange your pallet boards – front side down onto a surface and attach a backer board to each side using a nail gun.
I used scrap wood from the pallets and cut the boards to one inch in width using the table saw. Each board was about 12 inches in height.
Make sure your nails are long enough to go through both pieces of wood, but not too long to protrude through the front of your sign.
Once each sign is assembled, be creative! You can leave them with the wood look and use paint or stain to complete your sign, or you can paint the signs like I did; see instructions below:
Add a coat of primer to each sign (fronts and sides only).
While the primer dries determine what font style and size that you want to use. I used Antique No 14 font that I downloaded off the internet. The font size was 750.
Print off your letters on a standard printer – I used the text effects button to outline the letter only to save on ink.
Cut out each letter. If you have graphite paper you can skip this step, however, I didn’t have any so I used the cut out method.
Finalize the base coat paint to your boards – 1 or 2 coats depending on the look you want to achieve. I used the gloss white acrylic paint that we used for painting our upper cabinets.
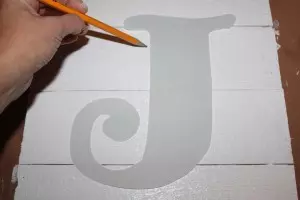
Once the paint is dry, arrange your letters on each board and trace around each letter. I used a standard number 2 pencil which worked out great!
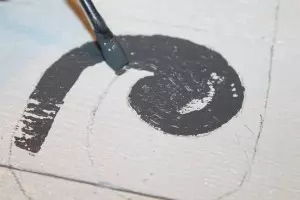
Hand paint each letter – I used a flat artist brush to allow me to have more control around the border lines. Whatever brush you feel most comfortable with you can use.
Allow to dry for several hours – I let ours sit over night.
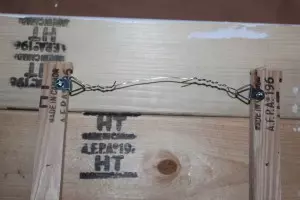
Add picture hanging hardware – I used D-rings and 20 gauge crafting wire that we had on hand at home.
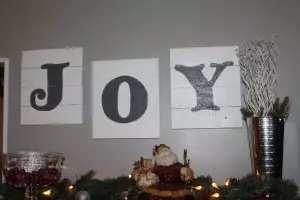
Hang or display where desired.
Happy Pallet Sign Making!
Happy Building! – Mary and Jim
If you would like to receive our weekly garden, diy and recipe updates – be sure to sign up to follow the blog via email in the right hand column, “like” us on Facebook, or follow us on Twitter.


