If there is one thing we enjoy more than anything else, it is outdoor living. In fact, we live for it! Whether working in the garden, planting flowers, mowing, grilling out, throwing a frisbee, or sitting on the back porch late at night after a long day of work, you can almost always find us outside, enjoying the great outdoors.
And with that love of outdoor living in mind, our latest project at the farm is taking shape. We call it, the “Pavilion Project”.
A few years before building our house at the farm, we had converted a screened-in back porch at our old house into an outdoor living room. We knocked out the old screen walls, opened it up to the attached deck, and then turned the covered area into a living room. It let us be outside in the rain or sun, and we did just that – every chance we got. We simply loved that space!
We always knew that as soon as we could, we wanted to create an area just like it at the farm. Even perhaps, with a little outdoor kitchen to boot. After all, if you can eat, cook, entertain, relax and live outside, is there a downside?!
The real challenge for us was to make the structure fit with the look and feel of the existing house and farm. Of course, we also needed to do it on a budget that worked for us. That meant doing as much of it ourselves as possible!
Outdoor Living – The Pavilion Project Design & Details
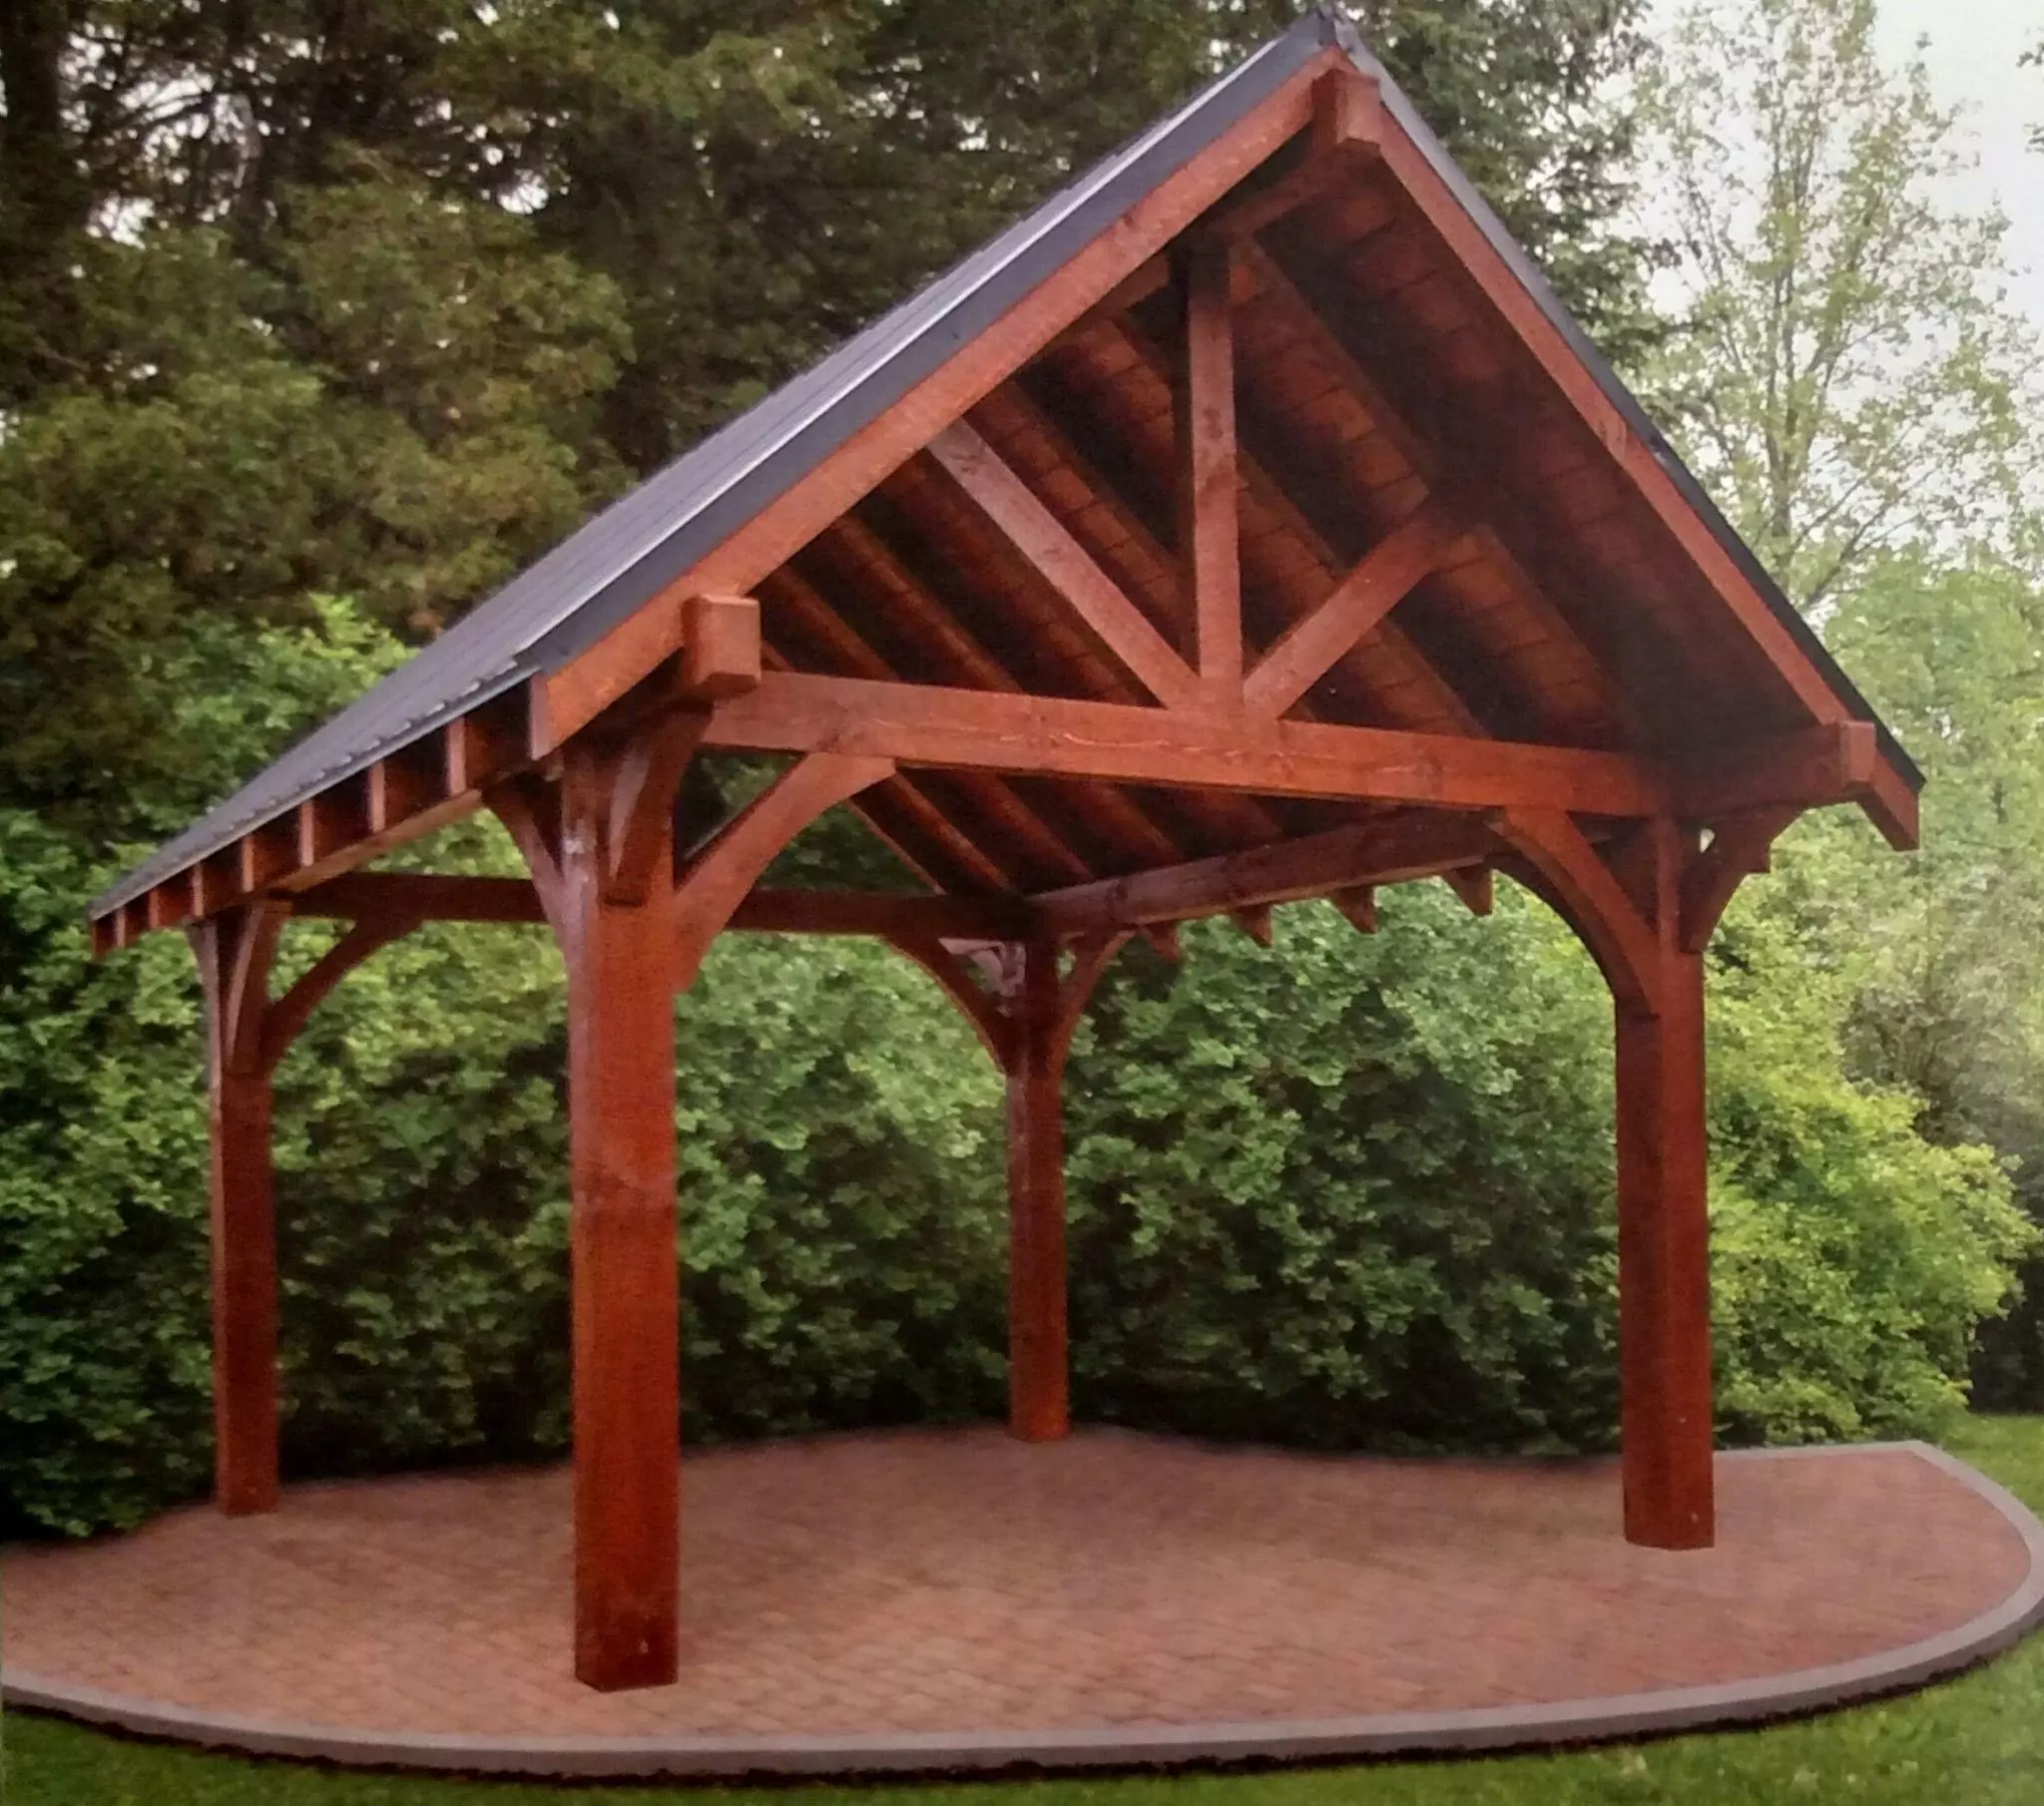
We really want the outdoor living room and kitchen area to feel like an extension of our back porch. But with a sloping hill all around, we knew it would take a bit of work to make that happen. When finished, the total space will be about 30′ long and 16′ wide. We will cover a 16′ x 20′ portion of the area with a 6 post open-sided pavilion structure from Weaver Barns called the Timber Ridge. It’s rustic style and metal roof actually match our house perfectly.
The 10′ x 16′ open air area that remains will be for the outdoor grill and kitchen. We’ll use left over cedar, galvanized metal and stone saved from the house build for creating that.
For the tops, we are going to pour inexpensive home-made concrete counter tops. We did the same for our barn kitchen last year, and love the durability and look. It’s really cost-effective too, with mixing your own bagged concrete, you can create them for about $3 a square foot.
For the patio floor, we’ll use reclaimed brick and pavers to match the existing patio at the barn and pergola. Finally, for the landscaping, we will use grasses and perennials divided from the existing plants already in place around the farm. We actually started that process back in early March, splitting and potting up the plants we will need to have on hand when the area is finished and ready to plant.
Splitting and dividing are incredibly easy ways to save big money when it comes to landscaping. We now have about 600 + plants around the farm, and all completely for free.
The Project Starts…
We started a few weeks back by taking out our old trusty tape measure and staking off the area. It actually brought back a lot of old memories for both Mary and myself. We did the same exact process for the barn, pergola, chicken coop, and last year, the house. I think we both live for the excitement of a project as much as the satisfaction of completing it. We are always quick to say that we probably will never “be done” building the farm.
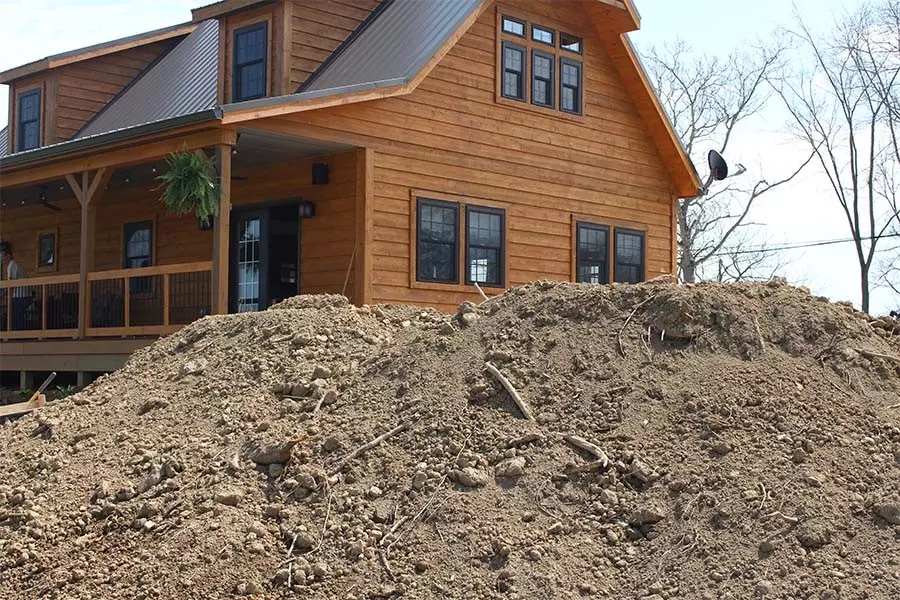
Next came the process of building up the sloping hill into a flat, usable space. For that we needed dirt, and a lot of it! In fact, to be exact, it took about 13 dump truck loads of it, and some pretty amazing grading work from our neighbor Craig to create a 20′ x 16′ flattened base. Luckily they were clearing off dirt for a basketball court. They needed a place to put the dirt, and we needed dirt. That is what you call a win-win!
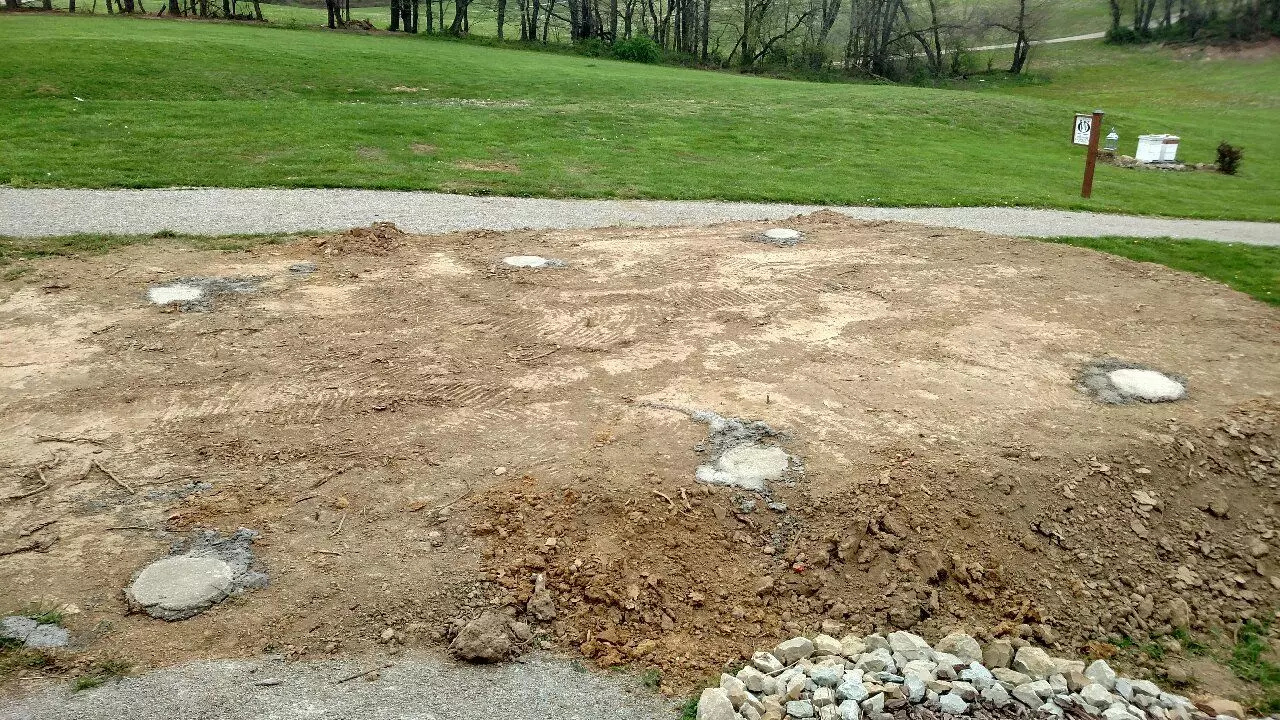
Once the pad was in place, Craig helped us drill down and pour 6 concrete piers to secure the pavilion when it goes up. He has definitely been a lifesaver for this project!
Now all this left is to wait for the Timber Ridge Pavilion to go up! Weather permitting, that will be this coming week. And then it’s time for us to get to work and lay the patio brick, build the kitchen frame and counter tops, landscape, and someday of course, sit outside and enjoy it!
We will keep you updated on the process in the coming weeks. And one final note of appreciation – A big thank you to Mark and Beth for the gorgeous hanging basket left on our back porch. It is beautiful! We are blessed with great neighbors all around us!
Happy Outdoor Living! – Jim and Mary. We hope you enjoyed this week’s gardening article! If you would like to receive our DIY, Gardening and Recipe articles each week, you can sign up to follow the blog via email in the right hand column above, “Like” us on Facebook, or follow us on Twitter. This article may contain affiliate links.


