The DIY Outdoor Pizza Oven Project. Trying our hand at building a little outdoor living fun.

The next DIY project, creating a wood fired pizza oven
Sometimes, you simply have to take a risk and try your hand at something you haven’t the slightest idea how to do. And when it comes to our latest project, building an outdoor wood fired pizza oven, that is exactly what we are doing.
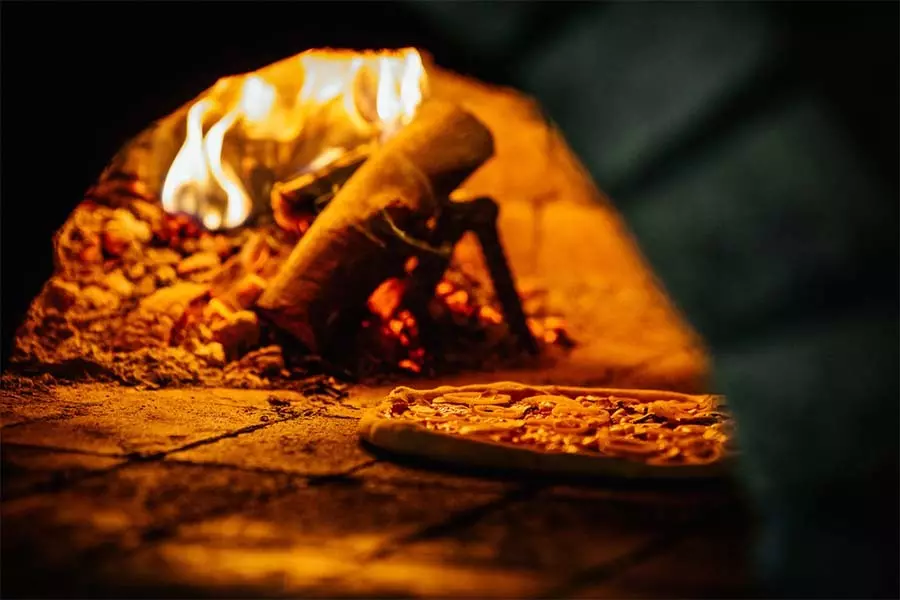
For as long as we can both remember, we have wanted an authentic outdoor wood-fired oven to make homemade pizzas, bread and more. You know, the kind where you slide in a big wooden paddle of homemade dough with fresh veggie toppings from the garden, and a few minutes later, have an incredible explosion of flavor in your mouth!
Ever since moving to the farm last year, that desire has grown even stronger.
The biggest problem was quite simply the cost! I think we were both shocked and amazed at how ridiculously expensive outdoor pizza ovens can be. Finished ovens can go upwards of $4000.00. Even the kit inserts can run $1500 or more, and you still need to build the rest. It simply wasn’t an option.
But on a recent work trip to Nashville, that all changed.

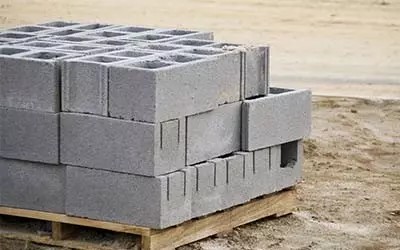
Inexpensive concrete blocks are the main building blocks of the diy pizza oven
I happened to come across a gentleman that had built his own beautiful wood fired oven for under $350!
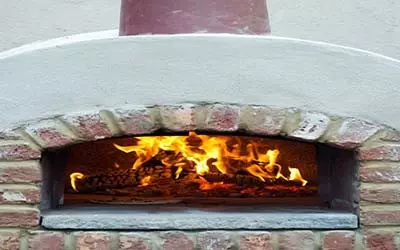
The oven was not only impressive to look at, it also worked incredibly well. Using nothing more than common, inexpensive building materials like concrete block, fire brick and mortar, this wood fired pizza oven could turn out crispy, gorgeous pizza pies in about 4 to 5 minutes. And I was instantly hooked!
And so now our own DIY journey begins!
Over the next few weeks, we will embark on building our own DIY outdoor pizza oven at the farm. It should make the perfect companion to the little outdoor living area we are creating with the Pavilion Project. (See : The Outdoor Living Room Project)
We have included an overview of the building steps below. We will be sure to keep you updated as we build with lots of photos. And, of course, we will create a step by step plan when finished for others that want to build their own as well. Our hope is to have the diy outdoor pizza oven done over the course of the next three weekends.
DIY Outdoor Pizza Oven Building Steps
The Base: For the bottom, we are going to create a 4′ x 5′ rectangular base using traditional cement blocks. We will leave an opening in the front to store and protect split wood for the fires. When complete, we will then face it with reclaimed brick.
Cooking Base: Next, we will form a 3″ thick concrete slab to put on top of the base. We will use regular bag mix concrete and fill the form. Once complete, we will lay flat fire brick on top of the slab for the cooking surface.

We can’t wait for the first pizza!
The Oven : The dome-shaped oven will be formed with a combination of fire brick and mortar. This is the part that should be interesting. Once we have the cooking base complete, we then build the form for the dome with regular sand. Much like building a sand castle, we will create the dome until it is in the shape we want. Then we build the mortar and brick around it. When we get near the top, we can add a clay or metal vent stack and mortar it in place as we go.
Once dry, we will remove the sand, and the inside of the oven will be done. All that is left is to then cover the fire brick with a mixture of sand and concrete to smooth the dome exterior. This also helps to hold in the heat. And then…it’s pizza time!
Here’s to hoping this works! Happy Pizza Making…and Eating – Jim and Mary!
If you would like to receive our DIY, Gardening and Recipe articles each week, you can sign up to follow the blog via email in the right hand column above, “Like” us on Facebook, or follow us on Twitter. This article may contain affiliate links.
