I think as long as we can both remember, we have dreamed of building an old-fashioned diy root cellar at the farm.
Ever since planting the first of our fruit trees back in 2012, we couldn’t wait for the day we could store an overflowing fall harvest from the farm’s orchard and gardens into our own cool, underground cellar.
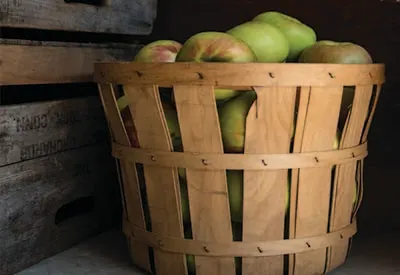
We could picture it in our minds in full-color. Baskets of overflowing apples and pears stored on the floor. Wooden crates of potatoes stored for winter use. Neat wooden shelves lined with our homemade canned goods. And for good measure, a few home-grown garlic ropes hanging from the ceiling. The dreamy vision was complete in our minds, that’s for sure!
But fast-forward to 2018, and those dreams of a diy root cellar need to be turned into reality.
Although we love our little 1054 square foot home, storing vegetables, fruits and canned goods is a bit of a challenge.
First, there is the issue of no basement. In our old home, the cool, dark corners of the basement were perfect for long-term storage. It was great for storing garlic, potato and onion crops long into the winter months.
Secondly, with radiant floor heat throughout the new home, it makes it difficult to keep anything cool on the main floor for a long period of time. For now, we have our garage and the knee-wall space in the upper loft as a short-term solution.
But those fruit trees planted back in 2012 are starting to produce sizable harvests. Enough that by next fall, we will need definitely need some more appropriate long-term storage space. And so, those dreams of building and old-fashioned root cellar will now come to life!
The Plan – Creating A DIY Root Cellar
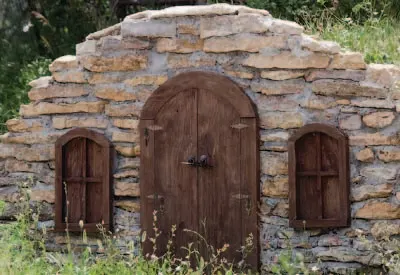
More than anything, we want to create a great space for storage. But, of course, we also want it to fit in with the look of the existing farm.
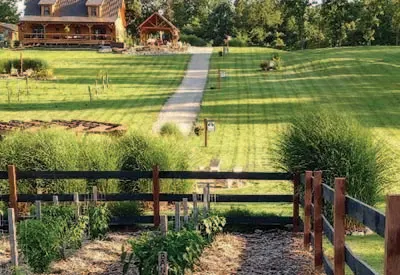
We are fortunate enough to have an ideal location for the fruit cellar. We have a sloping hill that extends from the edge of the house to the farm below. That hillside also happens to face North, which is perfect for outdoor root cellars.
By digging into the existing hillside, it will help us save big on the budget. For starters, we won’t have the cost and effort of digging out an entire full “basement-style” cellar. We also won’t have to worry about bringing in additional dirt for covering the top.
Our cellar will be sized at 10′ x 10′, and include a separate area to store crops that do not keep well together.
Our plan is to dig out the hillside to a depth of 10 feet at the back. We will then create wooden forms and pour concrete walls to form the back and two sides. For the front, we will pour edge walls, and leave space in the middle for a thick, insulated door.
We are using the poured walls with reinforced rebar for maximum stability. By creating the forms and pouring ourselves, we should be able to keep costs reasonable. For the roof, we will use salvaged steel I beams and create a form to pour a concrete roof as well.
Using concrete will also help keep out any unwanted rodents and pests from ever entering the cellar. Since we are building into a hillside, we can slope the dirt out with a walkway to “bury” the cellar as deep in the hill as possible for maximum thermal protection. It also gives us a chance to landscape the entrance with a little reclaimed brick patio to dress it all up.
Venting
One of the most important things all cellars need is a proper ventilation system. For ours, we will use two 4″ PVC pipes to accomplish this.
One will be placed at the very bottom of one corner of the cellar and vent out at the top of the hill. The other will be placed at top of the opposite corner of the cellar and also vent to the top. This will allow hot air to escape when needed from the top vent, and cooler air to re-enter from the bottom pipe.
The surrounding dirt and depth of the cellar will help control humidity and provide the cooler average temperatures needed for storage. We will be sure to update as we go along, complete with the final plans as we start to build in the early spring!
Here is to reaching all of your 2018 goals -and to building a root cellar at the farm in 2018! Jim and Mary. To receive our 3 Home, Garden, Recipe and Simple Life articles each week, sign up for our free email list. You can also follow us on Facebook, Twitter, Pinterest, or Instagram. This article may contain affiliate links.


