One of our biggest challenges at the farm has always been finding a way to create a practical, attractive, and yet still economical DIY greenhouse or hoop house.
And with a bit of expansion plans this coming spring on the horizon, we will need on more than ever. (more on those plans in the coming weeks!)
Hoop houses, or mini-greenhouses as some call them, are a great way to extend the growing season. They are also perfect for starting and growing seedlings. See: 7 Easy Steps To Starting Seeds Indoors
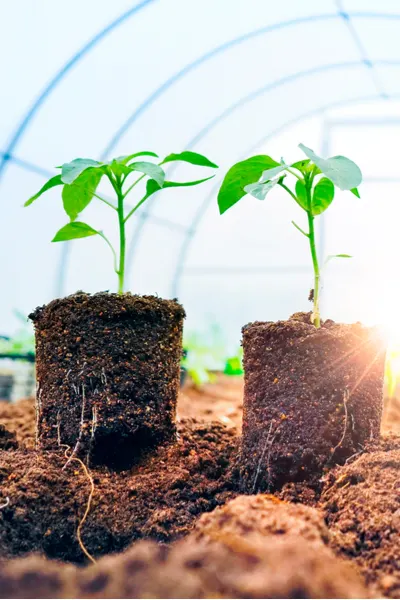
A hoop house or mini-greenhouse is a great way to start tender vegetable seedlings
But when it comes to DIY greenhouse and hoop house plans, the large majority of available commercial kits look flimsy and unattractive.
And those that are a more pleasing to the eye unfortunately can cost a small fortune.
DIY Greenhouse Plans – A Fresh Look At Some Old Plans
When we first started the farm back in 2010, we needed a way to grow a lot of seedlings fast. We needed a protected place to start everything from our vegetable seeds in the spring, to helping grow and nurture cuttings and transplants for flowers, perennial plants and more.
The only problem, we had to start from scratch. At the time, all we had at the farm was a garden, chicken coop, and the initial posts of our barn.
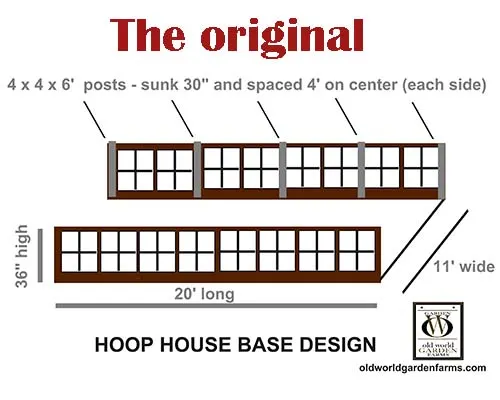
Our original plans we used to build our first hoop house
So we turned to building a pretty neat homemade DIY greenhouse / hoop house from a wood knee-wall base, a few inexpensive cow panels, and plastic sheeting.
Not only did it work incredibly well, it actually turned out pretty attractive compared to most hoop houses. We used it for the first few years, and then removed it during a garden expansion.
But now that we will need something again, we have decided to bring it back, spruce up the design a bit more, and make it a more permanent feature in the garden.
The Old And The New
We have listed the original plans below from when we built the first hoop house. For those looking for a quick and inexpensive DIY greenhouse design, they really do work great!
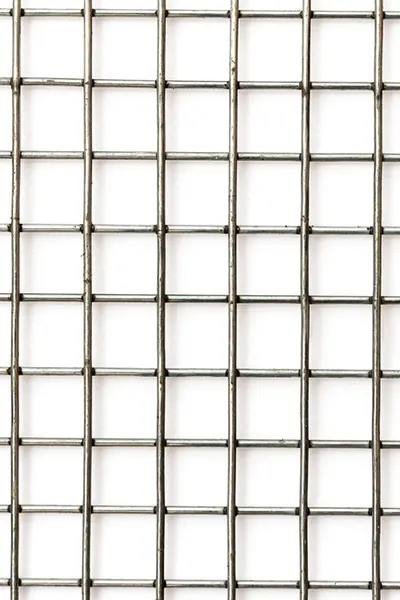
Inexpensive cow panels make up the top frame.
We also included an update at the end of the article for the few upgraded “modifications” we will be making to the new one we will build. And yes, we will include update photos of it as well when all complete!
The Original DIY Greenhouse / Hoop House Plans
The original hoop house measures 11′ x 20′, with side walls that are 3′ high, with a 9′ apex at the top center.
To give it a little more of a permanent feel, we are using reclaimed windows along the lower portion. You can also simply run plastic to the ground if the windows are not an option.
We break it down below in more depth, but a typical cost to build can be as low as $200 to $250 total.
Building The Base
Start by sinking (5) 4 x 4 x 6′ posts 30″ into the ground on each side. In our Ohio climate, 30″ is a safe depth to avoid the post from heaving during freezes and frosts.
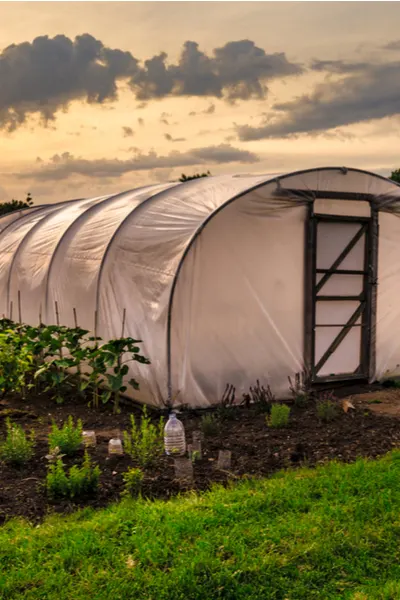
The post and cow panel frames keep the plastic from sagging. That can happen when using traditional pvc or metal poles.
Next, run a basic 2 x 6 bottom and top board along each side to frame the post in. You can use treated or non-treated wood for this portion.
We used rough-sawn, untreated lumber since the structure is in our garden. We wanted to avoid the possibility of any chemicals leaching into the soil.
We attached the windows between the posts for the 3′ high base.
To the top rail of the 3′ high side wall, we attached the 4′ wide x 16′ long metal cow panels. By bending them in a half-circle to the other side of the base, you create the “hoop” design.
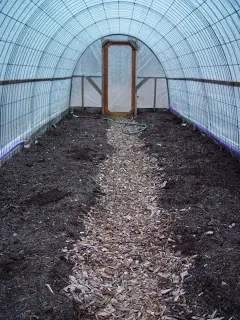
The cow panels add a lot of strength, but still allow in plenty of light.
Each panel is 16′ long x 48″ wide – so it only takes 5 to make the entire 20′ length needed. Once attached to one side, the panels bow into a perfect arched form.
They can be secured to each side of the 36″ side walls with U-nails. The panels can then be secured together with zip-ties.
Why Cattle Panels Work Great…
The panels are inexpensive, costing around $20 to $25 per panel. They are a great looking, low-cost way to provide strength.
What makes them even better, they can be easily covered with clear plastic for fall, winter and spring use. For summer, you can even use an attractive shade cloth if needed to shelter new plantings.
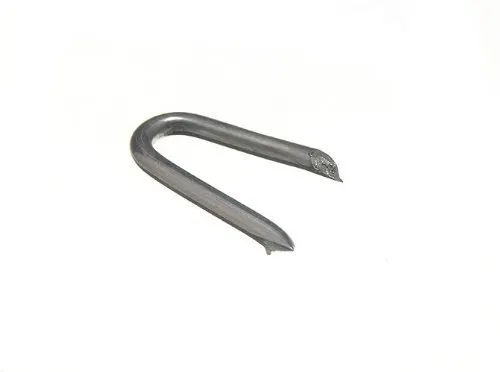
We used fencing staples (U-Nails) to attach the panels to the wood frame.
The ends can be finished off with simple plastic, or framing out with common lumber and attaching doors on each end. The door option is nice for easy maintenance, and for temperature control when it starts to warm up.
The ten posts and five fence panels priced out right around $160.00 total. Framing lumber added another $40.
The plastic covering cost can vary depending on how thick you purchase, but cost us around $50
All in all, the total cost was around $250. It was certainly a huge savings over what commercial units can cost.
Product Links :
Galvanized U-Nail Fencing Staples
70% Shade Block Fabric 10′ x 20′
The Space Inside
The hoop house is 9′ high at the apex of the center line. This design allows plenty of room to work inside.
There is enough space to have two large growing areas on each side, or the space can be divided with 2 walking rows for a total of 3 planting areas.
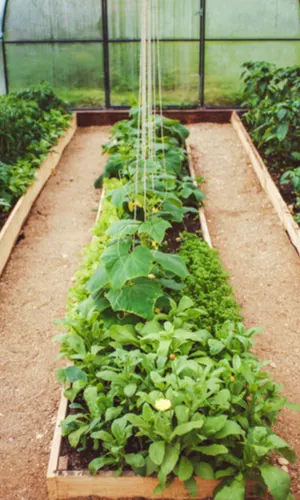
There is plenty of space inside for up to 3 rows of growing.
For us, it is enough square footage to start up to 60 flats of flowers and vegetables.
It can also be used of course to grow more vegetables when the weather is colder on either end of the seasons.
The growing rows may not sound wide, but they are perfect for raising large family crops of lettuce, kale, cabbage, onions, radishes.
The 2019 Upgrades
For us, we want our new DIY greenhouse to become a more permanent part of our garden.
With that in mind, we will build a small decorative stone wall up about a 1′ or so as the foundation wall. For the remainder of the knee-wall, we will cut the metal panels for a decorative look.
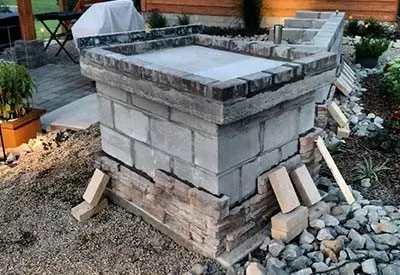
We will use left over stone from our pizza oven project (above) along bottom edge of the greenhouse. It is easy to install and should really help dress it up a bit.
For the ends, we will frame out in rough-sawn cedar and install a door on each end.
We will cover with our sheeting from fall through spring to extend our season and grow our vegetable and flower seedlings.
In the summer, we will remove the plastic, and install a shade cloth. With a few added plants, a bench and perhaps an outdoor potting shed.
It should create an attractive sitting area smack in the middle of the garden. Perfect for resting, or storing a harvest to keep out of the sun while working in the garden.
Here is to outdoor – and “indoor” garden living! Jim and Mary

