One thing is for sure – when it comes to planting a successful garden quick and easy, it is amazing how a few simple tips can make the world of difference!
Yesterday was our “big” summer-crop planting day in the garden.
It was the day that all of our main vegetable transplants (tomatoes, peppers, cucumbers, zucchini, etc.) finally get to go into the ground.
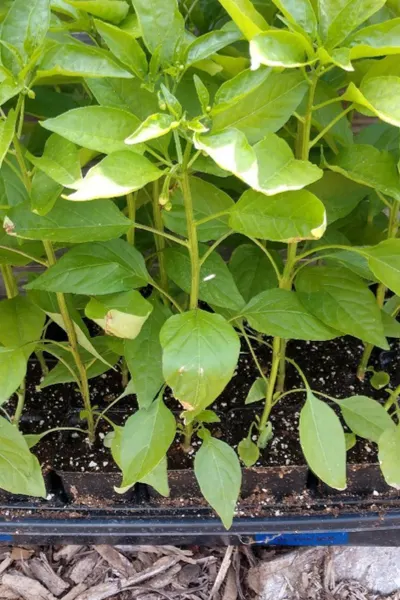
And to say that we have a lot of fun with it would be the understatement of the year!
For us, there is simply nothing quite like the joy of planting day.
The warmth of the sun. The thrill of finally getting your hands in the dirt after a long winter. And of course, the anticipation of a big harvest.
Now you might think that with a little over 100 plants going in the ground, planting day might be a long, hard day for us in the garden.
But actually, it is anything but that!
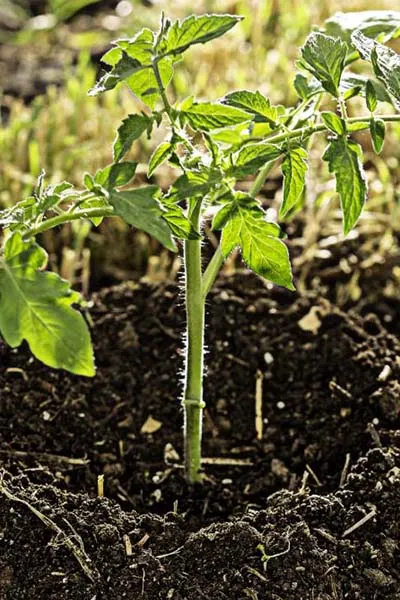
In fact, if we weren’t stopping to take photos and the little video we included below on our planting process, all 100 or so of those plants would probably have been planted in the ground in under an hour. With little effort!
Sound impossible? It really isn’t with just a few simple tips we have learned over the years.
It not only makes planting day a breeze, it sets the stage for your plants to thrive.
3 Simple Tips For Planting A Successful Garden Quick & Easy
Tip # 1 – Put Tomato & Pepper Supports In Before You Plant
This one simple step saves a lot of work down the road. And, more importantly, does wonders for the long-term health and vitality of your vegetable plants.
Whether you use tomato stakes, cages, or a homemade support like our DIY Stake-A-Cage, put all of your tomato and pepper supports in before you ever put that first transplant in the ground.
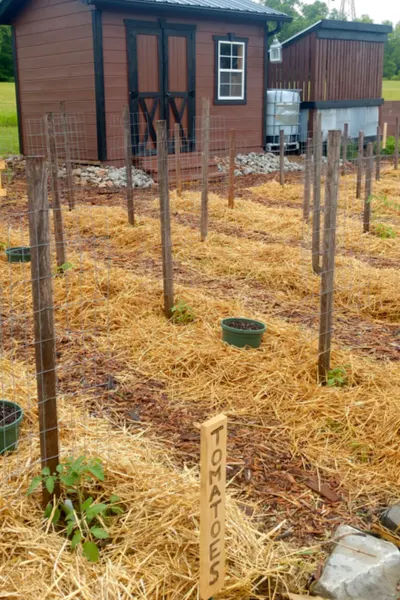
Why? Actually, there are several great reasons.
Stakes and cage supports easily disrupt and harm the roots structures of existing plants as they are driven into the ground in the weeks after planting.
More importantly, the heavy foot traffic around plants as you place those supports compresses the soil. That compression can stunt the root structure of plants in the ground, and also make it harder for them to take in nutrients.
And finally, if those two reason are not enough, there is this:
How many times have you forgot to tie up plants until it is too late and a storm or heavy growth has knocked over and destroyed one of your plants?
By getting those supports in before you plant, that is never a problem!
Tip # 2 Plant With A Post Hole Digger
Want to make quick work of planting transplants? Use an ordinary post hole digger to dig your holes.
Forget those small trowels, shovels or digging knives for planting day – the post hole digger is where it is at!
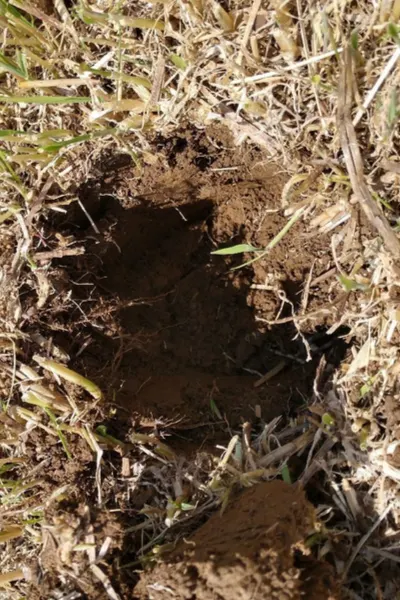
A post hole digger makes super quick work of planting chores. It cuts out a perfect 6″ to 8″ deep planting hole in seconds. And, it makes it easy to dig and plant, even with those tomato and pepper supports in place.
The post hole digger allows us to plant in about 30 seconds for each plant. I usually go down the line and create the holes, and Mary comes right behind and plants. Product Link : Post Hole Digger
#3 Planting A Successful Garden – Fill The Planting Hole With Nutrients!
When people ask us what our number one secret is for growing healthy plants – it is always this : Give your plants the nutrients they need when you plant!
After that quick and easy planting hole has been carved out by the post hole digger, we fill all of our planting holes with a little cocktail of ready-to-use nutrients.
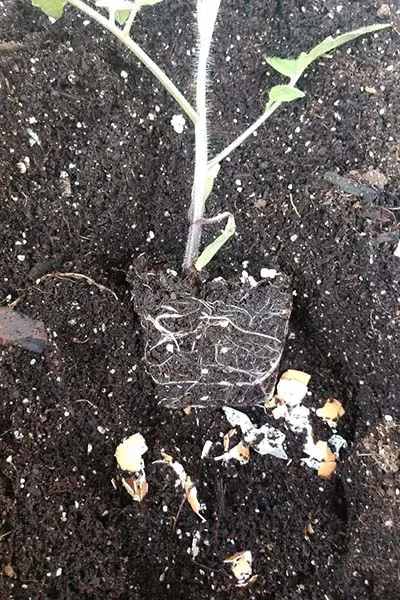
In each planting hole, we mix in with the soil a few handfuls of compost, crushed egg shells (about 2), and a few tablespoons each of spent coffee grounds and worm castings.
The egg shells help provide calcium to fend off blossom rot and promote healthy plant structure.
And the compost, coffee grounds and worm castings are all incredible sources of slow-release nitrogen along with additional nutrients that can power plants all summer long.
And that’s it! The hole is planted, and within about an hour – the garden is set complete and set for success! You can check out this video to see the the planting process in action:
Here’s to planting a successful garden this year. Happy Gardening! Jim and Mary.
Jim and Mary Competti have been writing gardening, DIY and recipe articles and books for over 15 years from their 46 acre Ohio farm. The two are frequent speakers on all things gardening and love to travel in their spare time.
As always, feel free to email us at thefarm@owgarden.com with comments, questions, or to simply say hello! You can sign up for our free email list in the subscribe now box in the middle of this article. Follow us on Facebook here : OWG Facebook. This article may contain affiliate links.
