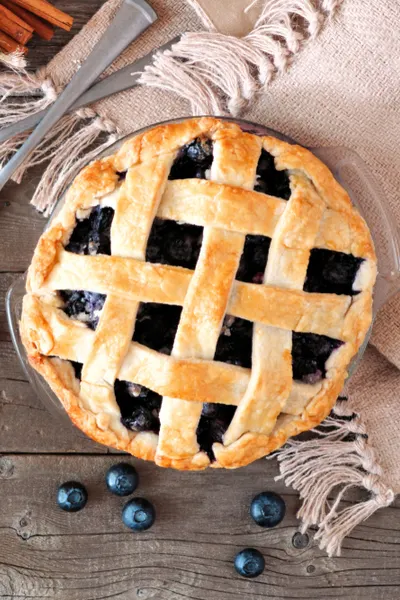
Over the past two weeks, our blueberry bushes have begun to produce pints after pints of berries and that means it is time to make blueberry pie!
As soon as our blueberry bushes start to show signs of that the berries are arriving, the first thing that we must do is to cover them with a net.
Otherwise, all the critters at the farm, especially the birds, will eat them for their daily snack.
We simply toss a fine mesh net over top of the bushes to protect the berries until they are full sized and ready to pick.
This is the only way that we can be sure that we have enough blueberries for not only pie, but also blueberry muffins and blueberry pancake syrup.
But this season, maybe because of the exorbitant amount of rain that we have had, our blueberry bushes are producing quite well.
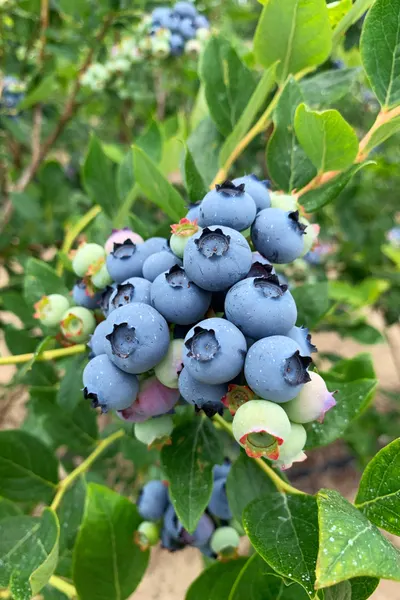
So after my morning 10 minute stroll through the garden this morning, I grabbed my harvest basket and began to fill it with dark blue, plump berries.
And within just a few minutes, I had more than enough to make a blueberry pie.
Blueberry Pie Tradition
Our blueberries always tend to ripen the last couple weeks of June and the first week of July.
Fortunately for us, we use that to our advantage and make a blueberry pies for our Independence Day Celebrations.
Depending on how many blueberries that we have available, we will make an extra pie or two and freeze it for later use.
Or, if time is of essence, we will make then freeze the blueberry pie filling itself.
Either way, it is a fantastic way to use and preserve the blueberries so that they don’t go to waste.
But every year, when we get invited to attend our families large 4th of July party, we always get asked if we would make our blueberry pie for the dessert table.
Of course, it works perfectly for us since we already have the blueberries on hand!
The Pie Crust
This recipe requires two pie crusts. One for the bottom of the blueberry pie and one for the lattice crust on top.
If making the lattice crust stresses you out, then by all means add the full pie crust on top. Just remember to vent it by cutting small slits in the crust prior to baking.
However, if you want to make life even easier, you can skip the top pie crust all together if you prefer.
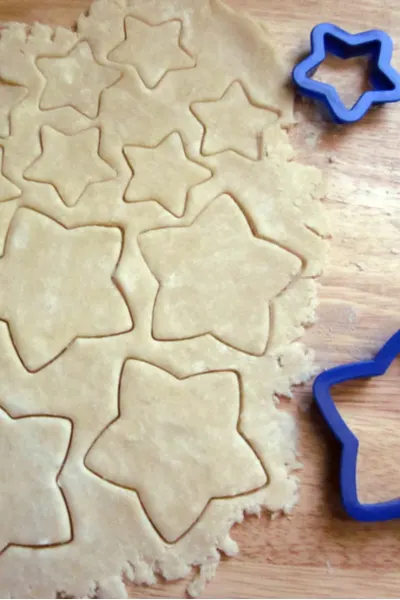
Or if you are feeling crafty or Patriotic, you can use a small star cookie cutter to make star cut outs of the dough.
Then all you do is place the cut dough pieces right on top of your blueberry filling when baking.
Blueberry Pie Filling
When most people talk about making a fruit pie, rarely does blueberry pie enter into the conversation.
Apple pie, peach pie, and cherry pie are almost always on the top of the list.
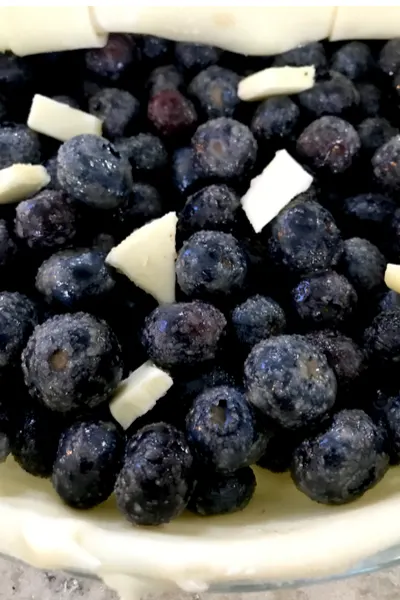
But there is nothing easier than making a blueberry pie! That is because there is no need to peel or remove seeds/pits of this fruit.
All that you must do is wash the blueberries and mix it in with just a few ingredients.
First you will most likely want to add a sweetener unless you are picking fresh berries off a bush.
The store bought blueberries are much less sweet than fresh picked berries. I always recommend tasting a couple of berries and adjust the amount of sugar you add to your pie filling as necessary.
Then you will want to use a thickening agent. I prefer to use arrowroot powder. However, corn starch or flour could also be used.
Just remember, the pie filling will thicken as it sits and cools. In fact, I prefer to make this pie the day before I serve it so that the filling has time to thicken up nicely.
Other Helpful Hints
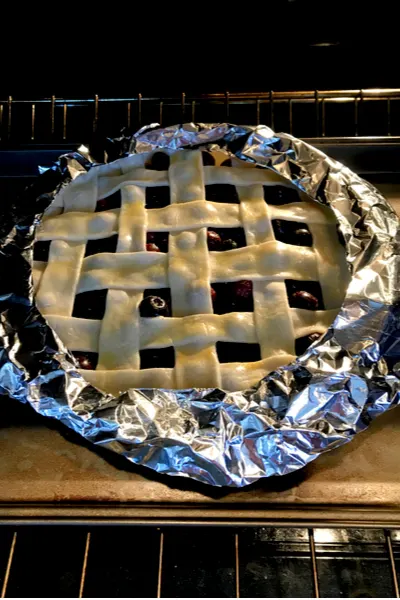
Before I even begin to make this recipe, I make a pie crust shield out of aluminum foil.
Tear off a large piece of foil and lay it out on the counter. Then flip the pie plate over and draw a circle 1 inch away from the edge.
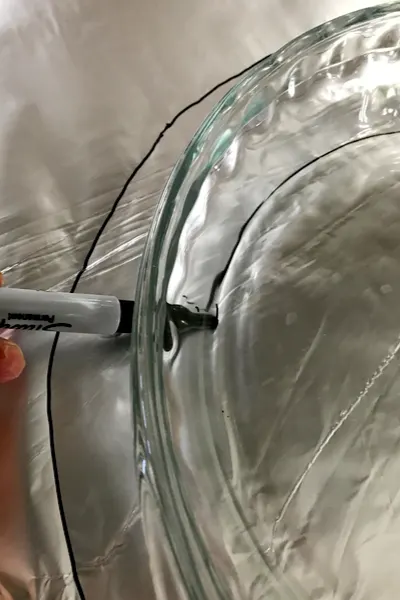
Flip the pie plate over and place in the center of the circle. Trace the bottom of the dish.
All that is left to do is cut the aluminum foil so that you have a pie crust shield that fits your pie dish perfectly.
Of course, you can also purchase a pie crust shield as well. I used to have one and it worked quite well.
When you go to bake your pie, be sure to place the pie dish on a large baking sheet. This will help you prevent any spillovers on the bottom of your stove.
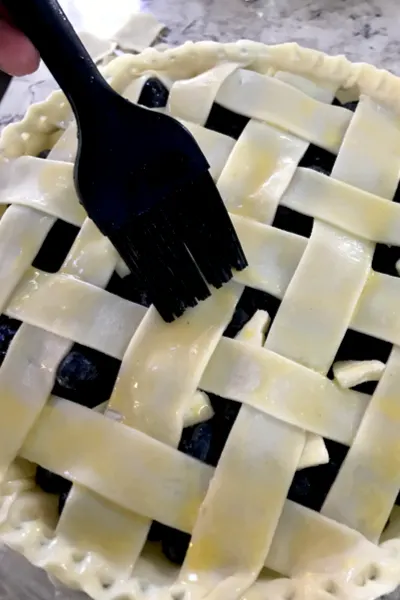
Even better – line your baking sheet with parchment paper for easy clean up!
And finally, and the most difficult step. Wait at least 3 hours before serving your blueberry pie!
I know, I know, but the pie filling needs time to set. You will thank me later!
As I stated before, I actually prefer to make my blueberry pie the night before. It is a great recipe that you can make ahead, especially when preparing for a busy holiday gathering.
Enjoy!
Mary and Jim

Jim and Mary Competti have been writing gardening, DIY and recipe articles and books for over 15 years from their 46 acre Ohio farm. The two are frequent speakers on all things gardening and love to travel in their spare time.
As always, feel free to email us at thefarm@owgarden.com with comments, questions, or to simply say hello! You can sign up for our free email list in the subscribe now box in the middle of this article. Follow us on Facebook here : OWG Facebook. This article may contain affiliate links.
Classic Blueberry Pie
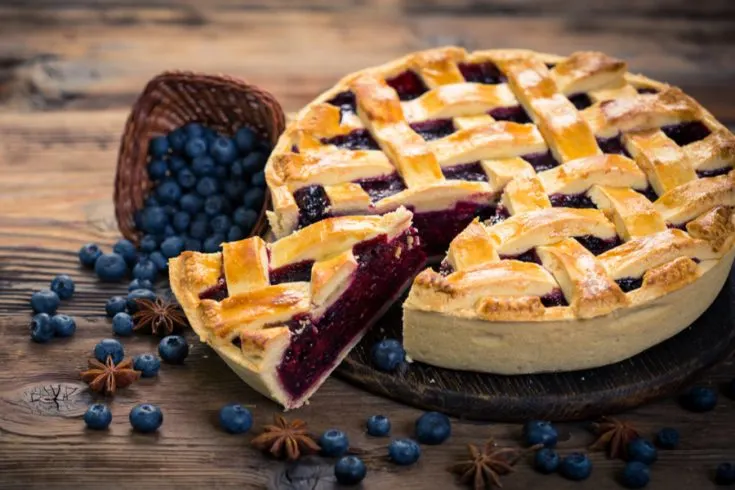
A classic fruit pie that is absolutely delicious and super easy to make!
Ingredients
- 2 refrigerated or homemade pie crusts
Pie Filling
- 3 pints fresh blueberries
- 2/3 cup granulated sugar
- 2 ½ Tablespoons arrowroot powder, or substitute ¼ cup cornstarch
- 1/4 teaspoon ground cinnamon
- 1 Tablespoon lemon juice
- 1 Tablespoon unsalted butter, cut into small pieces
Glaze
- 1 large egg
- 1 Tablespoon milk
Instructions
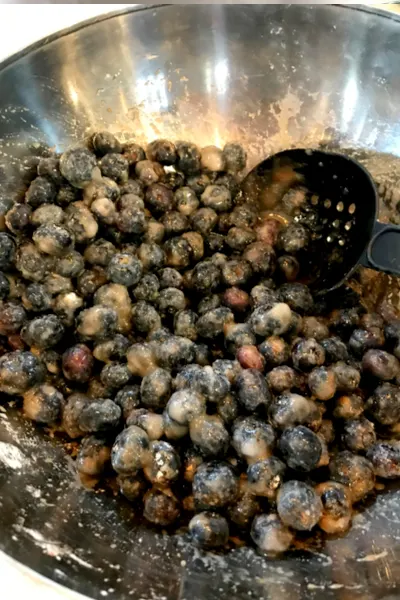
- In a large bowl stir together the blueberries, sugar, arrowroot powder, cinnamon, and lemon juice. Set aside.
- Preheat oven to 400°F
- On a floured work surface, roll out one of the discs of the refrigerator pie crust to a 12 inch circle. Keep the other pie crust in the refrigerator until ready to use.
- Carefully place the dough into a 9×2 inch pie dish pushing down with your fingers, making sure it is against the dish.
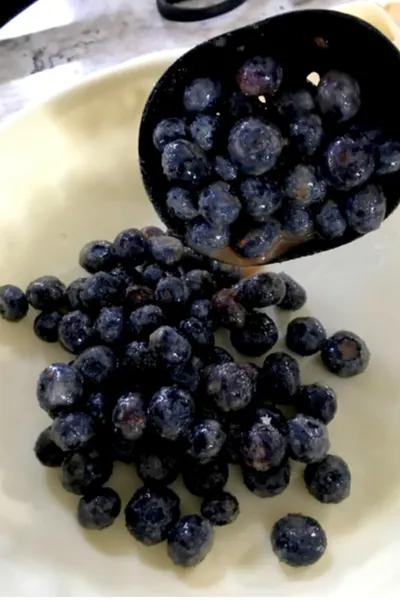
- Using a slotted spoon, scoop out the blueberries and place it in the pie crust. Discard any remaining liquid in the bowl.
- Dot the top of the filling with tiny pieces of butter.
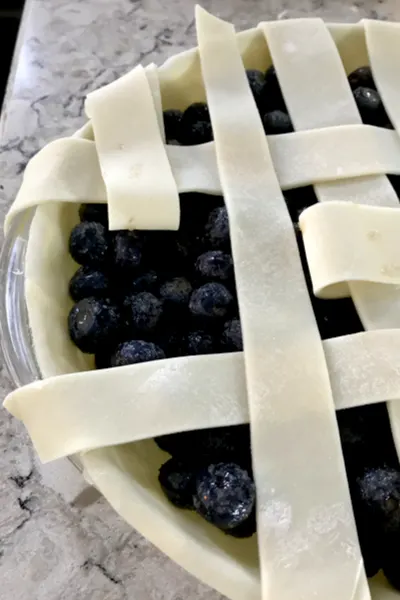
- Remove the other pie dough from the refrigerator. Roll the dough into a circle that is 12 inches in diameter. Using a pizza cutter, cut strips of dough 1-2 inches wide. Weave the strips over and under one another on top of the filling. Seal the edges with the bottom pie crust, cutting off excessive dough when necessary. Crimp the edges by pinching the dough between your fingers or with a fork.
- In a small bowl lightly beat the egg and milk mixture together. Using a pastry brush, lightly brush the top of the pie crust with the mixture.
- Place the pie onto a large baking sheet and bake for 20 minutes.
- Using a pie crust shield or aluminum foil, cover the edges of the pie crust to prevent them from browning too much.
- Turn the temperature down to 375°F and bake for an additional 25-30 minutes.
- Allow the pie to cool for at least 3 hours at room temperature before serving or placing in the refrigerator. Cover tightly and store in the refrigerator for up to 5 days.
Notes
Baked pie freezes well for up to 3 months. Thaw overnight in the refrigerator and allow to come to room temperature before serving.
Prepared filling can be frozen up to 3 months, thaw overnight in the refrigerator before using.
Do not use frozen blueberries for this recipe.
Recipe courtesy of Old World Garden Farms
Nutrition Information:
Yield:
8Serving Size:
1 gramsAmount Per Serving: Unsaturated Fat: 0g
