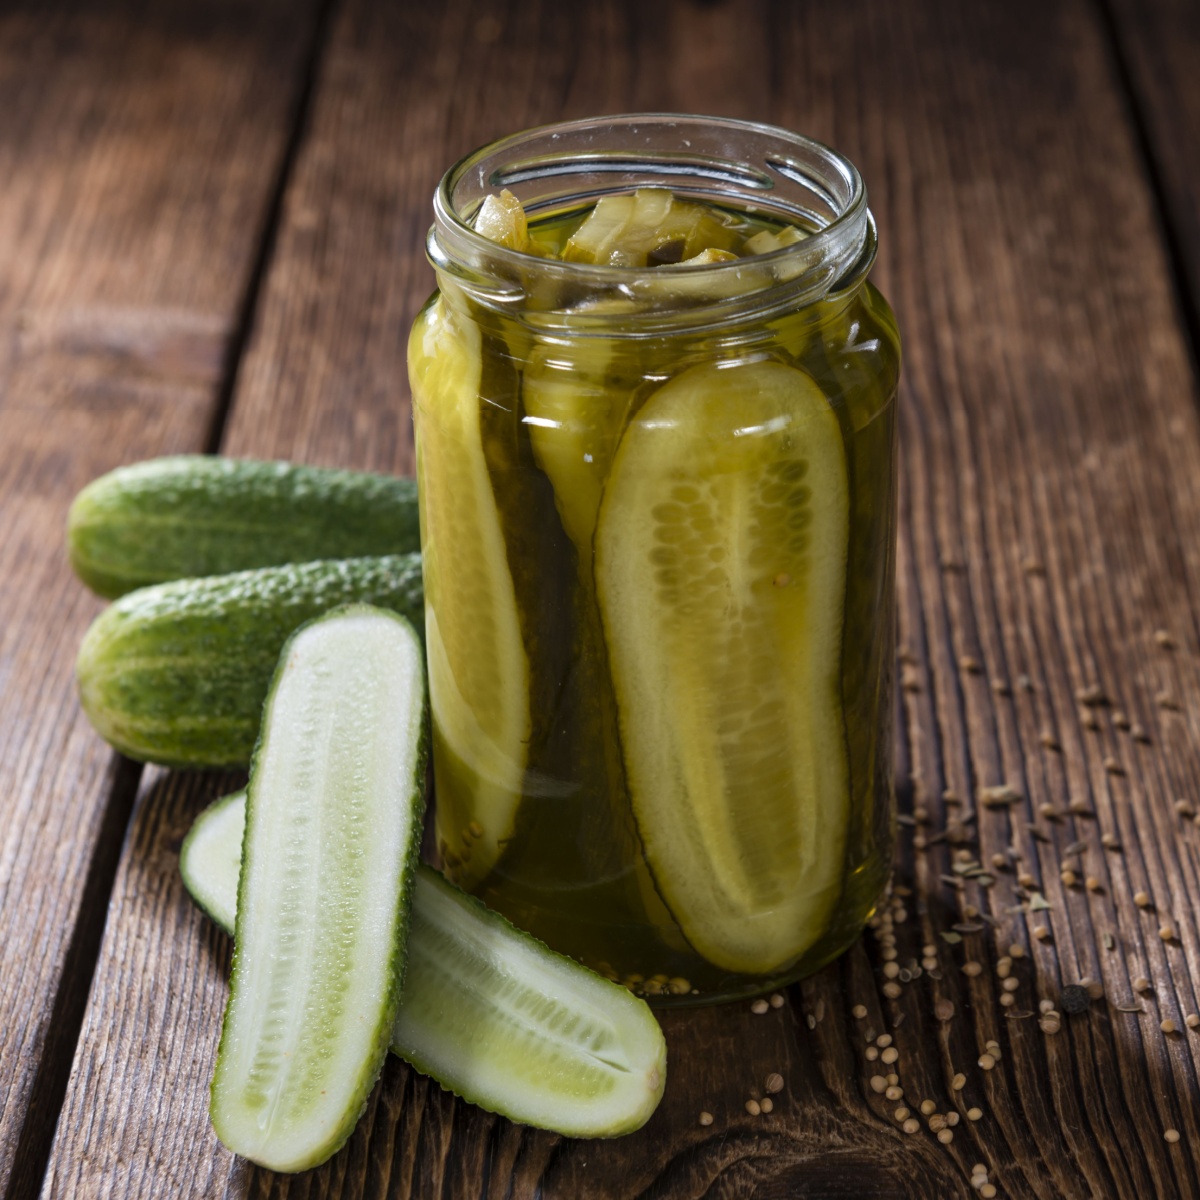
Although the process of making homemade dill pickles is rather straightforward and easy, getting them to maintain that crisp texture once they are canned can be tricky.
There is nothing more disappointing than opening a jar of pickles that you canned during the summer and biting into a soft and mushy pickle. All that work that went into growing the cucumbers and then processing them now seems like such a waste of time, energy and resources.
However, with a few key secrets you can transform those garden-fresh cucumbers into crisp, delicious pickles. And it may be easier than you think! Below you will find our top 7 tips and tricks for making pickles that turn out perfect every time!
The Secrets To Making Crisp Dill Pickles
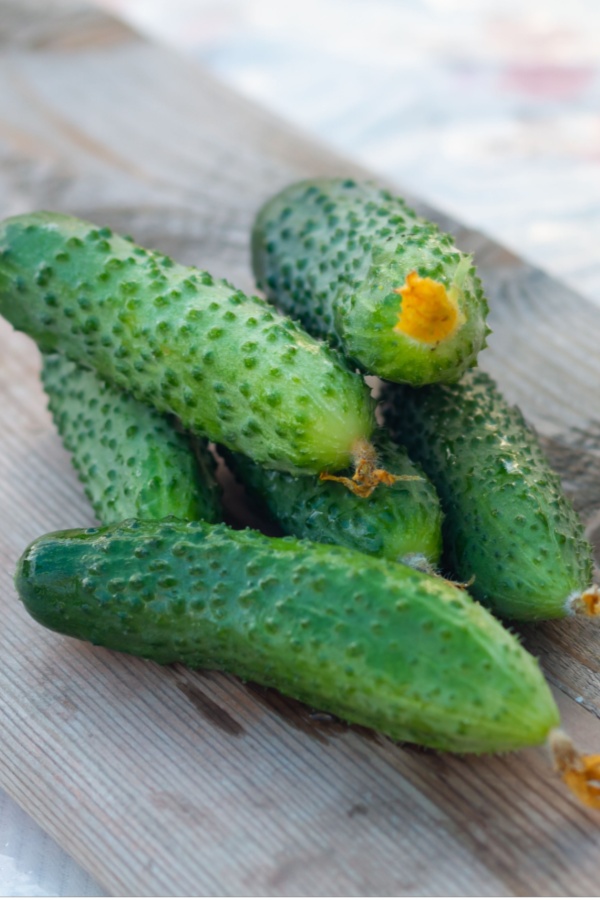
1. Use Cucumbers Designed For Pickling
The first secret in making crisp dill pickles is to use pickling cucumbers. Standard garden salad cucumbers are not the best option for turning into pickles.
These cucumbers are too large and contain a wide seed core as compared to pickling cucumbers. Instead you want to make sure to use smaller cucumbers that are made for pickling, such as National Pickling Cucumbers.
See our related article on other varieties to grow: The Best Cucumber Plants For Making Pickles – 4 Great Varieties To Grow!
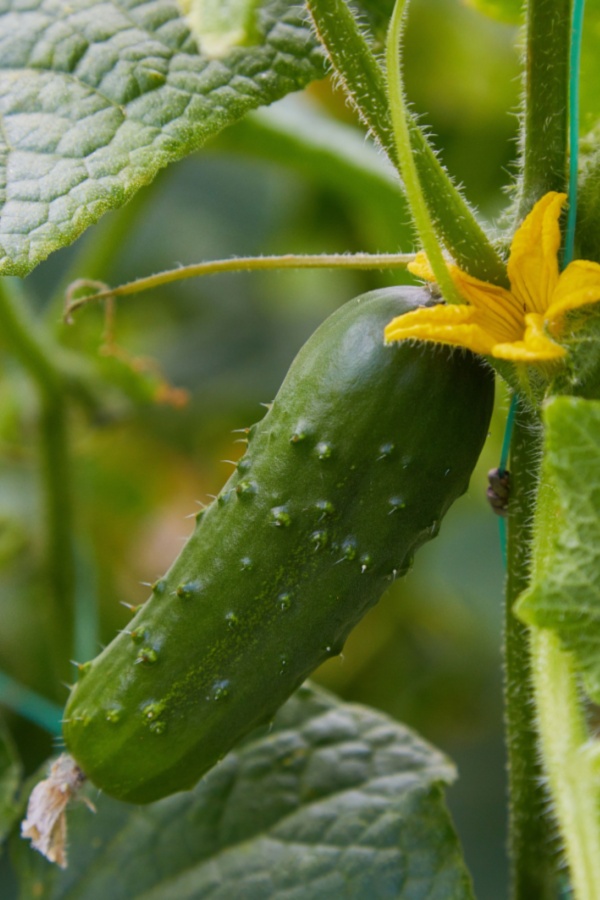
2. Pick Young and Often
When and how often you pick your cucumbers is another secret to making crisp dill pickles.
As you are picking cucumbers from the vine look for small, slim and dark green cucumbers. They should still have small prickly bumps on the skin. The smaller in diameter the better!
If a cucumber is overly swollen, is light green or yellow in color do not use it to make pickles. The seed core will likely be much too large and the insides may already be somewhat soft or bitter.
Although many gardeners like to showcase the massive size of their homegrown produce, this is one instance where smaller and thinner is better. And the younger that you pick the cucumbers off the vine, the more that your plant will produce over time.
So pick the cucumbers when they are young and do so frequently.
3. Use Only Fresh Picked Cucumbers
Before making pickles be sure to use only fresh picked cucumbers. Ideally, the goal is to use cucumbers that have been harvested less than 24 hours ago. This will help ensure the pickles turn out nice and crisp.
Cucumbers that are several days old begin to break down as the water content inside them begins to evaporate. Therefore if you use those older cucumbers it will increase the risk that the pickles will turn out mushy when canned.
However, this is where things can get a little tricky.
Many cucumber plants will start producing a couple of cucumbers a day at the beginning of the season. Although you may want to save those for pickling, it is best to wait until the cucumber plants are in full production mode.
Save those first few cucumbers for eating fresh or to make Overnight Refrigerator Dill Pickles.
Then when the plants start producing several cucumbers at a time, you will have enough fresh cucumbers to use to can several jars of pickles.
4. Cut Off The Blossom End Of Each Cucumber
One of the most important secrets to making crisp dill pickles is to cut off the blossom end of each cucumber.
The blossom end contains an enzyme that can change the overall chemical balance in your pickles. This enzyme will cause the cucumbers to soften when canned.
When picking cucumbers from your garden it is best to leave a little of the stem attached so that it is easy to identify which end is which. However, if you are purchasing cucumbers from a Farmer’s market you will still be able to identify which is the blossom end by the size and texture of the tip.
The stem end will have large, indented circle and the blossom end will be smaller, rougher and may even protrude outward slightly. Although, if you aren’t quite sure which end is which, go ahead and cut both ends off.
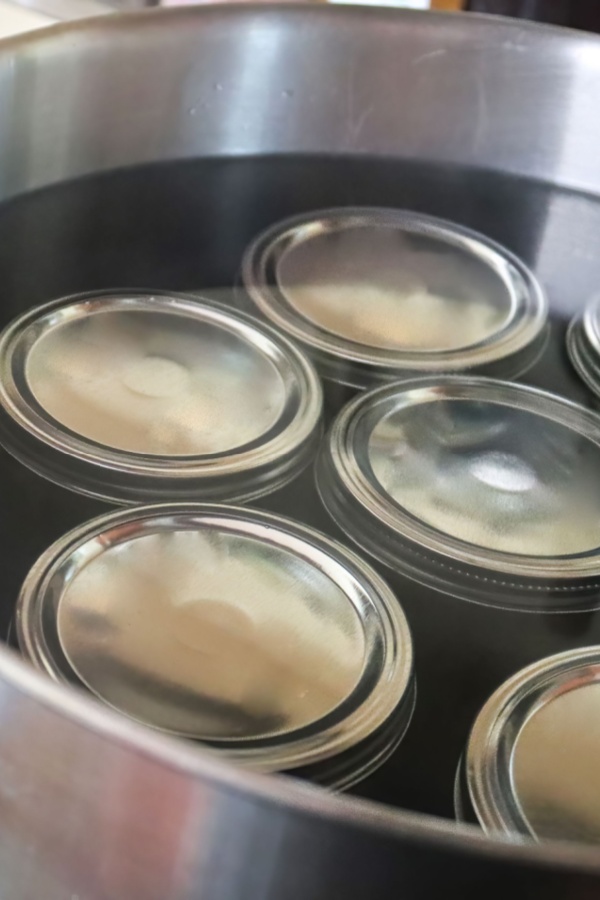
5. Avoid Over Processing
Another possible reason that you might end up with mushy, instead of crisp dill pickles, is over-processing them. This means that they have spent too much time being exposed to extreme heat conditions during the canning process.
The secret to making sure you end up with crispy pickles is to properly can them in a hot water bath canner. It is best to have your hot water bath close to the boiling point before you pack your jars with the cucumbers and hot brine.
This will help decrease the amount of time that the cucumbers are exposed to the extreme heat of the brine. In addition, because the water bath canner will already be close to boiling, the amount of time that they will be in the canner will also be less.
6. Skip the Alum
You may have heard or have read pickle recipes that include alum as the secret ingredient for making crisp pickles. However, alum is no longer a recommended additive for canning pickles per the FDA.
Alum can still be found on the shelves in the spice aisle or canning section of many grocery stores. However, it is important to note that it is no longer approved for quick-canning pickles.
7. Use A Grape Leaf In Each Jar
And finally, our 7th secret to making crisp dill pickles is to add half of a grape leaf to each jar before processing them in the hot water bath.
This really isn’t a secret, but rather an old method that has been passed down from generation to generation. The tannin-rich grape leaves keep lacto-fermented foods crispy, without negatively affecting the taste of the pickles.
If you don’t have your own grapevines to pick leaves from, ask a neighbor, friend, or even your local vineyard for a few leaves. You can also find fresh grape leaves at specialty Mediterranean and Middle Eastern grocery stores.
Although, if you follow the other recommended tips above, the grape leaves may not be necessary at all. However, if you have access to them, I highly suggest that you use them.
So there you have it! 7 Secrets to Making Crisp Pickles. Below I have included our tried and true Crispy Dill Pickle Recipe.
However, be sure to also visit our Pickle and Relish Page for all our favorite pickling recipes.
Enjoy!
Mary and Jim


Jim and Mary Competti have been writing gardening, DIY and recipe articles and books for over 15 years from their 46 acre Ohio farm. The two are frequent speakers on all things gardening and love to travel in their spare time.
As always, feel free to email us at thefarm@owgarden.com with comments, questions, or to simply say hello! You can sign up for our free email list in the subscribe now box in the middle of this article. Follow us on Facebook here : OWG Facebook. This article may contain affiliate links.
Crispy Dill Pickle Recipe


Turn your fresh picked cucumbers into dill pickles that will remain crispy months after canning. *Be sure to read our 7 Secrets To Get Crisp Pickles article for best results.
Ingredients
- 6 lbs. pickling cucumbers (approximately 3-4 cucumbers per jar)
- 3 cups white vinegar
- 3 cups water
- 4 Tbsp. pickling salt
- 7 garlic cloves (peeled)
- 7 tsp. dill seeds
- 3 1/2 tsp. whole black peppercorns
- 4 large (fresh grape leaves)
Instructions
- Prepare jars – wash or sterilize them in the dishwasher – keeping them hot.
- Start water bath now – you want it close to the boiling point by the time you are ready to add your jars.
- Wash cucumbers – making sure to scrub the skin thoroughly.
- Cut off each end of the cucumber, and slice, dice or spear as desired.
- In a medium sauce pan, over medium high heat, bring vinegar, water and salt to a boil.
- In each jar, add 1 garlic clove, 1 teaspoon of dill seed, and 1/2 teaspoon of peppercorns to the bottom.
- Pack cucumbers tightly into each jar.
- Pour hot brine over cucumbers, leaving 1/4 inch head space at the top of each jar.
- Run a plastic utensil on the inside of the jar to release any air bubbles.
- Add 1/2 of a grape leaf on top of the cucumbers.
- Wipe top of jar with a clean damp cloth, add hot lid and band.
- Place in hot water bath and process for 10 minutes at a rolling boil. (Adjust time based on altitude as required)
- Remove jars with a jar lifter and place on a thick towel and let cool at room temperature for 24 hours.
Notes
- After 24 hours, check to make sure the jars are sealed by pressing down on the center of the lid. If it does not ‘pop’ then it is sealed. If you are able to press down on the lid, place in the refrigerator and use within 2 weeks.
- It is best to wait at least 2 weeks before opening your first jar of pickles — believe me, it’s worth the wait!
Recipe courtesy of Old World Garden Farms
Nutrition Information:
Yield:
6Serving Size:
1 pintAmount Per Serving: Calories: 36Total Fat: 0gSaturated Fat: 0gTrans Fat: 0gUnsaturated Fat: 0gCholesterol: 0mgSodium: 106mgCarbohydrates: 3gFiber: 1gSugar: 1gProtein: 1g
Nutritional Information is to be used as a general guideline only . Nutritional calculations will vary from the types and brands of the products used.