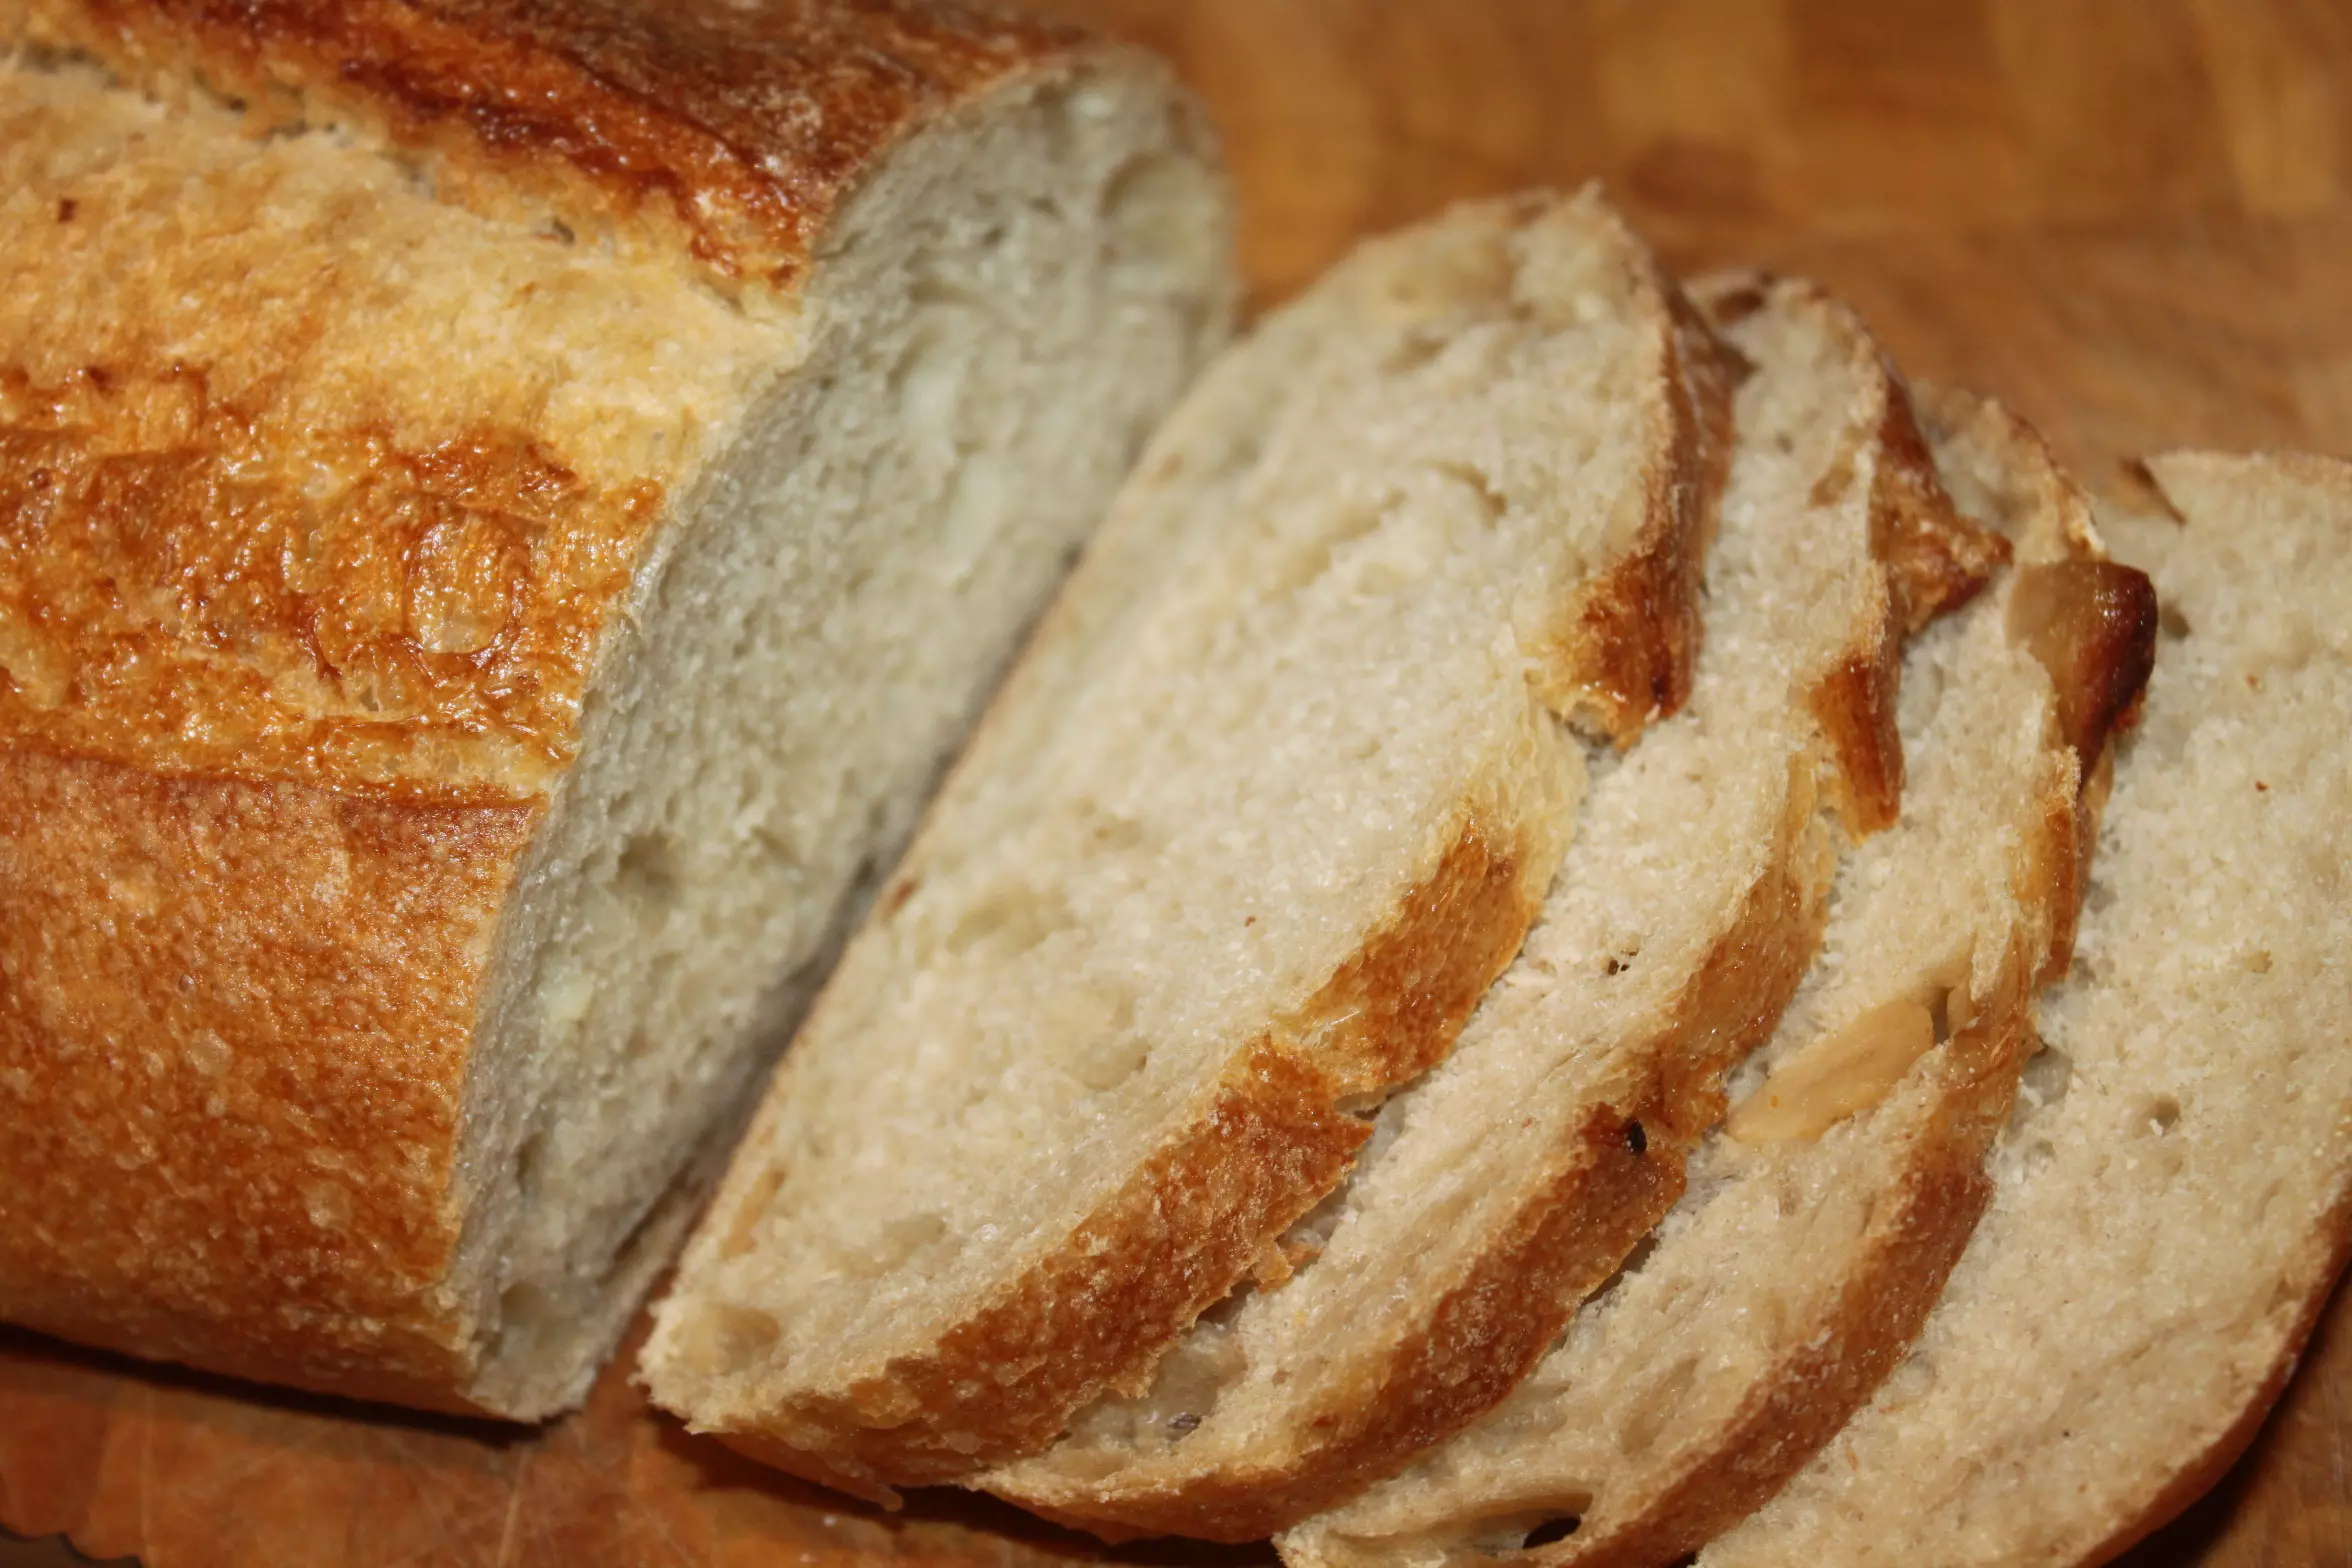
If you enjoy the taste of garlic, you are going to love this Roasted Garlic Artisan Bread recipe. Rustic, homemade bread with bits of slightly sweet, caramelized garlic scattered throughout.
It is one of our favorite comfort food recipes that we most often make in the middle of winter. Just imagine the smell of garlic infused bread baking in the oven as the snow is falling down from the sky.
Not only does the oven help heat things up on a cold and blustery day, it will also warm the soul as soon as you sink your teeth into a piece of this light and airy bread.
When you ask most people what they would consider as their favorite comfort food meals, you are likely to get the same few items mentioned. Chicken pot pie, meatloaf, mashed potatoes, fried chicken and some sort of soup or stew are likely to be on the list.
True Comfort Food
However, most people would also agree that homemade bread would be at the top of the list as well. And for garlic lovers, nothing beats the taste of oven roasted garlic.
Because everyone in our family loves the taste of garlic, I thought I would share how I combined two of our favorite comfort food items to make a fantastic bread recipe that has become our go-to recipe!
It all started when I was preparing to make our Homemade Artisan Bread recipe, When I reached into the pantry I noticed that we still had a plethora of garlic bulbs that we had pulled from our garden last summer.
So in effort to help the pile of garlic dwindle, I decided that I should roast a few bulbs. It is a great way to use entire bulbs with very little effort.
Even if you are not a lover of raw or cooked garlic, you may find that you like roasted garlic. That is becomes the familiar bold taste of garlic is replaced with a much sweeter, yet savory flavor when roasted.
It makes the perfect addition to plain bread recipes because it adds a deliciously unique, yet subtle flavor in every bite.
What You Need To Make Roasted Garlic Artisan Bread
The first thing that you are going to need to make this recipe is time. Although there are only 5 basic ingredients required to this easy to prepare recipe, it involves a lot of wait time.
Therefore, it is best to make this bread on a day when you will be home for several hours. Luckily, in the middle of winter, I find every reason to stay home where it is nice and warm!
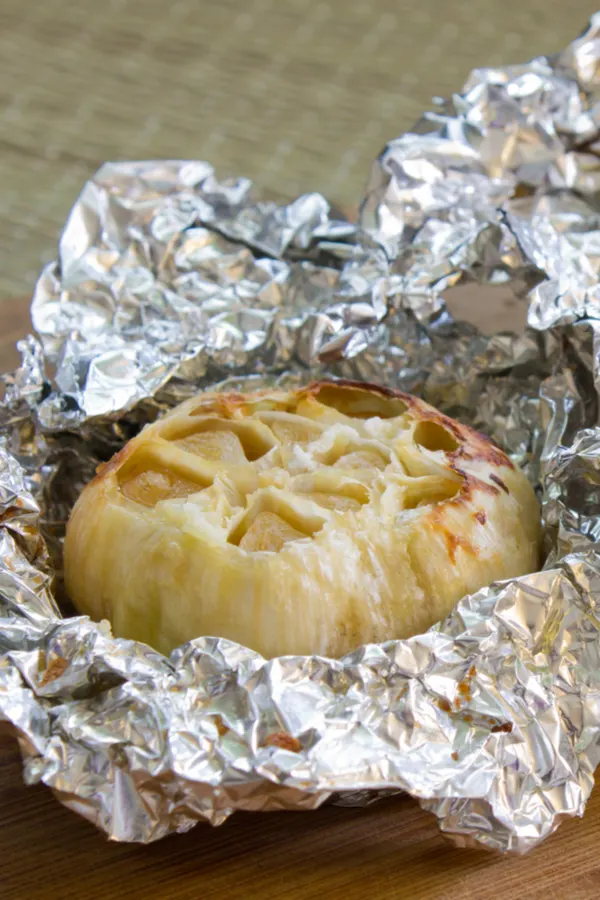
Now you know that you need time, what else do you need? Besides the obvious need for a bulb of garlic, you are going to also need aluminum foil to roast the garlic and a baking stone or sheet to bake the bread.
I prefer to use a baking stone which really make the difference in getting the bottom crust golden brown and not too dark during the baking process.
Oven Roasted Garlic Artisan Bread
*Complete recipe instructions including specific measurements, cook temperatures and times are located in a printable recipe card at the bottom of this article. However, be sure to keep reading for helpful tips and tricks when making this recipe.
INGREDIENTS:
- Warm Water
- Active Yeast
- Kosher Salt
- All Purpose Flour
- Small Garlic Bulb
INSTRUCTIONS:
The first step in making this recipe is to roast the garlic bulb. Do this by cutting off the top of the garlic bulb just enough to expose the top of the cloves.
Then place the bulb of garlic onto a large piece of aluminum foil big enough to wrap around the bulb. Drizzle the entire bulb with 1-2 teaspoons of olive oil.
Then wrap the foil around the garlic and place in a preheated oven set at 400°F for 30-35 minutes. Remove the foil packet from the oven and carefully unwrap.
The garlic should be light golden brown in color. Let the bulb cool until it can safely be handled and then remove the roasted garlic cloves with the handle of a standard eating utensil. Let them cool completely.
You can also make Roasted Garlic in an air fryer instead of making it in the oven. Recipe here: Air Fryer Roasted Garlic.
When the garlic is at room temperature, it is time to prepare the yeast mixture. Combine warm water (approximately 110°F), yeast & garlic in a large bowl. Stir until most of the yeast dissolves.
Let the yeast mixture sit until bubbles form on the surface of the mixture. While you are waiting for this to happen whisk the flour and salt together in a large bowl.
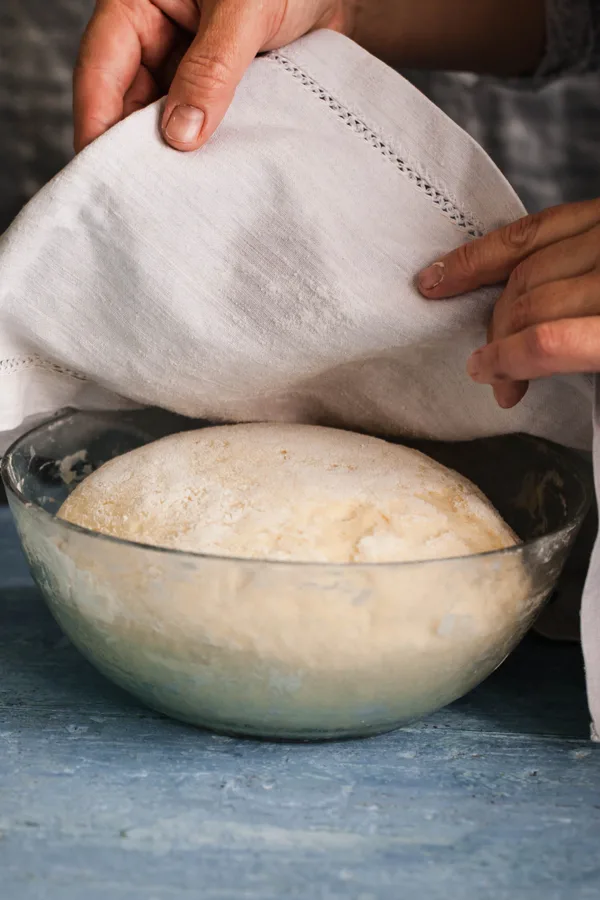
Then pour the proofed yeast mixture into the bowl with the dry ingredients. Mix with a fork until well combined.
The dough for the Roasted Garlic Artisan Bread will be more sticky and wet as compared to other bread dough. This is normal and there is no need to add extra flour at this point in the recipe.
Proof The Dough
Cover the bowl with a clean kitchen towel and set it on the counter, or a warm area of your home to rise for approximately 2 hours.
HINT – You can speed up this process somewhat by preheating your oven to 200°F. Then when the dough is mixed and ready to rise, turn off the oven and place the covered bowl on the middle rack. The heat of the oven will help the dough proof.
After the initial rise, the dough should be doubled in size. Now sprinkle some flour on top of the dough and generoulsy flour your hands.
Separate the dough into two even portions. Adding flour as needed, shape the dough into a round or oblong loaf shape. The other portion of dough may remain in the fridge until ready to use or you can bake both!
Place the shaped loaf on a floured, wooden cutting board. Let the dough rise again for 40 minutes.
Preheat The Oven
Preheat a baking stone by placing it on the top rack placed in the middle of the oven. Place a broiler pan/metal pie pan on the second rack directly under the baking stone.
After the 40 minute rise is complete, dust the baking stone with cornmeal to prevent the bread from sticking to the surface. Carefully transfer the loaf to the preheated baking stone.
Pour 1 cup of hot water into the broiler pan/pie pan. This water will create steam that will result in a very crusty loaf.
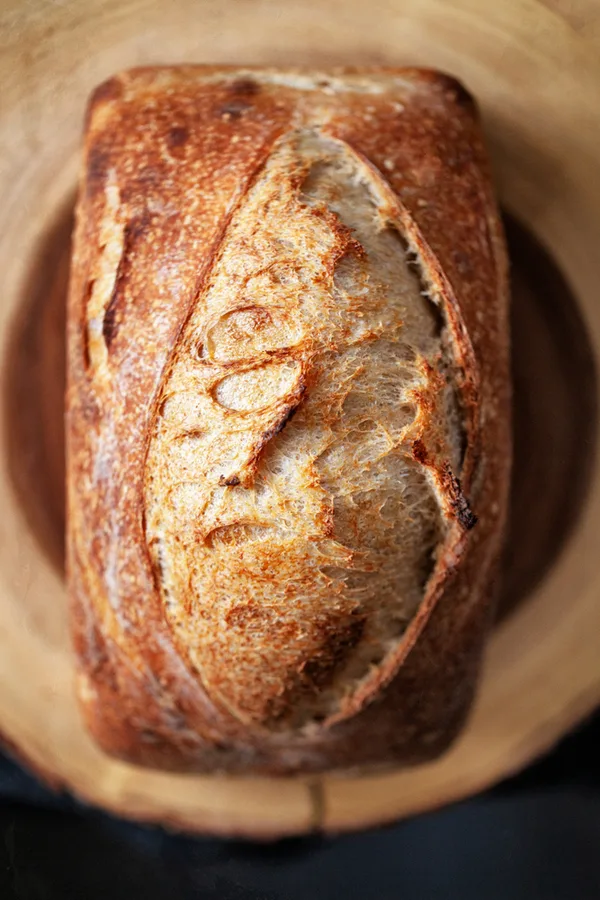
Bake the roasted garlic artisan bread for 30 minutes. The outer crust will be dark in color but moist and chewy on the inside.
To check that your bread is done, tap the bottom of the loaf. Once it is tapped, the sound should be hollow.
Allow the bread to rest prior to cutting. It’s hard to wait, but it will be worth it, I promise!
Enjoy!
Mary and Jim

Jim and Mary Competti have been writing gardening, DIY and recipe articles and books for over 15 years from their 46 acre Ohio farm. The two are frequent speakers on all things gardening and love to travel in their spare time.
As always, feel free to email us at thefarm@owgarden.com with comments, questions, or to simply say hello! You can sign up for our free email list in the subscribe now box in the middle of this article. Follow us on Facebook here : OWG Facebook. This article may contain affiliate links.
Oven Roasted Garlic Artisan Bread
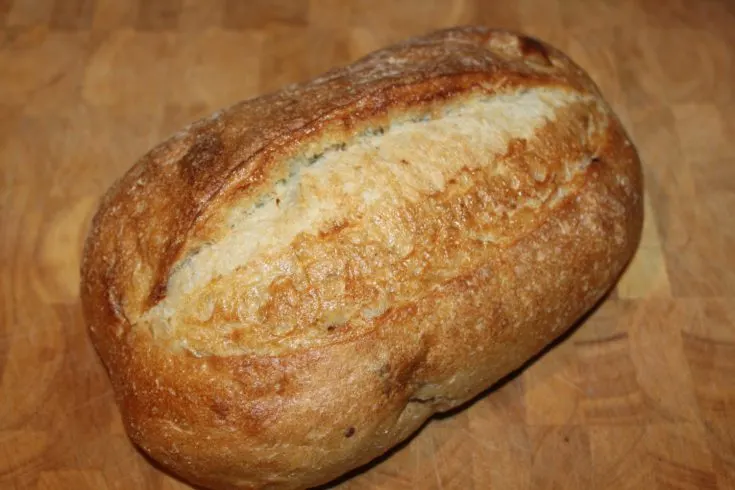
Homemade artisan bread with bits of oven roasted garlic scattered throughout. The perfect comfort food bread recipe.
Ingredients
- 2 Cups Warm Water
- 2 1/2 Tsp Active Yeast
- 2 1/2 Tsp Kosher Salt
- 3 1/2 Cups All Purpose Flour
- 1 Small Head Roasted Garlic
Instructions
- Roast a head of garlic by cutting off the top of the garlic to expose the cloves. Drizzle with 1-2 teaspoons of olive oil. Cover with foil and roast at 400°F for 30-35 minutes or until tender.
- Combine warm water (approximately 110°F), yeast, & garlic in a large bowl. Stir until most of the yeast dissolves.
- Whisk salt & flour together then mix into water/yeast mixture until combined. This will be a very wet dough. Cover with a clean towel and set on counter to rise for approximately 2 hours.
- After the initial rise, the dough should have doubled in size. Sprinkle some flour on top of the dough and flour your hands.
- Portion the dough into 2 equal pieces. Adding flour as needed, shape the dough into a round loaf. The other portion of dough may remain in the fridge until ready to use or you can bake both loaves.
- Place the shaped loaf onto a floured pizza peel or wooden cutting board. Let rise for 40 minutes.
- Preheat the oven to 450°F. Preheat a baking stone by placing it on the top rack placed in the middle of the oven. Place a broiler pan/metal pie pan on the second rack directly under the baking stone. Dust the stone with cornmeal to prevent sticking.
- After the 40 minute rise is complete, carefully transfer the loaf to the preheated baking stone. Pour 1 cup of hot water into the broiler pan/pie pan. This water will create steam that will result in a very crusty loaf.
- Bake for 30 minutes, the outer crust will be dark in color but moist and chewy on the inside. To check that your bread is done, tap the bottom of the loaf it should sound hollow
- Allow the bread to rest prior to cutting.
Notes
Recipe courtesy of Old World Garden Farms
Nutrition Information:
Yield:
16Serving Size:
1 gramsAmount Per Serving: Calories: 102Total Fat: 0gSaturated Fat: 0gTrans Fat: 0gUnsaturated Fat: 0gCholesterol: 0mgSodium: 199mgCarbohydrates: 21gFiber: 1gSugar: 0gProtein: 3g
Nutritional Information is to be used as a general guideline only . Nutritional calculations will vary from the types and brands of the products used.

