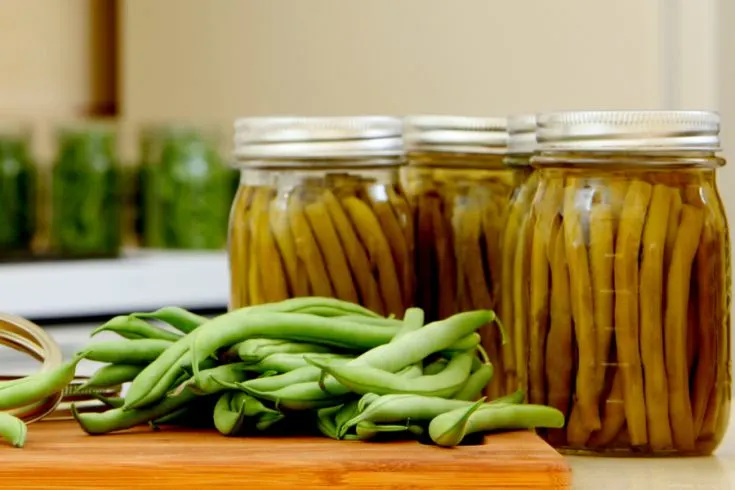
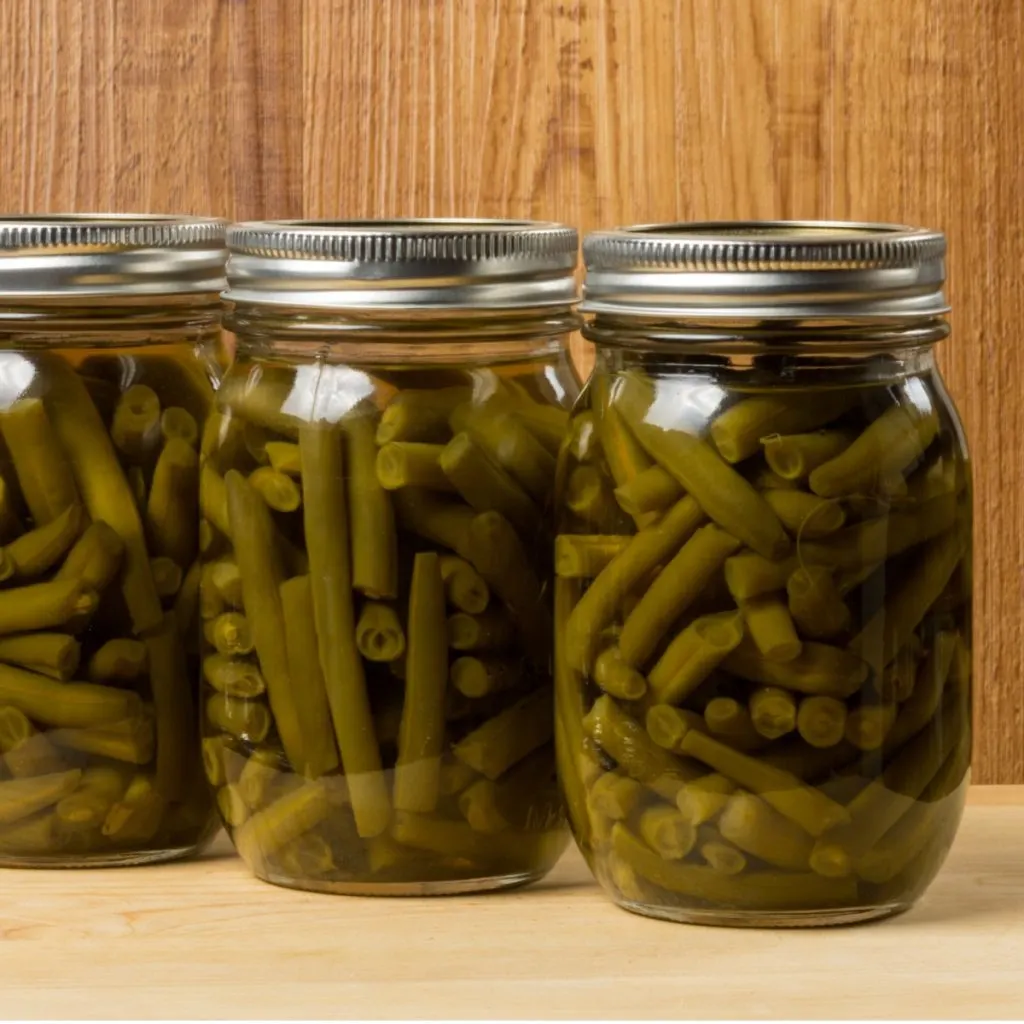
Canning green beans at home is a fantastic way to preserve the freshness and flavor of summer’s bounty, but it’s crucial to approach the process with safety in mind. Green beans are low in acid, which means they require special handling when canning them.
Ensuring that you use the correct method and equipment is essential to keep your canned green beans safe for consumption. In fact, pressure canning is the only safe method for canning low-acid vegetables like green beans to prevent the growth of harmful bacteria.
Unlike water bath canning, which is suitable for high-acid foods such as tomatoes and pickles, pressure canning reaches the higher temperatures that are necessary to destroy bacteria. However, with the proper equipment and following safe canning practices, you can enjoy the taste of garden-fresh green beans throughout the year, knowing they’re safe for you and your family.
The actual canning process is very easy for those who own a pressure canner. I have had a weighted Presto Pressure Canner for years and find the canning process very easy. (See Product Affiliate Link: Presto Pressure Canner).
Not only do I use it to can green beans, but I also use it to can Picante Sauce, Stewed Tomatoes, and Homemade Pasta Sauce. You can also use it to can soups and meat, although I have never personally done so.
Although if you don’t have a pressure canner you can still preserve your fresh picked green beans by freezing them. See our article: How To Freeze Green Beans.
How To Can Green Beans
The first step in canning green beans is to prepare your mason jars by sanitizing them. This is easy to do in a dishwasher or boil the jars for 10 minutes in a large pot. Keep them warm until you are ready to fill them with your beans.
While the jars are sanitizing gather approximately 9 pounds of fresh picked green beans. Trim off the ends and discard any damaged areas.
Once the beans are trimmed, you should have approximately 16 cups of raw beans. You can keep them whole or cut/snap them into smaller pieces.
Now fill a large stock pot with water and place on high heat. Bring the pot to of water to a rolling boil. While you are waiting for the water to boil, place 3 inches of water into the pressure canner.
However, because all pressure canners are different, be sure to follow your manufacturer’s instructions for your specific canner.
**Hint – place 2 tablespoons of white vinegar in the pressure canner water to prevent water stains on jars.
With the lid off, place the pressure canner over medium heat to warm the water. However, do not let it come to a boil.
Pack the fresh beans in the canning jars, leaving 1 inch head space at the top of the jar to allow for expansion during the canning process. This process is called ‘cold packing’. That is because we do not cook the green beans before canning.

Next, use a ladle to pour the boiling water into the jars leaving the 1 inch head space at the top. The top of the green beans should be completely covered.
Many people will add 1/2 – 1 teaspoon of salt into the jars at this point. This is not required to preserve the beans, it is purely for those who like salt. I always skip this step and add various seasonings when we actually cook the canned green beans.
Now use a plastic utensil to slide down the side of the jars to release any air bubbles. Add more water if necessary to cover the beans while still leaving 1 inch of head space.
Next, wipe the rim of the jar with a clean cloth. Add the lid and apply the ring and tighten to only finger tight. *For those who are used to warming the canning lids be sure to read the instructions on the package as many lids don’t recommend warming them anymore.
Once the jars are ready use a jar lifter to carefully place them into the pressure canner.

The Pressure Canning Process
Before you lock the pressure canner lid in place, make sure you can see light through the vent pipe. Then place the lid on your canner and lock it in place.
Over medium-high heat, allow the pressure canner to form a steady flow of steam that can be seen, heard or felt coming through the vent pipe. This typically takes 10-15 minutes for our pressure canner.
Allow that steady steam to continue to flow for 10 minutes. Then place 10 pounds of pressure on the regulator of a weighted pressure canner (and 11 pounds on a dial pressure canner) and wait for the valve to seal.
Start the canning timer when the pressure reading on the dial gauge indicates that the recommended pressure has been reached. Or for canners with a weighted gauge, the time begins when it begins to jiggle or rock back and forth.
Process green bean pints for 20 minutes, and quarts for 25 minutes. *Times and pressure may differ slightly depending on your altitude.
Once the Processing Time Expires
At the end of processing time, turn the burner off. Let the pressure completely reduce which will be indicated when the cover lock pin drops down.
Do not remove the regulator or lid until this drops! For our canner, it will take anywhere from 20-30 minutes for this to happen.
Once the cover lock has dropped, remove the regulator and let the canner cool for an additional 10 minutes. Remove the lid carefully by lifting the back of the lid up first so the steam escapes away from you.
Now remove the canned green beans from the pressure canner using your jar lifter and place the jars on a thick towel to cool. Within several minutes you will hear that wonderful ‘pop’ sound indicating that the jars are sealing. Let the jars cool for 24 hours.
After they have completely cooled check to make sure each jar has properly sealed. Do this by pressing on the center of the jar lid. If it moves up and down, the jar has not sealed. Immediately place non-sealed jars in the refrigerator and use within a week.
Label the sealed jars with the contents, date, and batch number if canning multiple batches of green beans. Then store in a cool, dry place for up to 1 year.
Enjoy!
Mary and Jim

Jim and Mary Competti have been writing gardening, DIY and recipe articles and books for over 15 years from their 46 acre Ohio farm. The two are frequent speakers on all things gardening and love to travel in their spare time.
As always, feel free to email us at thefarm@owgarden.com with comments, questions, or to simply say hello! You can sign up for our free email list in the subscribe now box in the middle of this article. Follow us on Facebook here : OWG Facebook. This article may contain affiliate links.

How to Can Green Beans

Canning fresh picked green beans is easy to do when you have a pressure canner. It is the only safe way to can green beans that can be stored in a cool, dark place for up to a year.
Ingredients
- 9 pounds of green beans to make approximately a 9 pint batch
- 14 pounds which will make approximately a 7 quart batch. Choose only fresh, filled out, and firm beans.
Instructions
- Prepare your jars by sanitizing them - easy to do in a dishwasher or boil the jars for 10 minutes in a large pot. Let the jars cool until able to be handled. Heat the lids in hot water until ready to use. I place the lids in a small frying pan in water and keep them on a back burner until they are needed.
- Fill a large stock pot with water and place on high heat to achieve a nice rolling boil.
- Place 3 quarts of water into the pressure canner follow your manufacturer's instructions on what's required for your canner). **Hint - place 2 tablespoons of white vinegar in the water to prevent water stains on jars. With the lid off, turn on medium heat to warm the water but not to a boil.
- Prepare your beans. Wash in cold water and then cut each end off. If they are string beans, remove the string from the top of the bean. Remove and discard any bad spots.
- Pack the beans in the canning jars, leaving 1 inch head space at the top of the jar to allow for expansion during the canning process. This step is called 'cold packing'. That is because we do not cook the green beans before canning.
- Using a ladle pour the boiling water into the jars leaving the 1 inch head space at the top. The green beans should be covered with the water.
- Optional - place 1/2 - 1 teaspoon of salt into the jars at this point. This is not required to preserve the beans, it is purely for those who like salt.
- Use a plastic utensil to slide down the side of the jars to release any air bubbles. Add more water if necessary to cover the beans while still leaving 1 inch of head space.
- Wipe the rim of the jar with a clean cloth. Add a warm lid and apply the ring to only finger tight. Use your jar lifter and place it into the pressure canner. Repeat process until all jars are filled or your pressure canner is filled - whichever comes first.
- Make sure you can see light through the vent pipe on your lid, then place the lid on your canner and tighten. Turn burner on high heat.
- Heat pressure canner until there is a steady flow of steam that can be seen, heard or felt coming through the vent pipe. Continue to heat for 10 minutes, reducing heat if necessary to allow for a steady flow of steam.
- Place 10 pounds of pressure on the regulator (or 11 pounds for a dial pressure canner) and add it to the vent pipe. Heat canner on high setting. As pressure develops, the cover lock will lift - this means there is pressure in the canner.
- Processing time begins when the pressure regulator (the weight) begins to rock gently or the dial pressure gauge has come to pressure. Adjust the heat to maintain a slow steady rocking motion.
- Process pints for 20 minutes, and quarts for 25 minutes. *Times and pressure may differ slightly depending on your altitude.
- At the end of processing time, turn burner off and remove canner from heat source. Allow the pressure to naturally release by waiting until the pin drops back down. Do not remove the regulator or lid until this drops!
- When the pin/cover lock is down, it is time to remove the weight and let the canner cool for another 10 minutes.
- Remove the lid by lifting the back of the lid up first so the steam escapes away from you.
- Remove jars from canner using your jar lifter and place on a towel to cool. Within several minutes you will hear that wonderful 'pop' sound indicating that the jars are sealing. Let cool for 24 hours.
- Remember to label your jars with the contents, batch number, and date. Store in a cool, dry place.
Notes
*Be sure to follow the instructions on your specific type of pressure canner on how to properly use it for canning.
Recipe courtesy of Old World Garden Farms
Nutrition Information:
Serving Size:
1 gramsAmount Per Serving: Unsaturated Fat: 0g


