How To Plant Garlic This Fall - The Best Secret To Growing Incredible Garlic!
If you want to grow loads of big, flavorful garlic bulbs, then fall is the time to plant your crop in the ground!
Garlic has always been one of our favorite crops to grow. In fact, we planted our very first crop in the fall more than 16 years back we haven't missed a fall planting since! Why? Because the biggest secret of all to getting great garlic is putting in the ground in the fall - and not the spring!
So what does it take to grow a great crop of garlic? Actually, that may be the best part of all. Garlic is one of the easiest crops to plant and grow in the garden. It naturally repels most pests - requires little maintenance - and it rarely needs watering or fertilizing. Especially when you plant it in the fall!

How To Plant Garlic In The Fall
Knowing When To Plant
The best time to plant hardneck garlic in the Midwest and Northern states is in the early fall. Here in Ohio, we always plant our crop within the first few weeks of September.
That allows a month or two of cool weather growth for it to become established. It then goes dormant for the winter, and comes back to life in the spring. It is then usually ready for harvesting by late June or the first week of July.
Preparing The Garlic Seed For Planting
Each single clove of a garlic bulb is an individual seed. Once planted, it will then grow into a full bulb.
We select the largest of our bulbs that we harvest in June to become our “seed” in the fall. Quite simply, the larger the clove, the bigger the mature bulbs will be when you harvest. We grow a variety of garlic called Siberian hardneck. Not only does it grow well, it is excellent for overwinter storage. Product Link : Hardneck Garlic Cloves For Planting
To prepare the cloves for planting, separate each clove carefully. Always be sure to keep as much of the papery skin in tact as possible. The skin serves as a protective layer for the garlic, and keeps it from rotting until it sprouts.

A Little Secret – Pre-Soaking The Bulbs
To help promote sprouting and health, soak your bulbs overnight before planting. Fill a quart jar with water and add in a teaspoon of baking soda. Stir and then drop in the cloves to let them soak.
This soaking not only helps the garlic sprout, but also helps prevent ground rot. Fall can be a wet time in many areas of the country, and a little extra protection against overly wet soils can go a long way for garlic.
Preparing The Soil To Plant Garlic In The Fall
Like most vegetables, garlic grows best in fertile, loose soil. Prior to planting, work in generous amounts of compost to help amend the soil.
Compost is the perfect partner for growing garlic. Not only will it help energize the soil with nutrients, it also helps to loosen the dirt to allow for good bulb growth. And just like with all root crops, loose soil can make a big difference between full sized produce, or stunted vegetables.
How To Plant Garlic
Garlic can be planted in traditional rows, raised beds or raised rows. The key is spacing. Bulbs should be spaced 4″ apart within rows and 4″ between rows.
Begin by digging a trench 3 to 4 inches deep. Fill the bottom of the trench with about an inch of compost. As you plant, push each bulb gently down into the compost layer.

We then add in a teaspoon of worm castings around every bulb as we plant. It is our little secret to give a great source of ready-to-use nutrients for the bulb. Ever since doing this a few years back, our bulbs have been simply amazing! It really is a great little secret to better bulb production. Affiliate Link: 100% Worm Castings
Plant With The Pointed Tip Up
When planting garlic, make sure to keep the pointy end of each garlic clove up, and the flat end down. The point tip is the sprouting end, and will allow for quick sprouting through the soil.
Finish by covering up the cloves with the remaining soil. Do not press the soil firmly, simply cover by spreading the soil to fill the entire trench level with the surrounding soil.
We place a light 1″ covering of straw over our crop right after it is planted. This protects the ground from weed seeds blowing in, but still allows the garlic to sprout. Once you have put on your light coat of mulch, water the crop in to help the bulbs and mulch settle in.
Mulching For Weed Control & Winter Protection
Once you plant your crop of garlic in the fall and it sprouts, it's time to add a few more inches of additional straw mulch to help protect the crop through winter. You can also use shredded leaves as well, but whatever you do, mulch the crop!
Listen In To Our Latest Podcast Below

One of the biggest secrets to growing garlic is to keep it from competing with weeds. Weeds compete for nutrients, and a weedy patch will keep yields of your garlic lower, and the bulbs you harvest smaller.
Garlic is a fairly drought resistant crop. Normal rainfall will usually keep it growing well. If you do experience extremely dry conditions for more than 10 to 14 days in the fall, water the crop to help it along.
Spring Maintenance
As spring arrives, the garlic crop will come out of dormancy and continue to grow. We usually add a bit more mulch to suppress weeds in the early spring. But other than that, the only maintenance required before harvesting is to keep the weeds out.
So how do you know when garlic is ready for harvesting? Depending on where you live, the harvest times can vary a bit. You will begin to see the tops of the crop begin to brown off in early summer. As soon as two-thirds of the garlic tops have browned off, the crop is ready to harvest and cure.
For us here in east-central Ohio, that is usually the first few weeks of July. It can certainly vary from late June to late July depending on your climate.
Once the garlic is harvested, it needs to cure for a few weeks to dry out and be ready for storage. One thing you do not want to do is wash your crop off! Allow the dirt around the cloves to dry off naturally – water can prematurely rot the crop as it dries.
We hang our crop up in the barn and let it air out. Usually within a few weeks, we can cut the heads off with a bit of the stem and they are ready to store. Here is to taking a little time to plant your own crop of garlic this fall! Happy Gardening - Jim & Mary.
The Farm @ Old World Garden
Jim and Mary Competti have been writing gardening, DIY and recipe articles and books for over 16 years from their 46 acre Ohio farm. The two are frequent speakers on all things gardening and love to travel in their spare time.
As always, feel free to email us at thefarm@owgarden.com with comments, questions, or to simply say hello! You can sign up for our free email list in the subscribe now box in the middle of this article. Follow us on Facebook here : OWG Facebook. This article may contain affiliate links.
More vegetable gardening
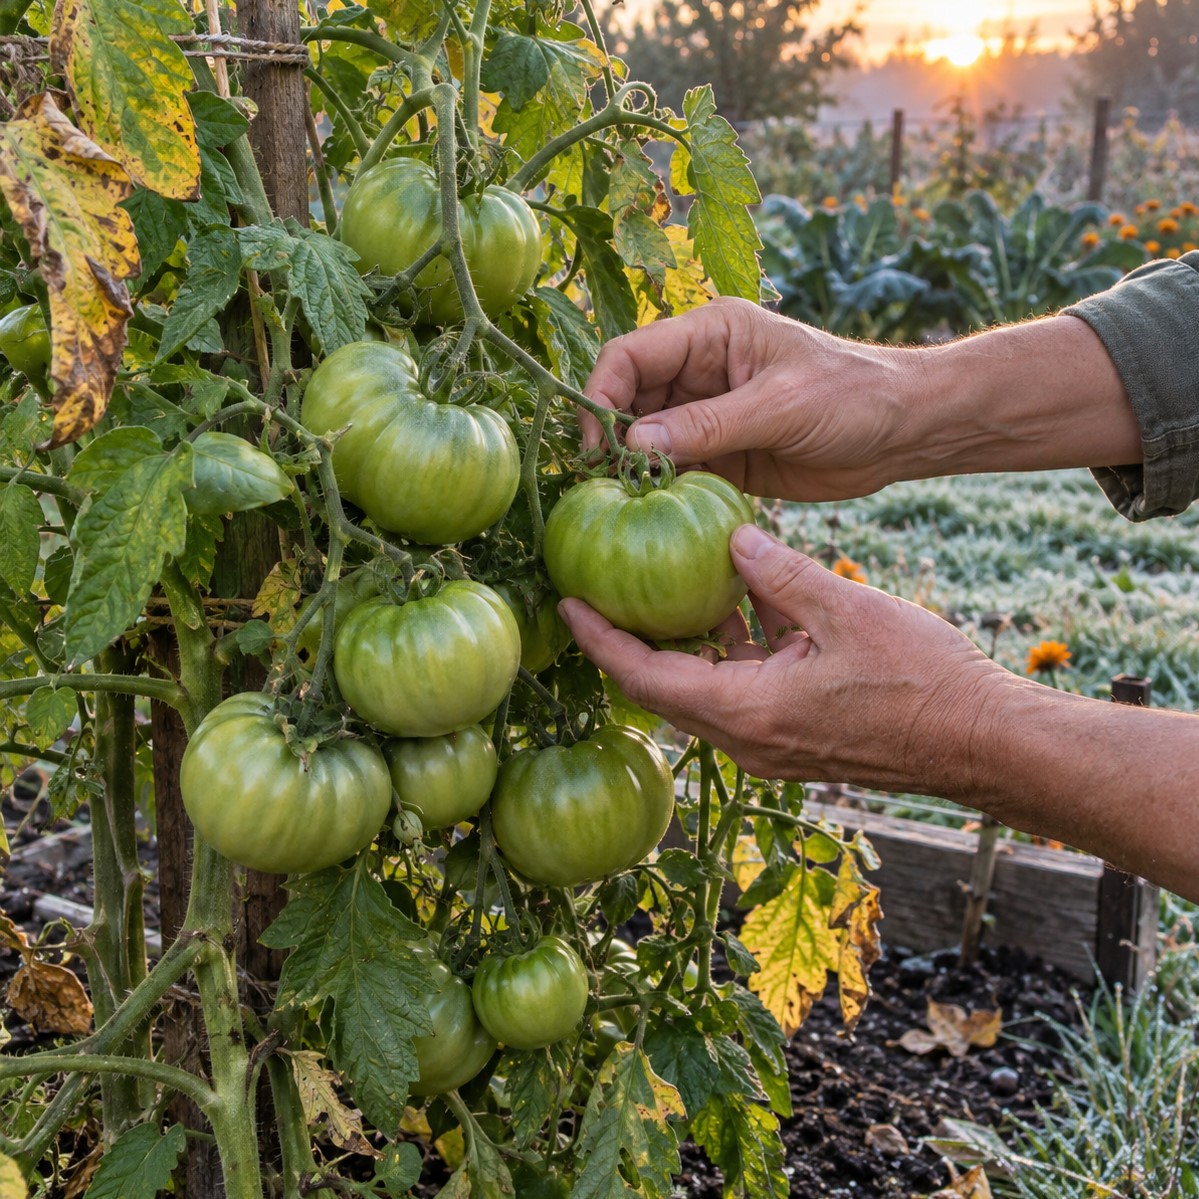
- How To Ripen The Last Of Your Green Tomatoes Before The First Frost - Save Your Tomatoes!
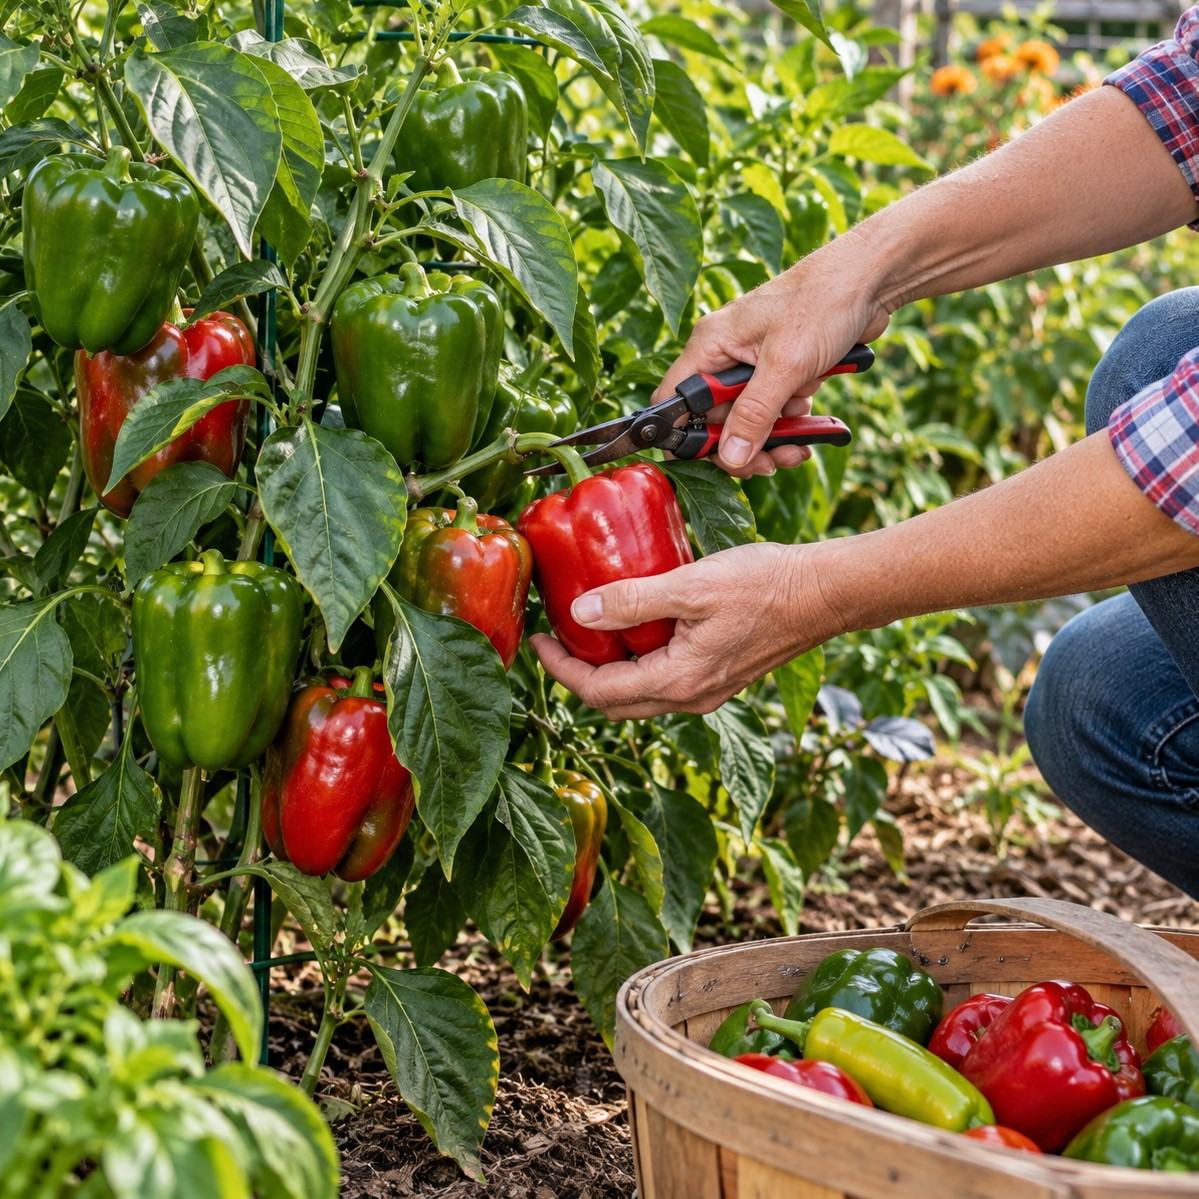
- How To Get The Most From Your Pepper Plants In September - 3 Simple Tricks For More Peppers!
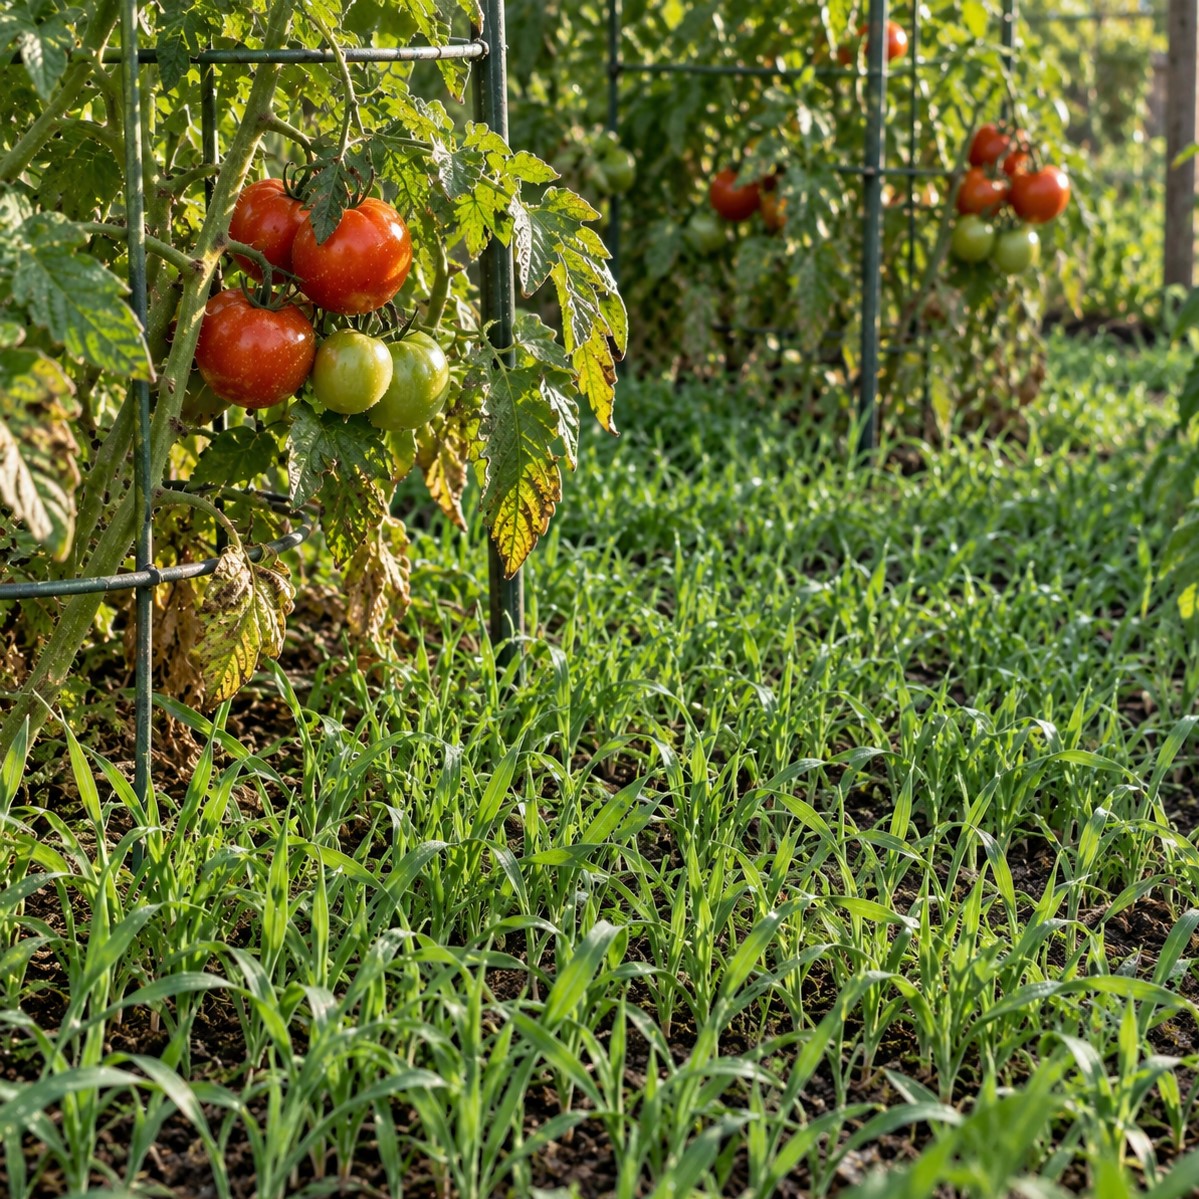
- How To Plant A Cover Crop In September – Even With Your Garden Still Growing!
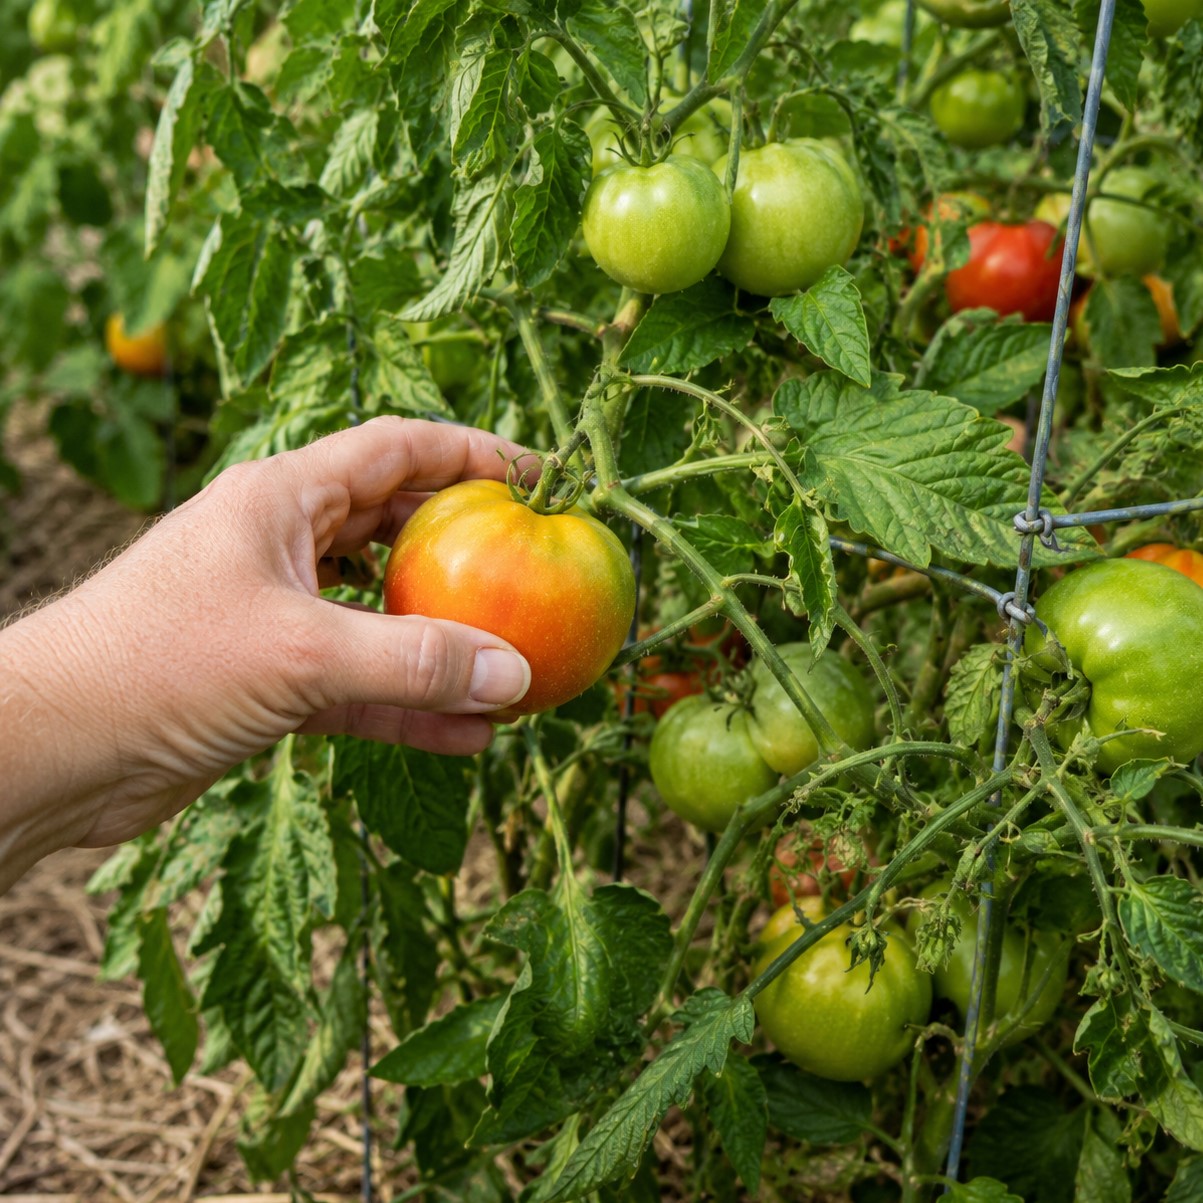
- What To Do With Tomato Plants In Late Summer - 3 Secrets To Keep Your Plants Producing Until Fall!