
Wondering what to do with your black-eyed Susans after they bloom this summer?
Black-eyed Susans are one of the most dependable late summer perennials you can grow. Their bright golden-yellow petals and dark centers can light up flowerbeds, borders, and landscapes for weeks on end. Better yet, they are a magnet for bees, butterflies, and other important pollinators while being naturally resistant to deer and rabbits.
But as those cheerful blooms begin to fade, many gardeners unfortunately just leave their plants alone until fall. And while black-eyed Susans are certainly tough enough to survive with little care, as it turns out, a few simple maintenance tasks after flowering can make a huge difference in the plant’s health, appearance, and blooming power for next year!
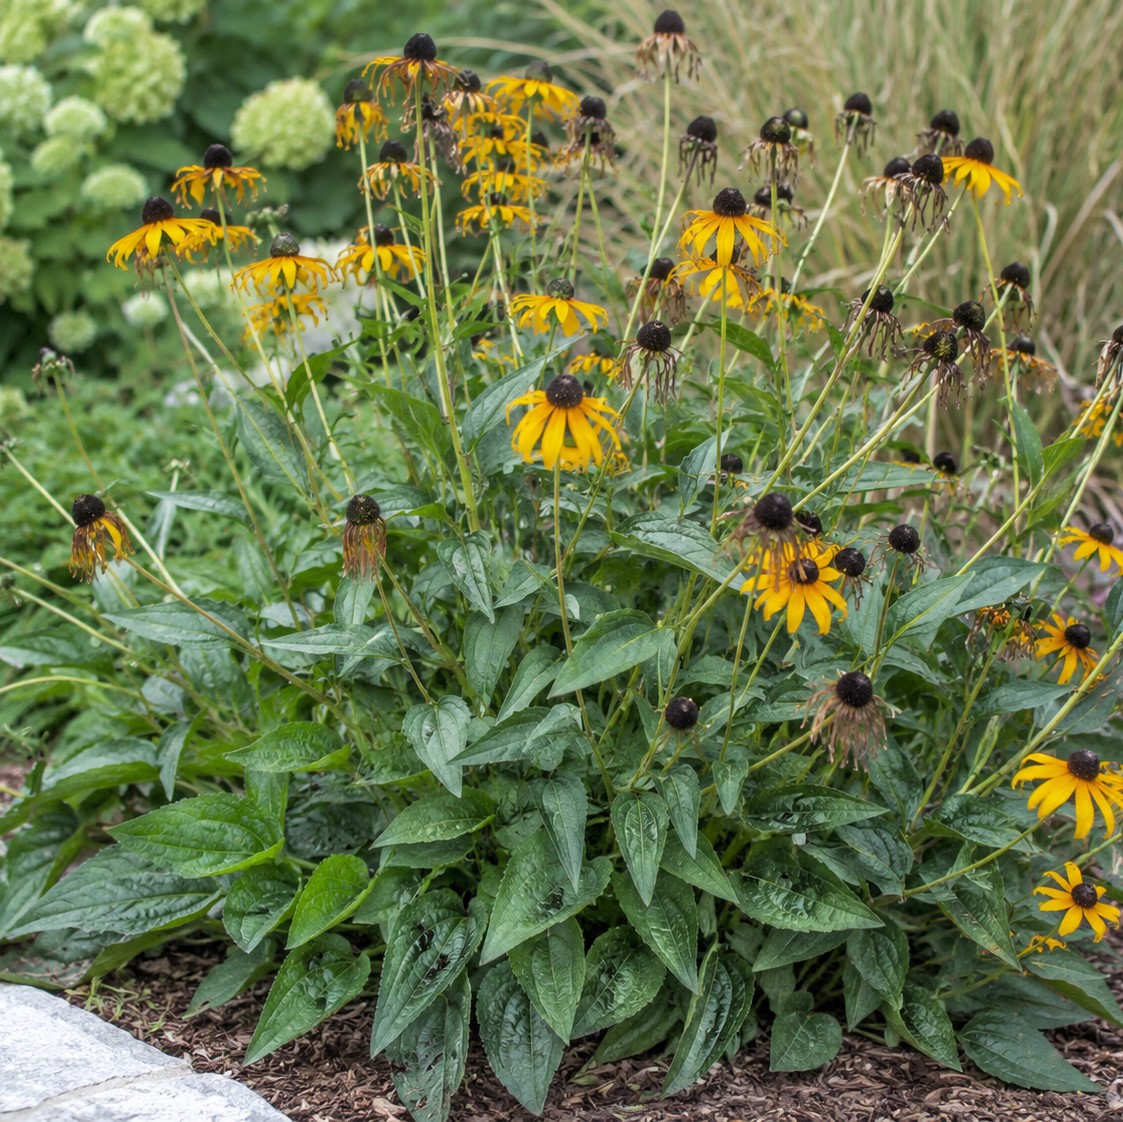
The good news? It only takes a few minutes to help your plants recover from their long flowering season while keeping them looking their best all the way into autumn.
What To Do With Black-Eyed Susans After They Bloom
The First Task – Deadheading Fading Blooms
The first and most important task after black-eyed Susans finish blooming is to remove their faded flowers.
Once a bloom begins to dry up, the plant immediately starts putting energy into producing seeds. Although that process is completely natural, it also uses a tremendous amount of energy that could instead go toward strengthening the roots, stems, and foliage.
By removing spent blooms before they have a chance to produce mature seed heads, you help redirect that energy back into the plant. Not only does this keep the foliage healthier, but it can also encourage a few additional blooms if there is still plenty of growing season remaining.
Deadheading also keeps plants looking much cleaner. Instead of a flowerbed filled with brown, dried flower heads, your black-eyed Susans continue to display fresh green foliage that complements the rest of your landscape.
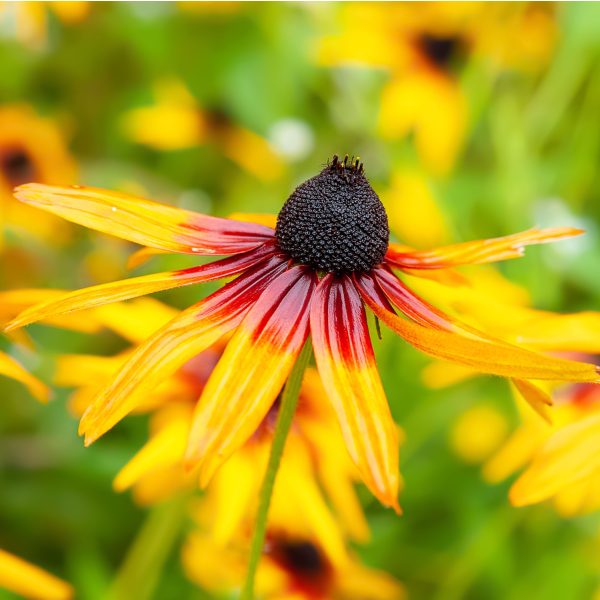
To deadhead, simply follow the flower stem down to the first set of healthy leaves or another flower bud and make a clean cut with a pair of sharp hand pruners. Removing the entire flower stem rather than just clipping off the flower head creates a cleaner appearance and encourages stronger new growth.
If you enjoy feeding birds through the fall and winter, you can certainly leave a few flower heads intact near the end of the season. But if you want to limit self-seeding throughout your flowerbeds, removing most of the spent blooms is your best option.
Keep Black-Eyed Susans From Spreading Everywhere
One of the reasons black-eyed Susans are so easy to grow is because they readily produce seeds.
Unfortunately, those seeds don’t always stay where you want them. Left alone, mature seed heads can scatter hundreds of seeds throughout nearby flowerbeds and lawns. Before long, new plants begin popping up everywhere.
While a few volunteer plants can certainly be welcome, too many seedlings often create overcrowded flowerbeds. When plants become crowded, airflow decreases, making them more susceptible to disease while reducing overall bloom production.
Deadheading throughout the blooming season is the easiest way to control unwanted spreading. You’ll still enjoy beautiful flowers, but without having dozens of unexpected seedlings appearing the following spring.
Listen In To Our Latest Podcast


Divide Overgrown Black-Eyed Susans After They Bloom
If your black-eyed Susans have been growing in the same location for several years, late summer and early fall is also the ideal time to divide them.
Over time, the center of mature clumps often becomes woody and less productive. Bloom production begins to slow, and plants can become crowded with weaker stems and smaller flowers. Dividing the plants every three to five years rejuvenates them completely.
To divide, dig up the entire clump using a sharp shovel. Once lifted, use the shovel or a sharp garden knife to separate the plant into several smaller sections. Each division should have a healthy collection of roots along with several strong shoots.
Replant the divisions immediately at the same depth they were previously growing. Water thoroughly after planting and continue watering whenever rainfall is lacking during the next several weeks. Because the soil is still warm in late summer and early fall, the roots establish quickly before winter arrives. By next spring, the new divisions will take off and often bloom just as well as the original plant.
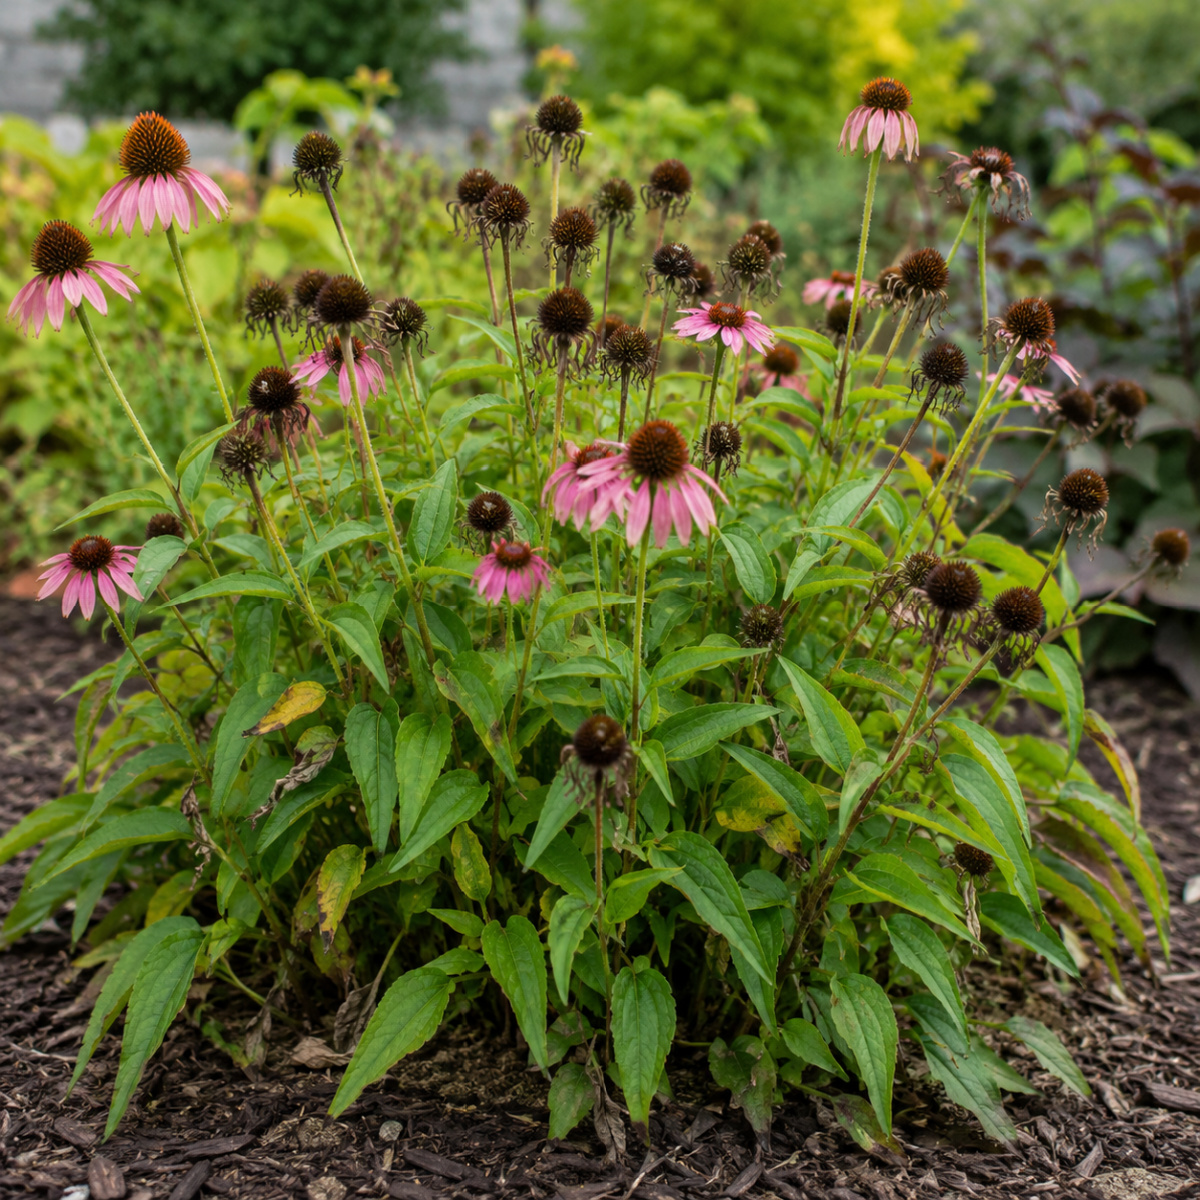
This also work very well for Coneflower plants after they bloom too. See our article: What To Do With Coneflowers After They Bloom – Keep Your Coneflowers Healthy!
Should You Fertilize?
Unlike many flowering annuals, black-eyed Susans usually do not require heavy fertilizing. In fact, feeding them too much nitrogen often causes them to produce lots of leafy growth while reducing flower production.
If your plants appear healthy, there is generally no need to fertilize after blooming. However, if they struggled through the season or the foliage looks pale and weak, a light application of a balanced slow-release fertilizer in the 5-5-5 range will help restore nutrients to the soil before fall. Affiliate Link: Dr. Earth 91164 1 lb. 5-5-5 MINIS Life All Purpose Fertilizer
Apply only a light amount around the base of the plant and water it in thoroughly. Avoid heavy feedings, especially late in the season, as overly lush new growth can be more susceptible to early frost damage.
Adding a thin layer of compost around the plants is a great thing to do as well. Compost slowly releases nutrients while improving the soil naturally without allowing excessive leafy growth.
Leave The Foliage Alone!
One mistake many gardeners make is cutting black-eyed Susans completely back immediately after blooming. Although removing spent flower stems is beneficial, the healthy green foliage should remain in place as long as possible.
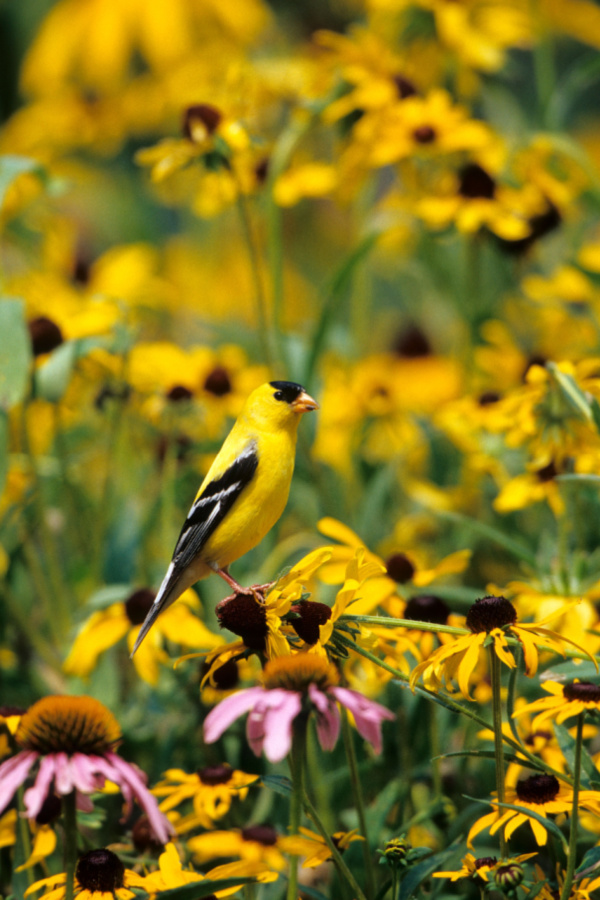
Those leaves continue collecting sunlight and converting it into energy that is stored in the roots. That stored energy is exactly what fuels next year’s growth and blooming cycle. Allow the foliage to remain until it naturally begins turning brown after several hard frosts.
Cutting Plants Back Before Winter
Once late fall arrives and the foliage has completely died back, it’s time for the final cleanup. Using a pair of sharp pruners, cut the stems back to about two to four inches above the soil surface.
Removing the old stems helps reduce places where insects and disease organisms can overwinter. It also gives your flowerbeds a much cleaner appearance heading into winter.
After cutting the plants back, apply a two to three inch layer of shredded leaves, straw, or mulch around the crown of each plant. The mulch helps regulate soil temperatures during repeated freezing and thawing cycles while protecting the root system through winter.
One thing is for sure, spending just a little bit of time on your black-eyed Susans after they bloom this summer can make a big difference in your plants next year! Happy Gardening – Jim & Mary.
The Farm @ Old World Garden
Jim and Mary Competti have been writing gardening, DIY and recipe articles and books for over 16 years from their 46 acre Ohio farm. The two are frequent speakers on all things gardening and love to travel in their spare time.
As always, feel free to email us at thefarm@owgarden.com with comments, questions, or to simply say hello! You can sign up for our free email list in the subscribe now box in the middle of this article. Follow us on Facebook here : OWG Facebook. This article may contain affiliate links.