How To Build A Better Barndominium - Great Looks, Energy Efficient – And Built To Last!
When we decided to build our barndominium house at the farm 4 years ago - we knew what we wanted it to look like. The harder question was how we wanted it to live.
Could we keep the clean lines and simple exterior of a barn but be more than just the standard metal that looks so pole-barnish? Even more, could we have a house that felt warm underfoot in January, stayed comfortable in July, and didn’t leave us with a long list of upkeep every spring? Could we make it incredibly energy efficient and livable all at the same time? And last but not least - build it strong so that it can last much longer than a pole barn build?
Now that we’re heading into our fourth year of living in it, we’ve had enough Ohio winters and hot summer days to know that the answer to all of those can be a resounding yes!
Over the past years I can't tell you how many emails and visits we get to the farm asking about all of the details. And we are always more than happy to share. So we thought - why not create an article that covers it all - so here we go!
How To Build A Better Barndominium
The Secrets Of An Energy Efficient, Long Lasting Barndominium
If you’re planning a barndominium of your own, it helps to make decisions together. In our case, the kind of heat we wanted influenced the foundation. And the way we use the rooms influenced how we chose to cool them.
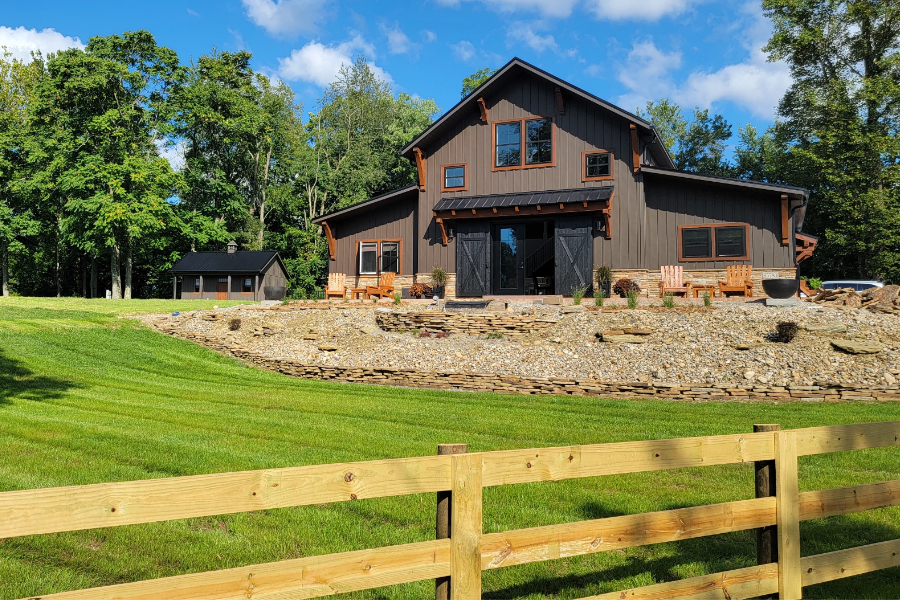
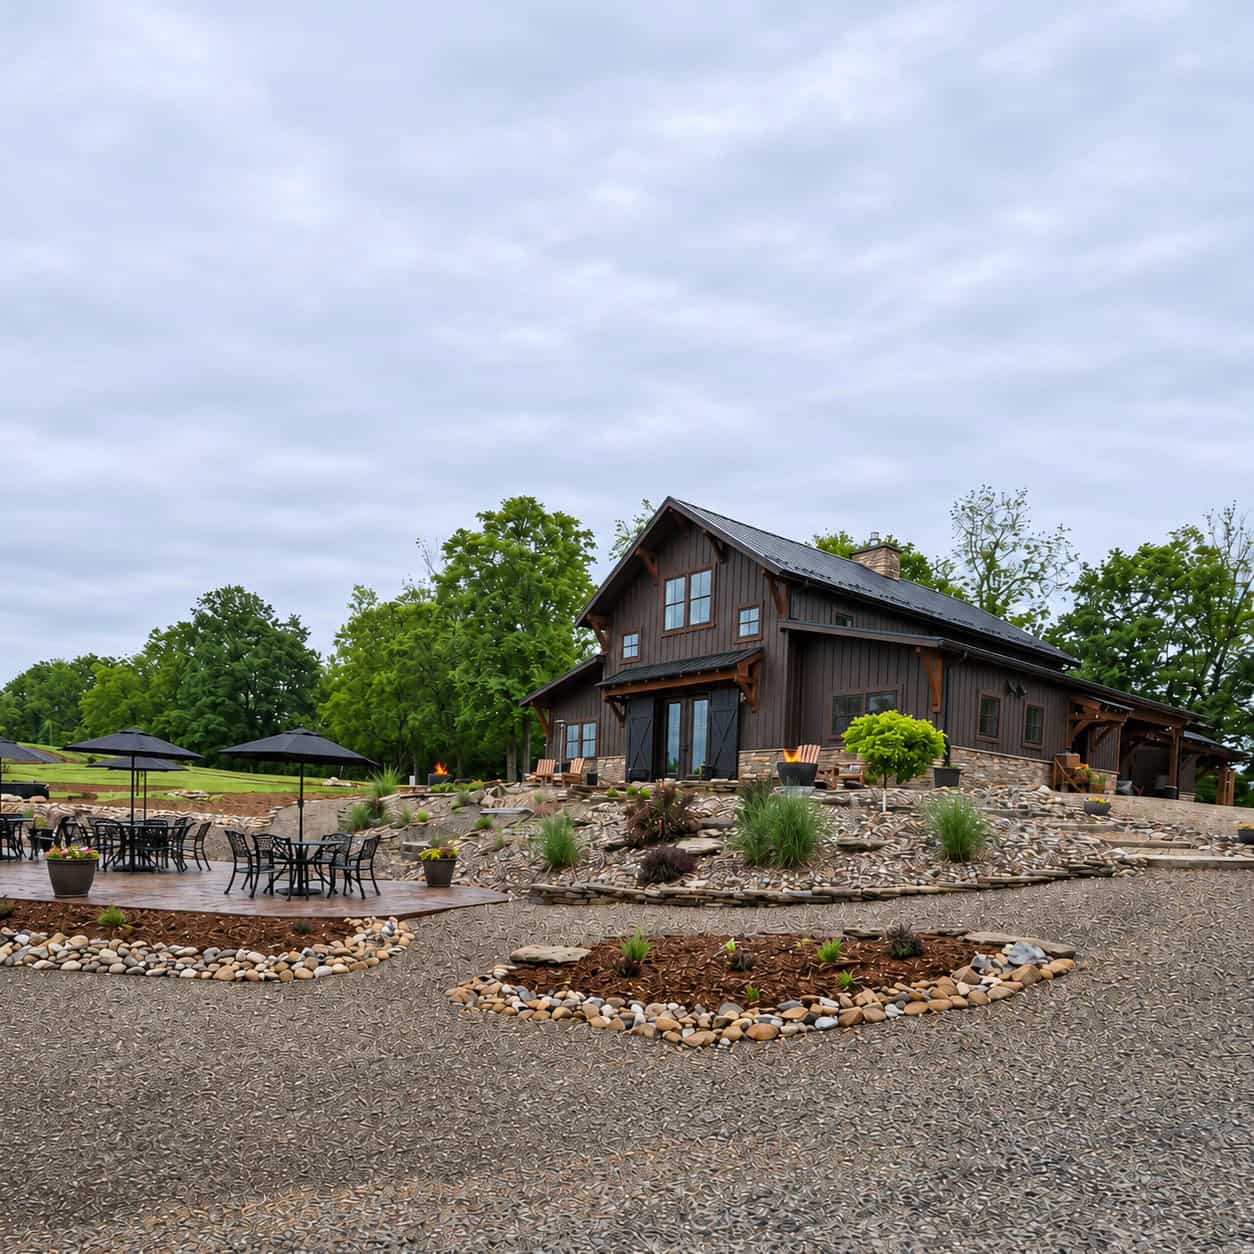
The concrete slab does double duty as our foundation and part of our heating system. The 2×6 walls gave us room for insulation. And the textured board and batten metal siding and brick accents give us the barn look we wanted with an exterior that’s log lasting and easy to care for.
But as we always tell anyone who takes a tour - it all started with the foundation!
Start With The Foundation – The Key To Build A Better Barndominium!
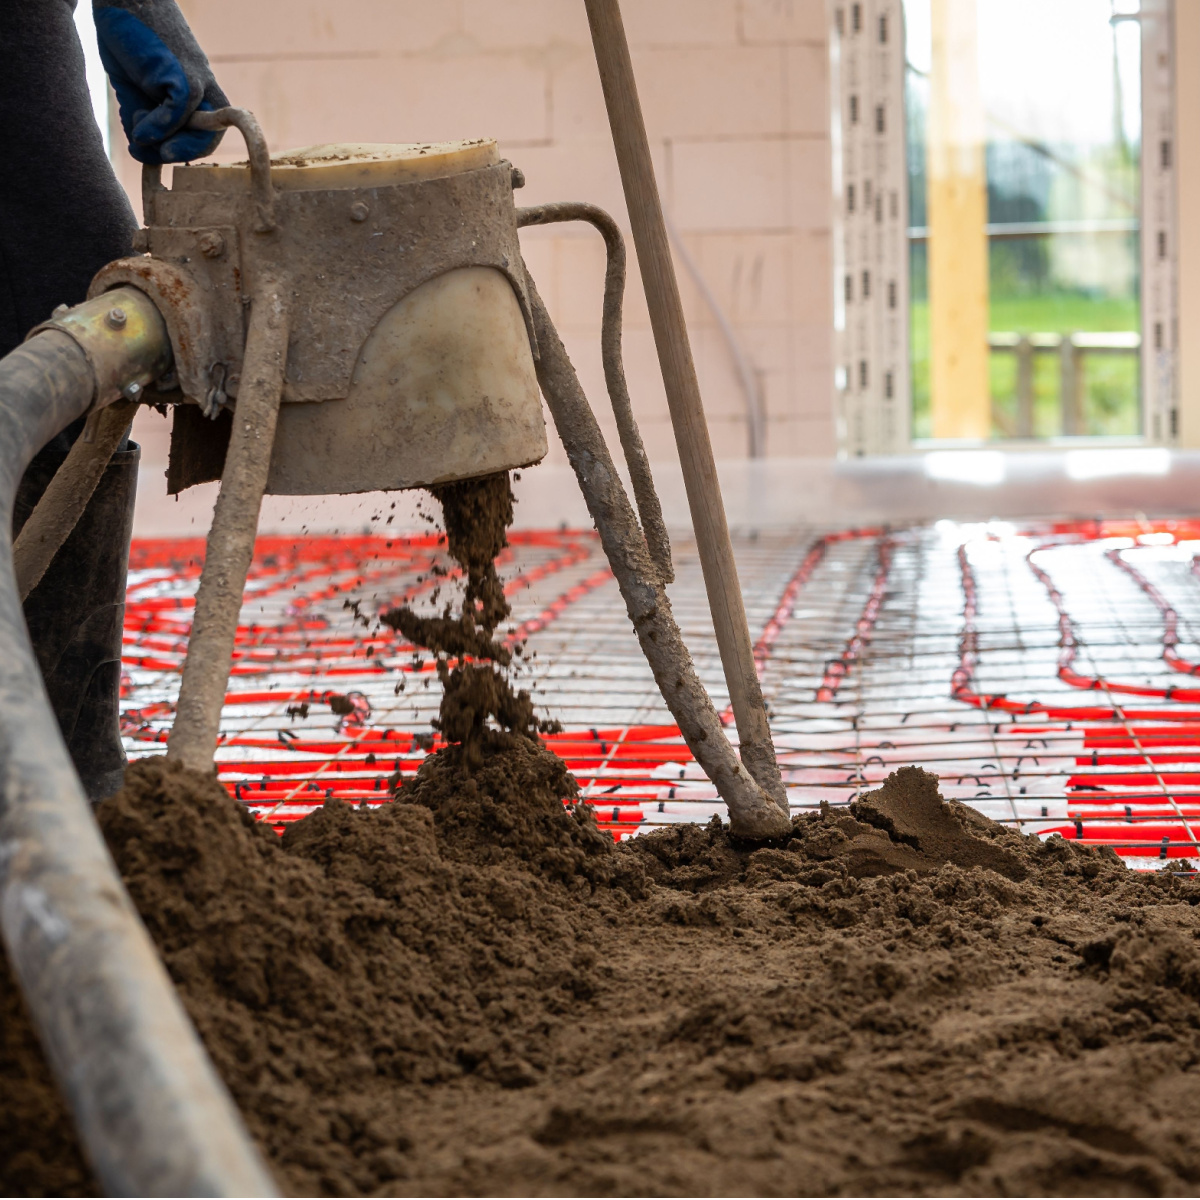
One of our first decisions was to build on a full concrete slab. We wanted a permanent foundation for our framed walls, and we liked that the same slab could serve as the floor and hold the tubing for radiant heat.
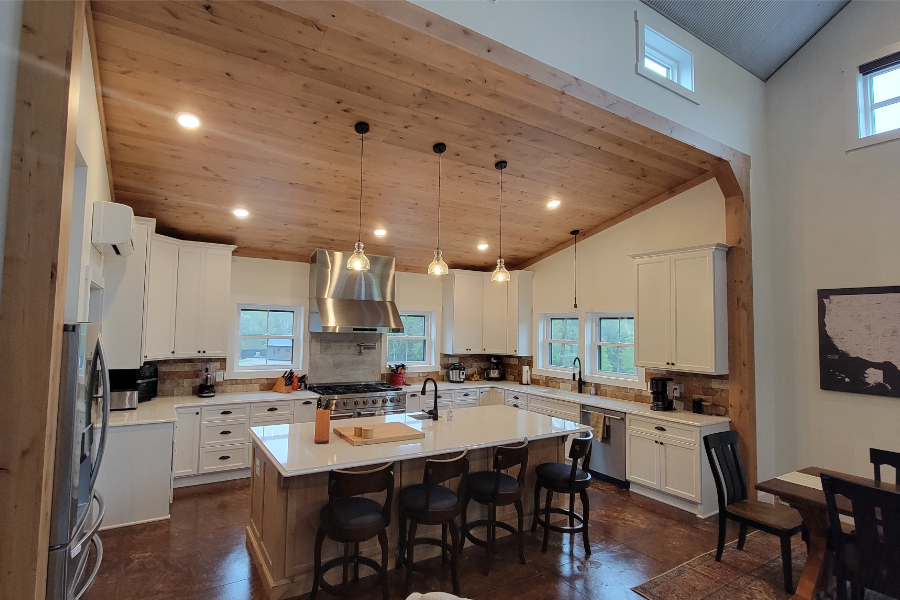
A barndominium can be built several ways. Post-frame construction can work well, and there are ways to build it with the posts above grade. For our house, we preferred a slab and framed walls that kept the structural wood out of direct contact with the soil.
That gave us the kind of foundation we wanted and let us build the heating system right into the floor.
The biggest lesson here is to think about the floor long before the concrete truck shows up. Plumbing locations, radiant tubing and insulation all need to be worked out before the pour. Even decisions that seem like they can wait, such as where the kitchen island will go, can affect what you need to plan for in the slab.
But that on demand floor heat unit is also our hot water tank. And it is a fraction of the cost of a furnace and hot water tank system!
Finally, we acid stained the concrete floor and scored it with a concrete saw into 4 x 4 "tiles". It is extremely durable and still elegant. And another huge savings when building!
Heat From The Floor Up With On-Demand Radiant Heat
Of all the choices we made when trying to build a better barndominium, radiant floor heat is the one we appreciate most on a cold morning. A propane-fired, on-demand unit heats water that circulates through tubing in the slab. The concrete warms up and releases that heat into the house.
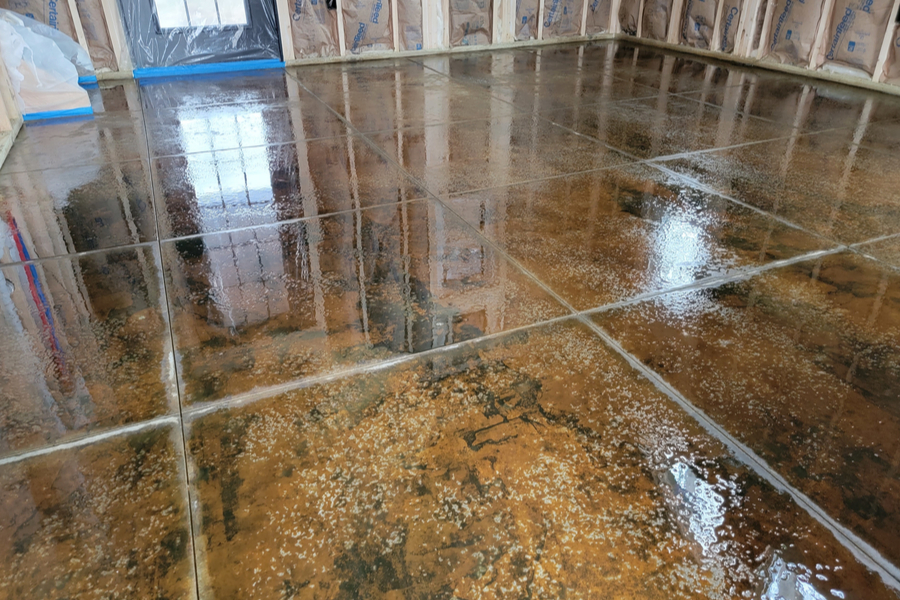
What we notice most is how even the warmth feels. On a January morning, the floor is comfortable underfoot, and there’s no burst of hot air every time the heat comes on. Once the slab is warm, it holds heat well.
That also means the floor takes time to respond to thermostat changes, so we generally find it more comfortable to leave the temperature steady.
Our winter propane bills average around $150 a month. Summer bills are near $15.00 - and that is for our gas stove and water heating. That’s what we’ve seen here with our cold winter weather and the price we pay for propane. See our article: On Demand Radiant Floor Heat - How It Works, What It Costs - And Why It's So Amazing!
Cool The Rooms You Use With Ductless Mini-Splits
Cooling is a huge concern when trying to build a better barndominium! For summer cooling, we installed ductless mini-splits. Each indoor unit serves a particular area, so we can adjust the temperature where we’re spending time. That’s especially handy when we want the bedroom cooler at night or when a room we rarely use can sit a few degrees warmer.
The layout matters with mini-splits. An open living area lets cool air move around fairly freely, while a bedroom behind a closed door behaves differently. If you’re considering this setup, look at your floor plan the way you’ll actually live in it.
Where will the doors usually be shut? Which rooms get the strongest afternoon sun? Those details can affect where you put the units and how many zones you need.
Our total electric bill runs around $150 a month during the hottest part of summer. That includes the rest of the household’s electric use along with the cooling.
We also saved on installation by going with the ductless setup we chose. That's right - there is zero duct work in our house! That saved tremendously on the build costs. But we also don't have to worry about allergens flying around or replacing filters.
Use 2×6 Walls To Make Room For More Insulation
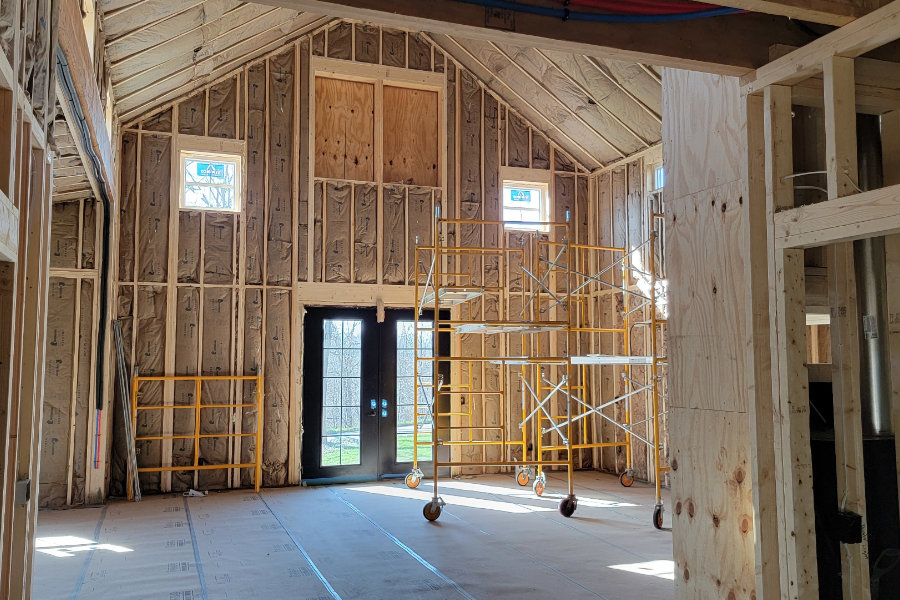
A barndominium gets much of its character from the roofline, siding and proportions. We were able to get the exterior we wanted with conventional 2×6 framing underneath. One of the big reasons we went that route was the extra room it gave us for insulation in the walls.
The deeper wall cavity is only part of the story. The ceiling, the slab edge and the spaces around windows and doors all affect how well a house holds heat. It’s worth talking through those details before the walls are closed up.
Framing and insulation are also two places where it pays to make decisions early. You can change a light fixture or pick a different paint color years later. Adding insulation to a finished wall is a much bigger job.
Without a doubt, staying away from the "cheaper" pole barn framing is the way to go. Especially for long term use and value when trying to build a better barndominium.
Pair Metal Siding With Brick For A Beautiful, Durable Exterior
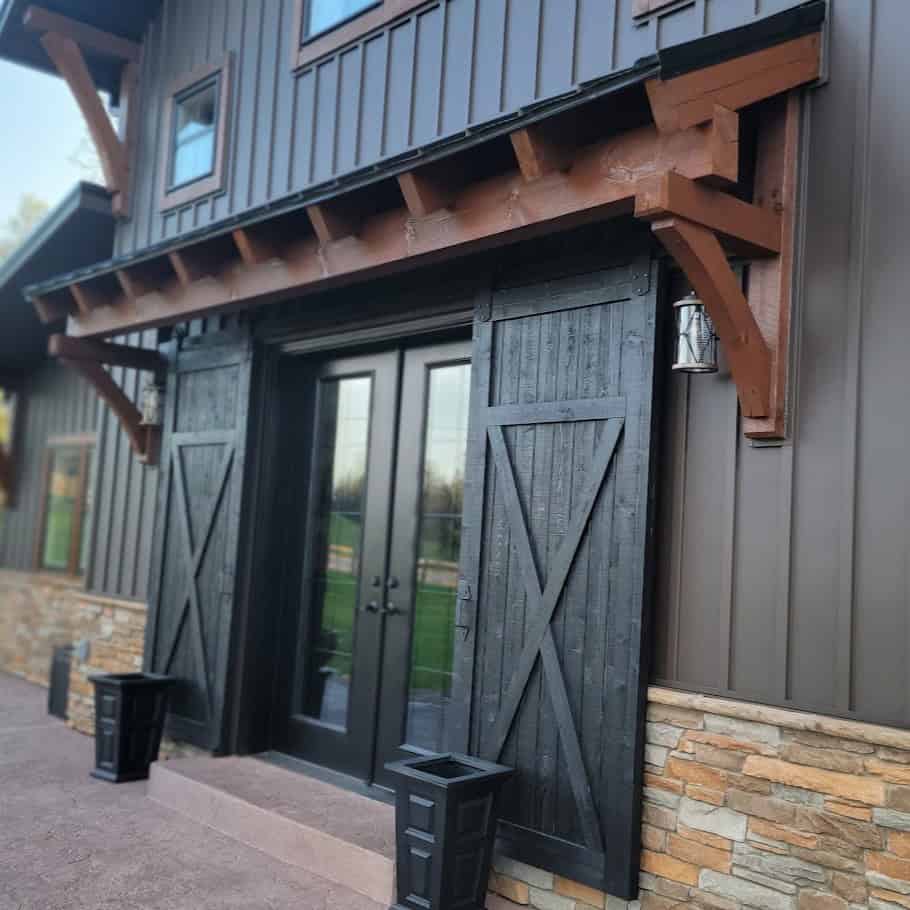
We chose board and batten textured metal siding for most of the exterior and used brick as an accent. The board and batten metal gives the building the simple lines we liked about barns in the first place. The brick adds warmth and texture, and a little of it goes a long way against a broad expanse of metal.
We also wanted materials that would be easy to care for. Factory-finished metal siding and unpainted brick fit that goal. Both still benefit from an occasional look around the house.
The raised battens give it the same shadow lines you’d see on an old barn, and the textured finish keeps the broad walls from looking flat. It pairs especially well with the brick accents.
One of our favorite details is that there isn’t a single screw showing on the face of the siding. The panels conceal the fasteners as they go up, leaving clean vertical lines from top to bottom. Your eye goes right to the wood grain and the battens, which is exactly the look we wanted. Best of all - zero maintenance and 30 to 40 years of wear!
Spend First On The Things That Are Hardest To Change
When we were deciding where to put our money, we kept coming back to a practical question. If we want to change this five years from now, how hard will it be? That made it easier to put the foundation, framing, insulation and radiant tubing near the top of the list. Those are the things we use every day and would have to tear into the house to change.
One of the decisions we’re most glad we made was to build our barndominium with conventional 2×6 walls on a concrete slab. We still got the barn look we wanted, and the deeper walls gave us plenty of room for insulation. It is a good feeling knowing that the structural wood would sit above grade, away from direct contact with the soil.
We think that choice will help the home hold its value, too. It’s a purpose-built home with insulated walls, a concrete foundation and heating and cooling designed for year-round living.
And that’s what we wanted from the start. We wanted a home that would feel just as solid and comfortable years down the road as it did the day we moved in. If you want to see more on the home, check out our original article: How To Build A Barndominium From Start to Finish - With Video - Jim & Mary.
The Farm @ Old World Garden
Jim and Mary Competti have been writing gardening, DIY and recipe articles and books for over 16 years from their 46 acre Ohio farm. The two are frequent speakers on all things gardening and love to travel in their spare time.
As always, feel free to email us at thefarm@owgarden.com with comments, questions, or to simply say hello! You can sign up for our free email list in the subscribe now box in the middle of this article. Follow us on Facebook here : OWG Facebook. This article may contain affiliate links.