Homemade Chicken Pot Pie Recipe
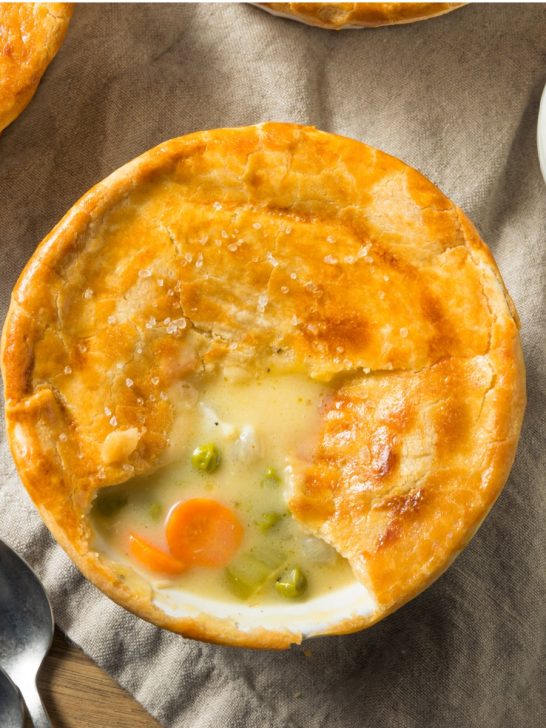
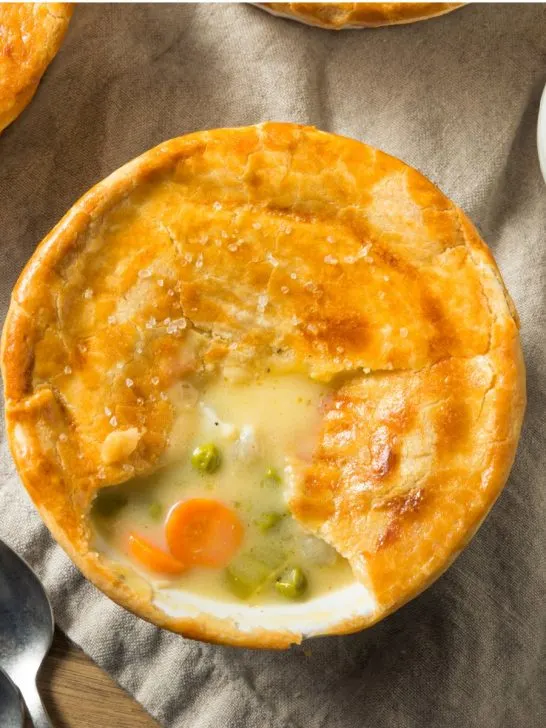
There’s nothing quite like the comfort of a warm, homemade chicken pot pie. Tender chunks of chicken, a medley of vegetables in a rich, creamy sauce, all encased in a …
There’s nothing quite like the comfort of a warm, homemade chicken pot pie. Tender chunks of chicken, a medley of vegetables in a rich, creamy sauce, all encased in a …

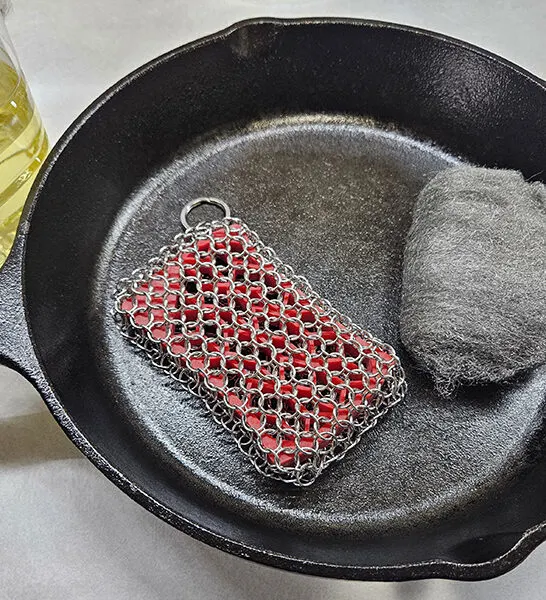
If you own any type of cast iron cookware it is important that you know how to properly clean, season, and re-season the pots and pans. Otherwise you might end …

This past week, something amazing and nearly unbelievable happened. Mary’s start-up recipe website, Make Your Meals, celebrated it’s 1,000,000th visitor to the site. In just 10 months! To put that …
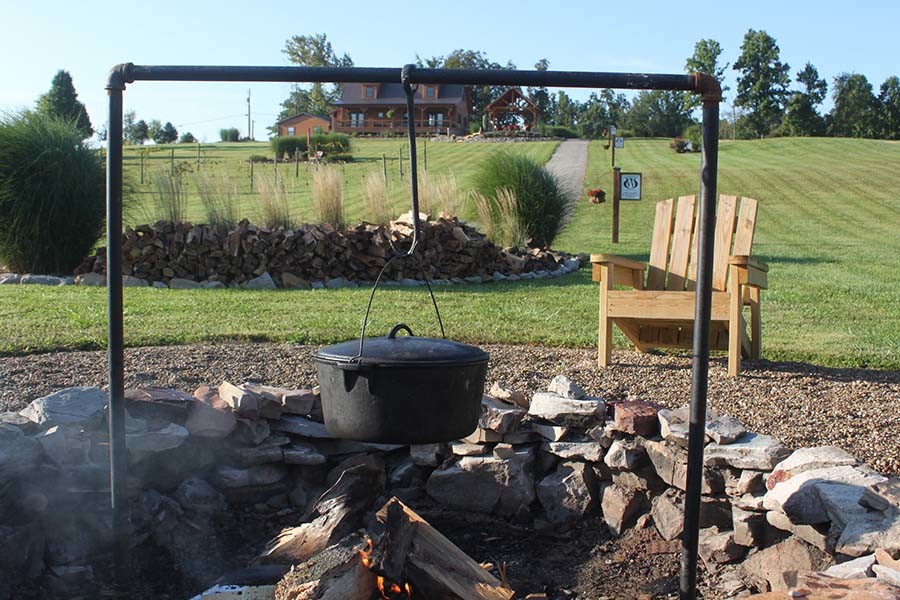

If you have a backyard fire pit, campfire or bonfire area, then the open fire cooking bar needs to be in your future! It’s simple, inexpensive, and can be made …

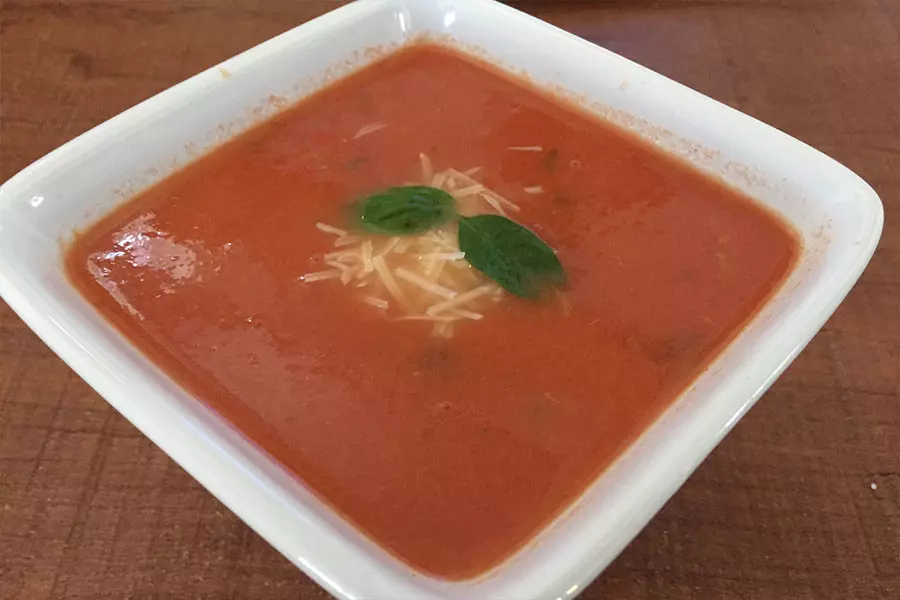
One of my favorite comfort meals is a bowl of tomato basil soup, especially when paired with a thick and gooey grilled cheese sandwich. Take it one step further and …

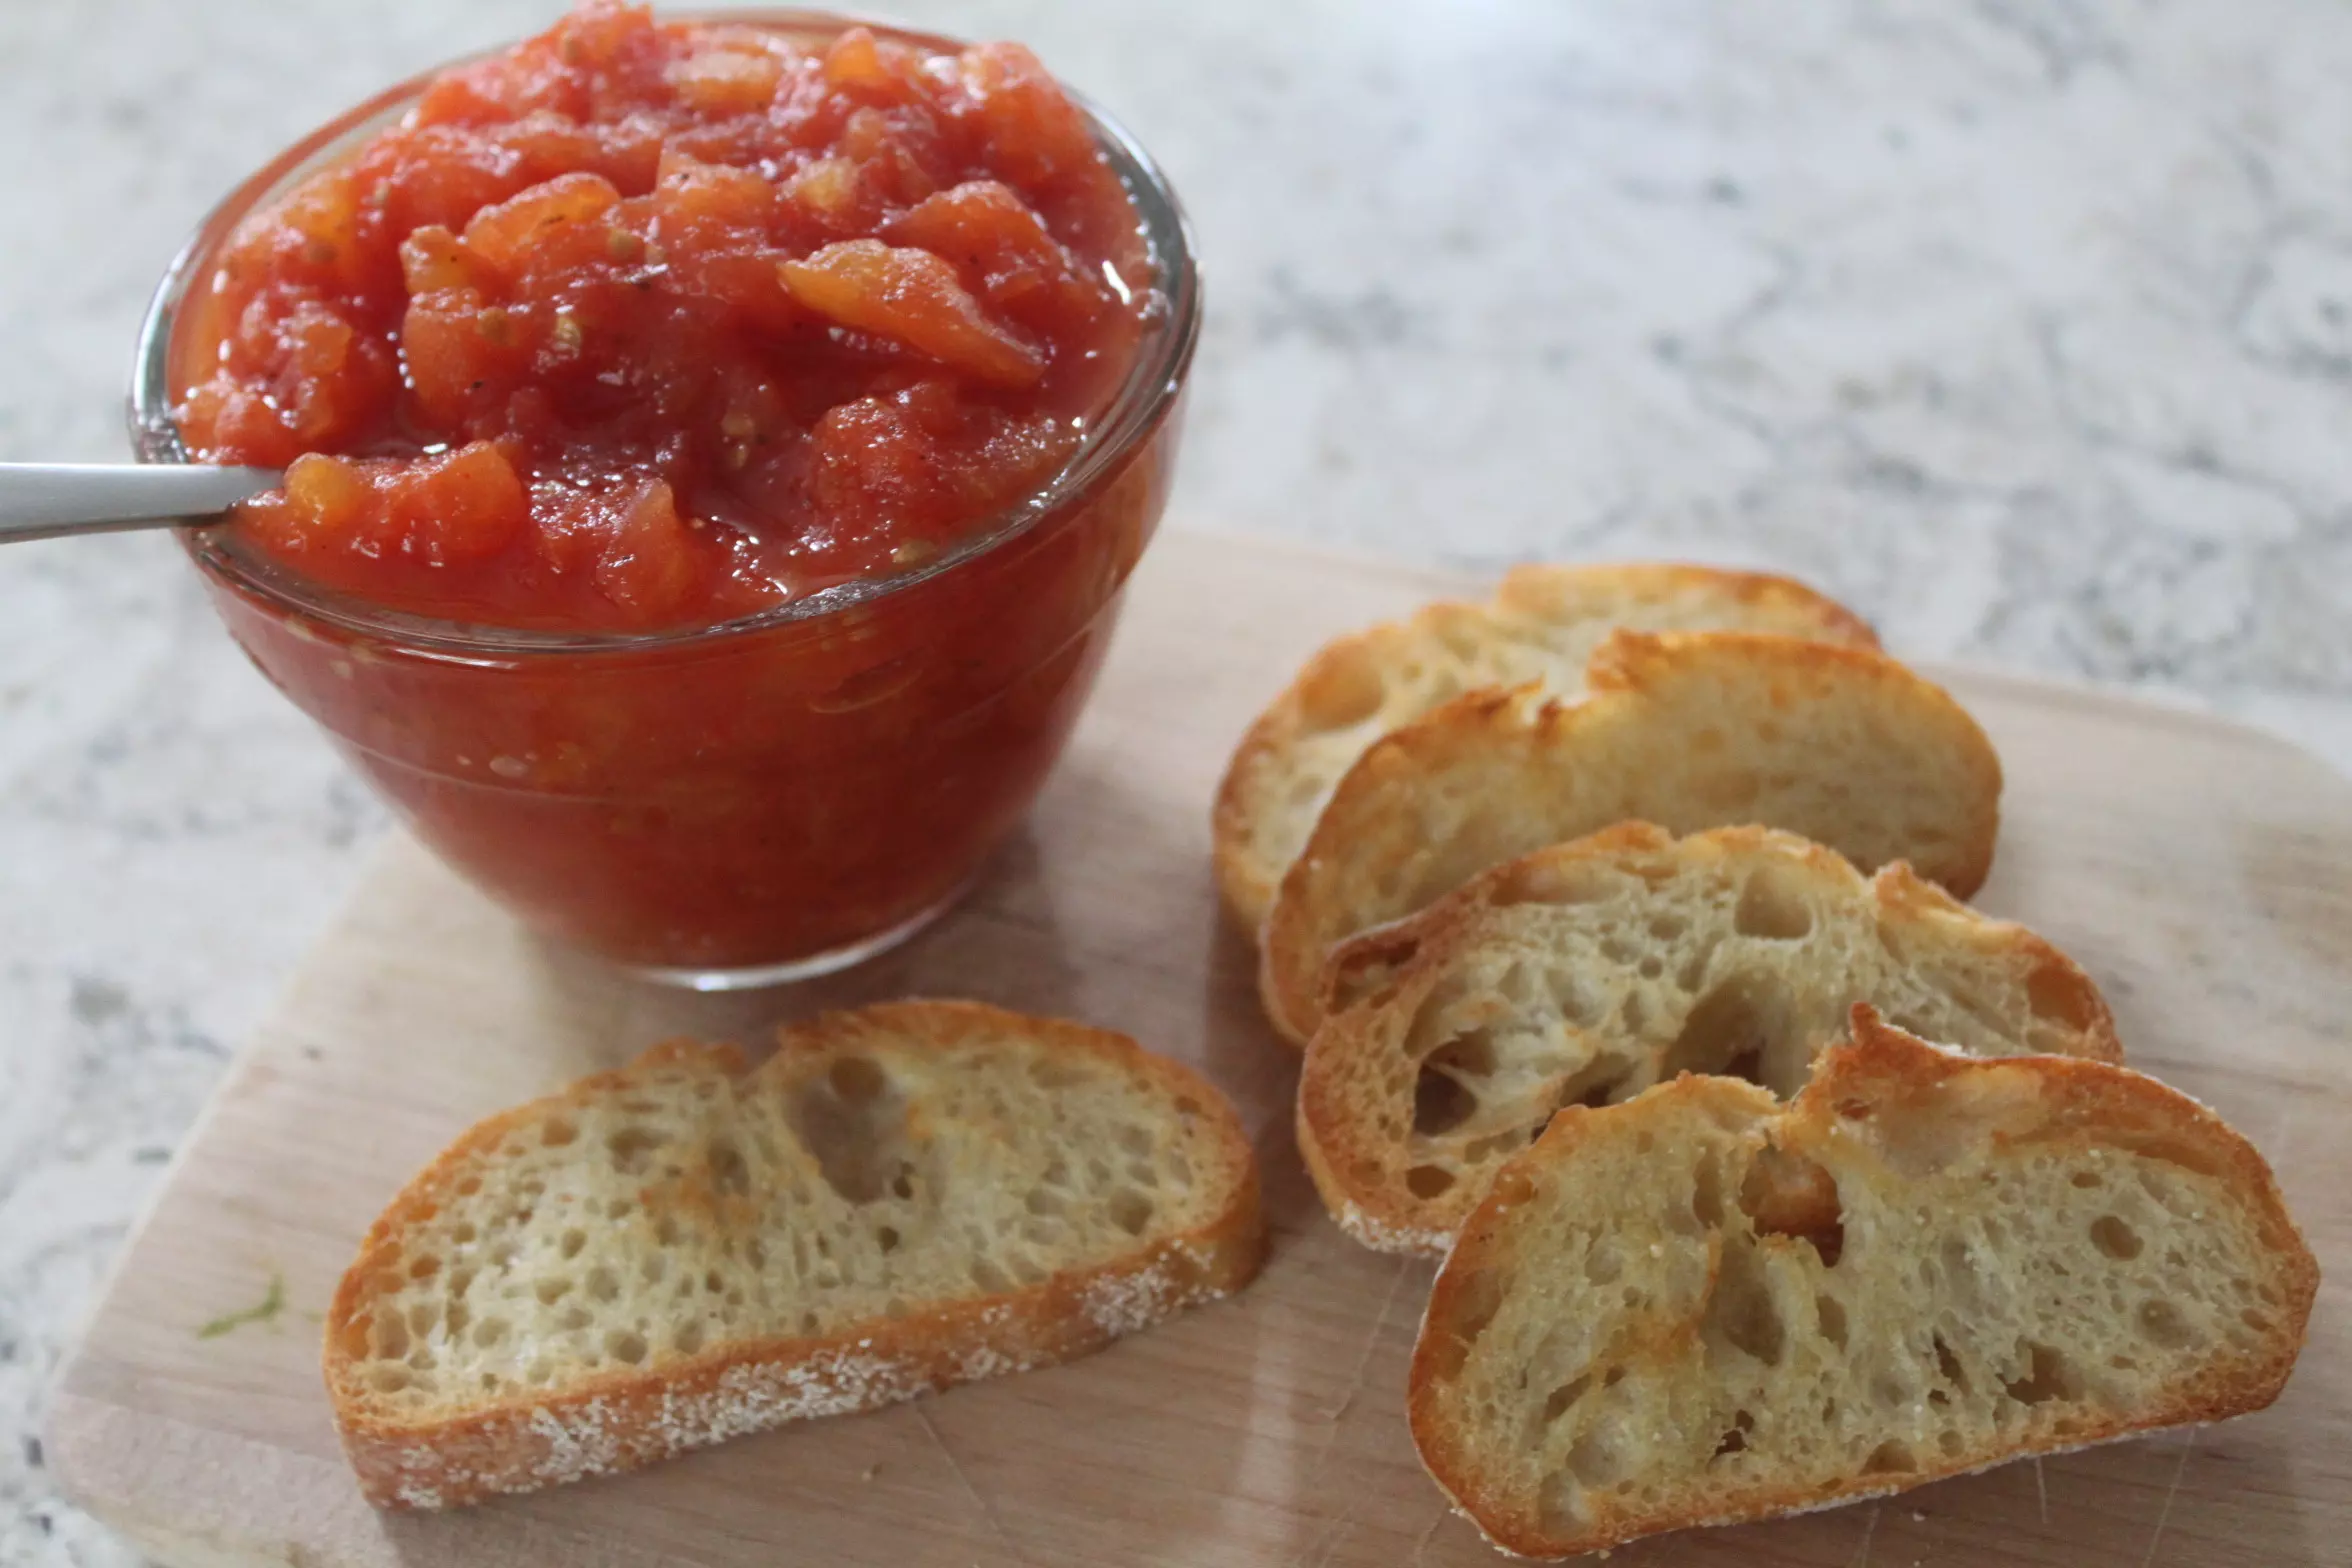
Sweet tomato jam – where have you been all my life? I first tried sweet tomato jam at a local bistro years ago. A friend of mine had ordered an …
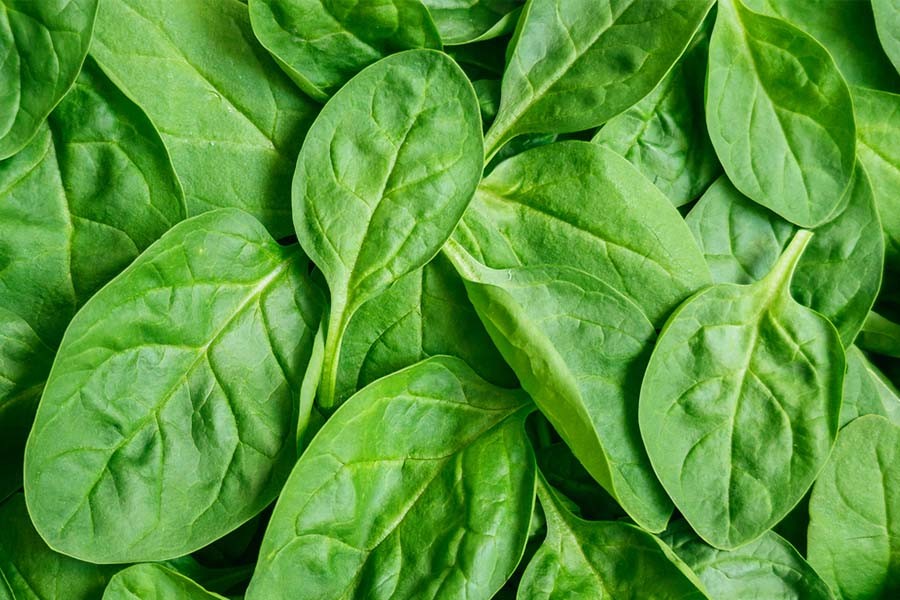
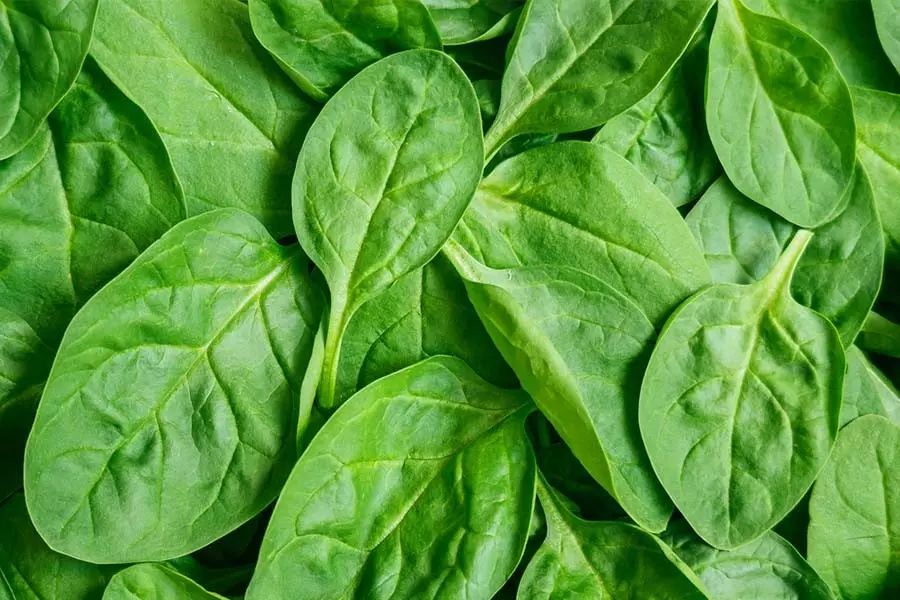
How to Freeze Spinach… Do you rely on frozen spinach boxes in the middle of winter for your dips, soups and casseroles? Why not do it yourself and freeze spinach …
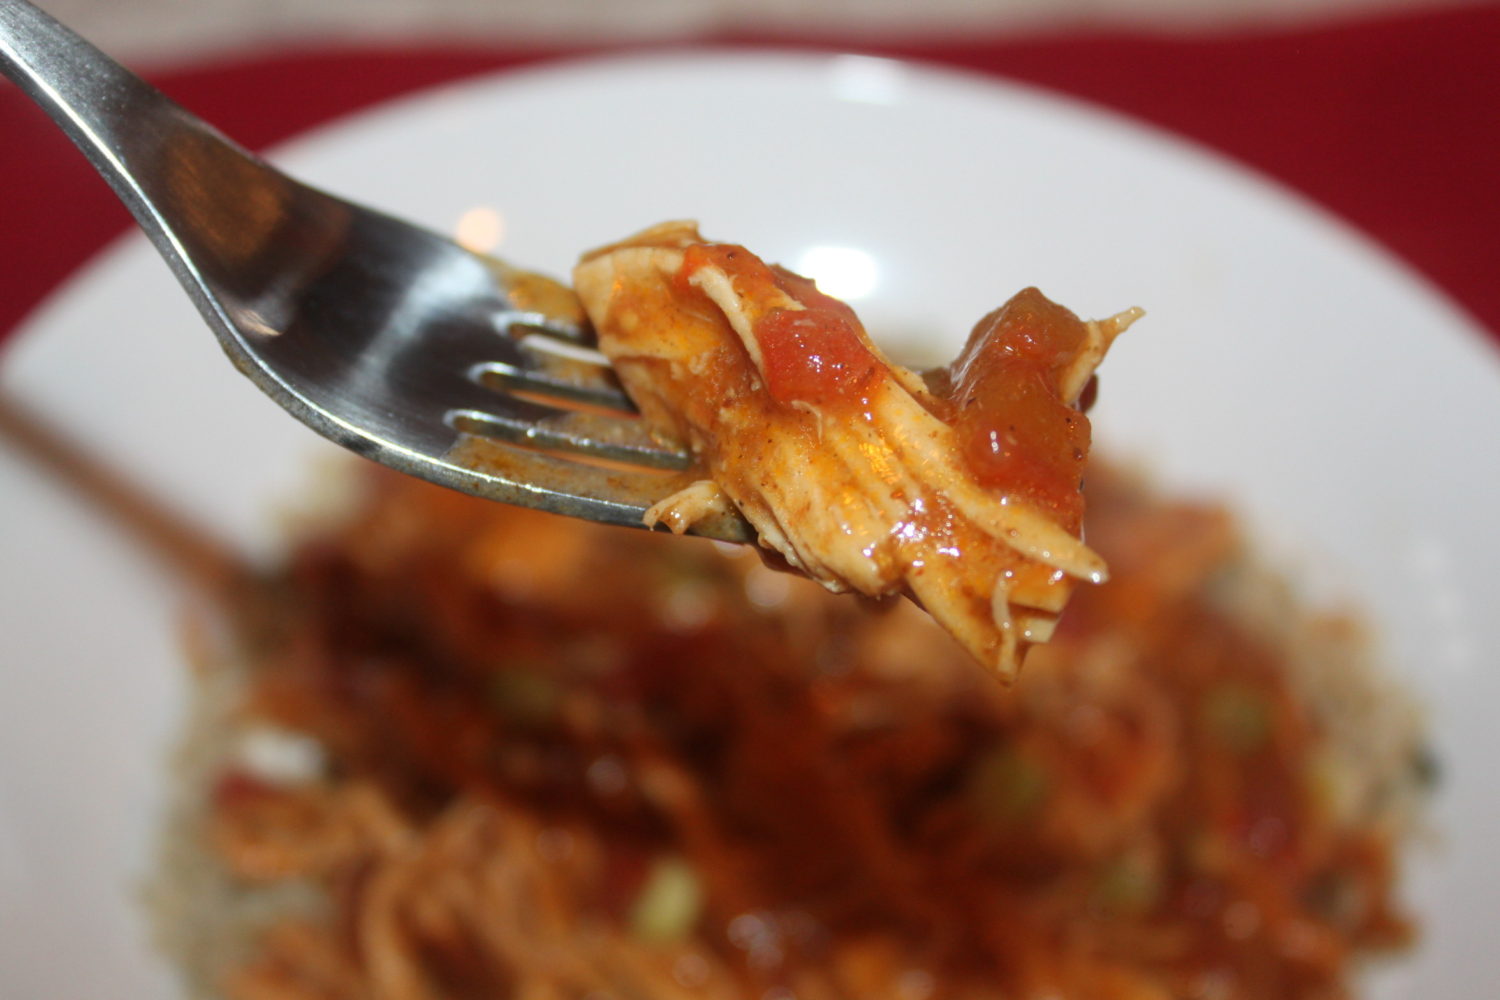

If you have never had Drunken Chicken, you must give this chicken recipe a try! We first ate Drunken Chicken at a Cajun inspired restaurant called J. Gumbo’s. It was …

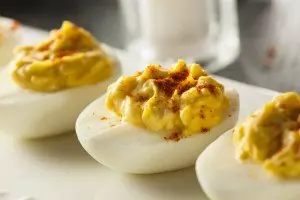
Are you looking for the Best Deviled Eggs recipes? Check out our three favorite ways to make deviled eggs so that your whole family is satisfied. Although there are several …
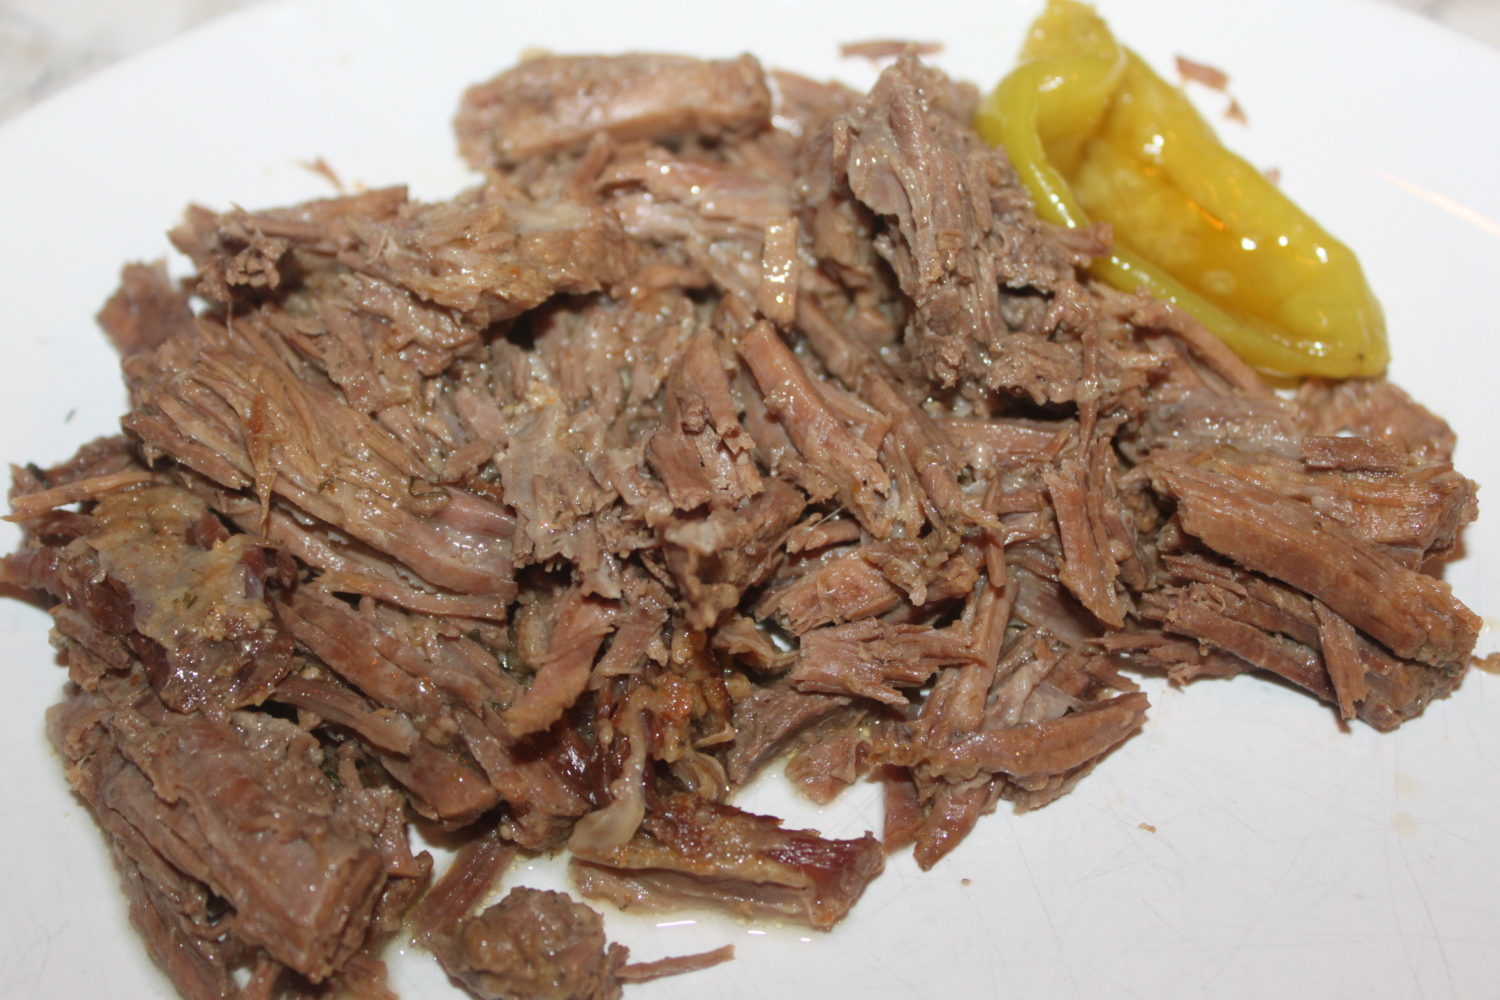
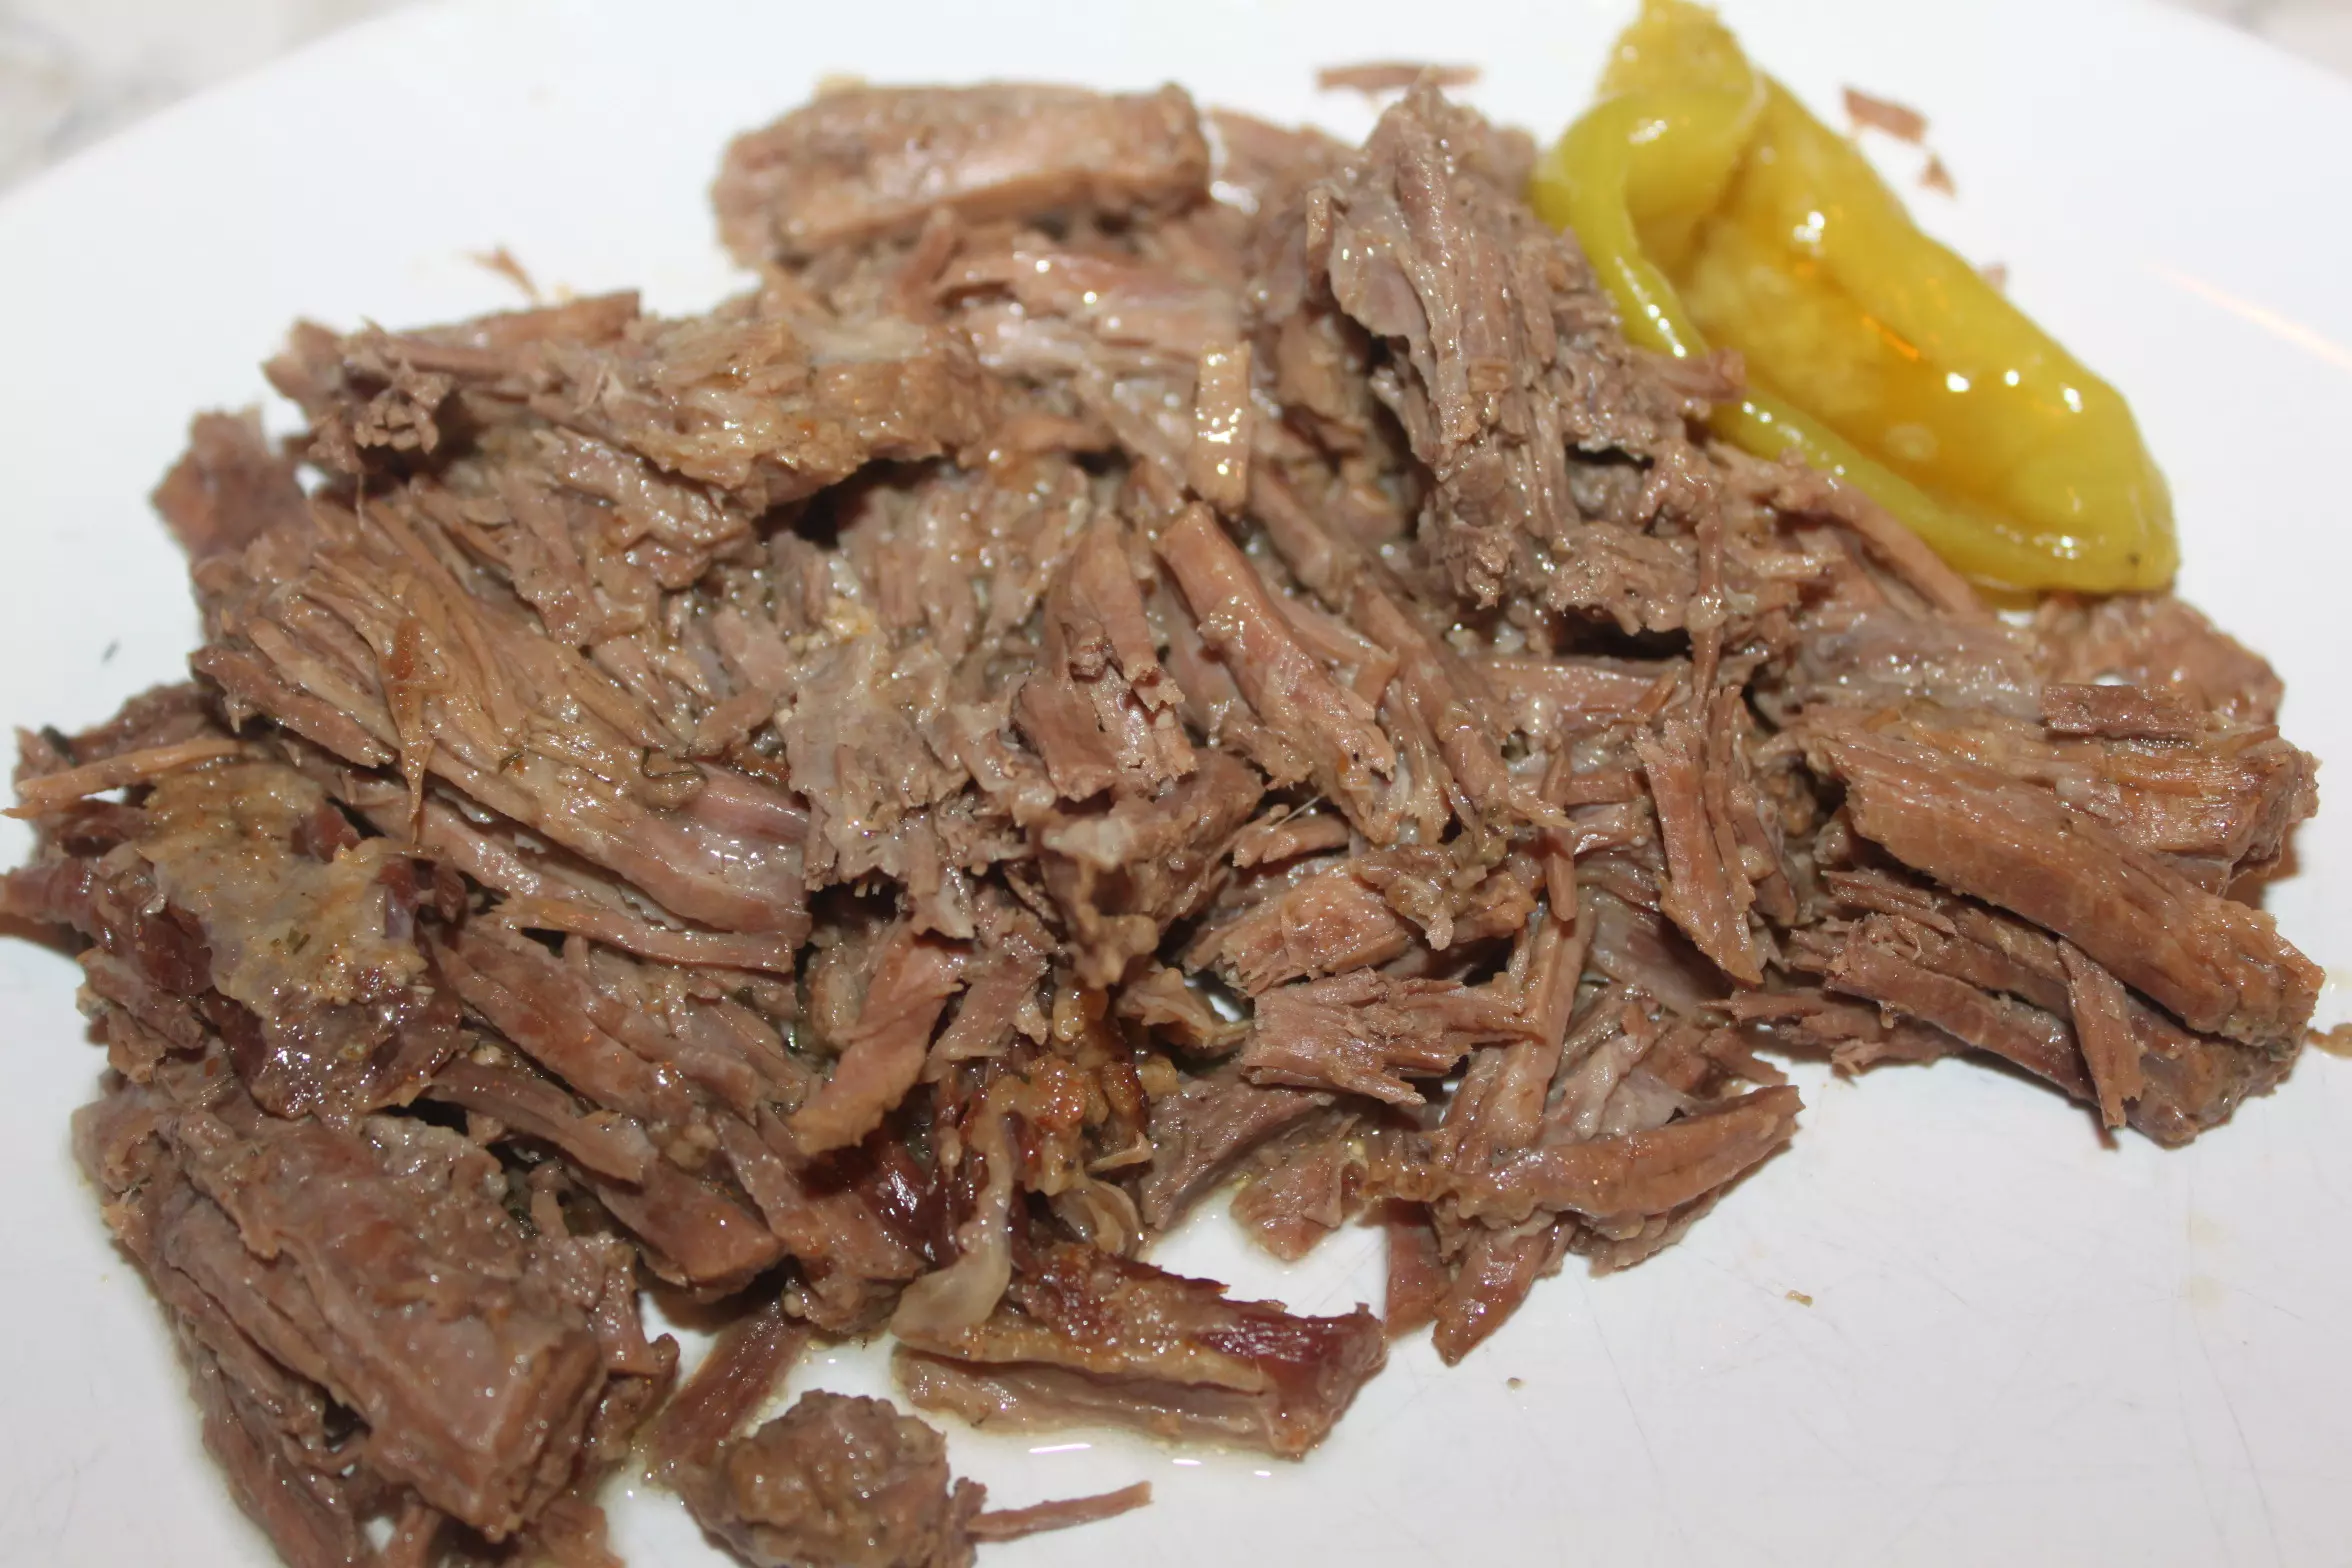
The Mississippi Pot Roast craze is almost as big as the Instant Pot craze. If you haven’t heard of Mississippi Pot Roast, just take a moment on Pinterest and you will! …