
The Recycled Chicken Coop Pallet Project
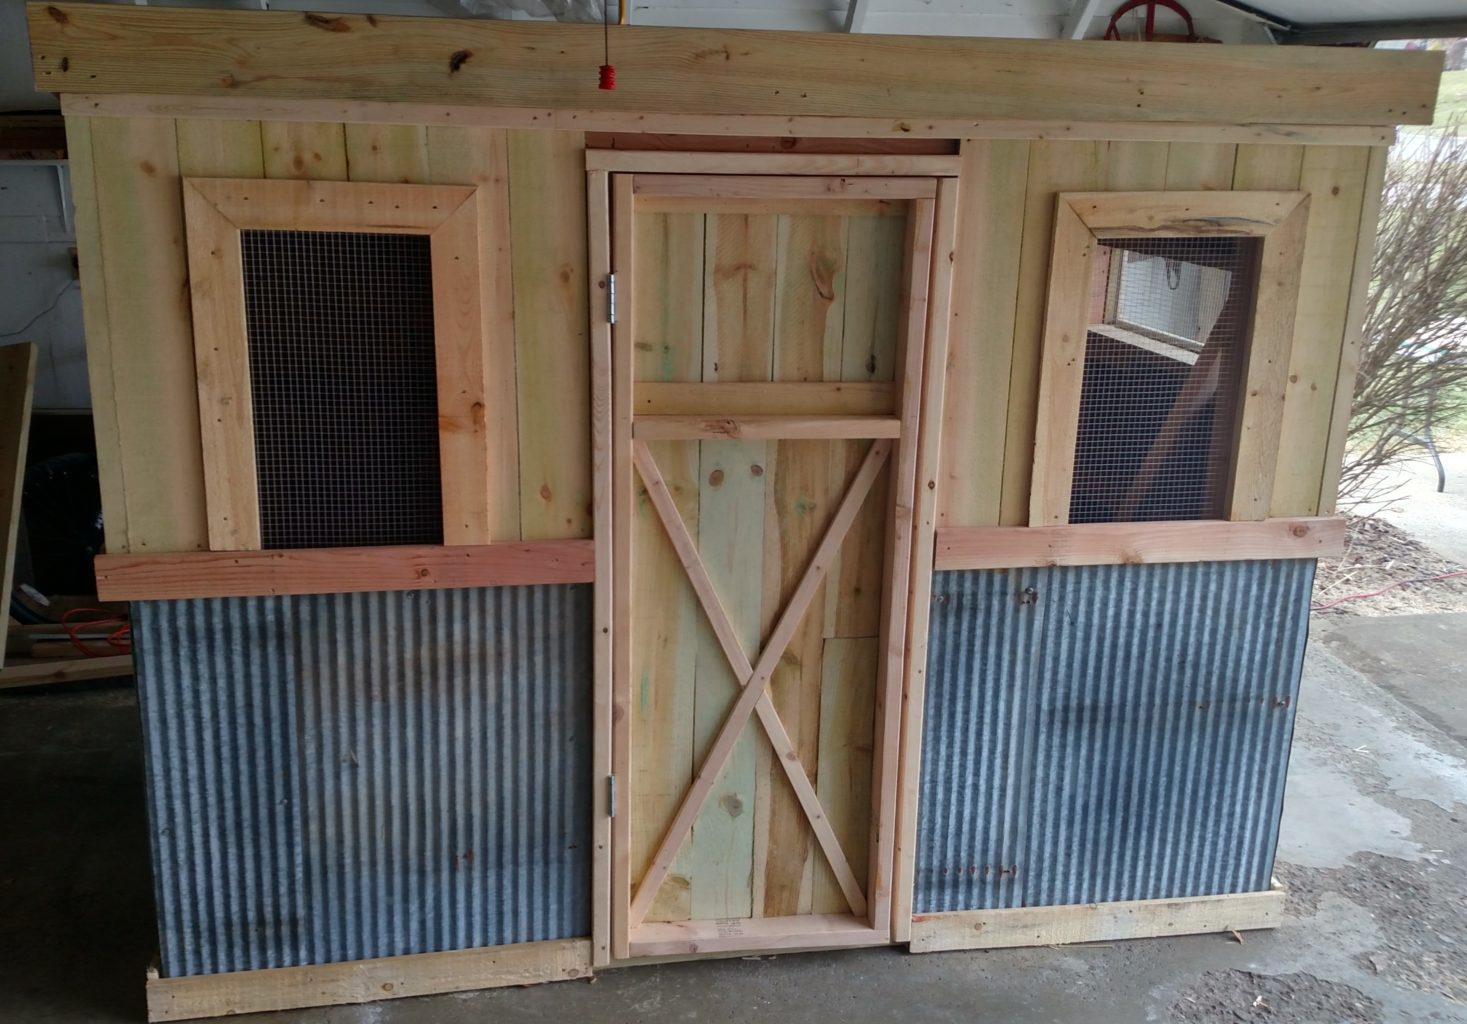
Creating A Chicken Coop From Recycled Materials Ever since creating Old World Garden Farms in late 2010 – we’ve tried to really show that you can build much of what you need …
Creating A Chicken Coop From Recycled Materials Ever since creating Old World Garden Farms in late 2010 – we’ve tried to really show that you can build much of what you need …
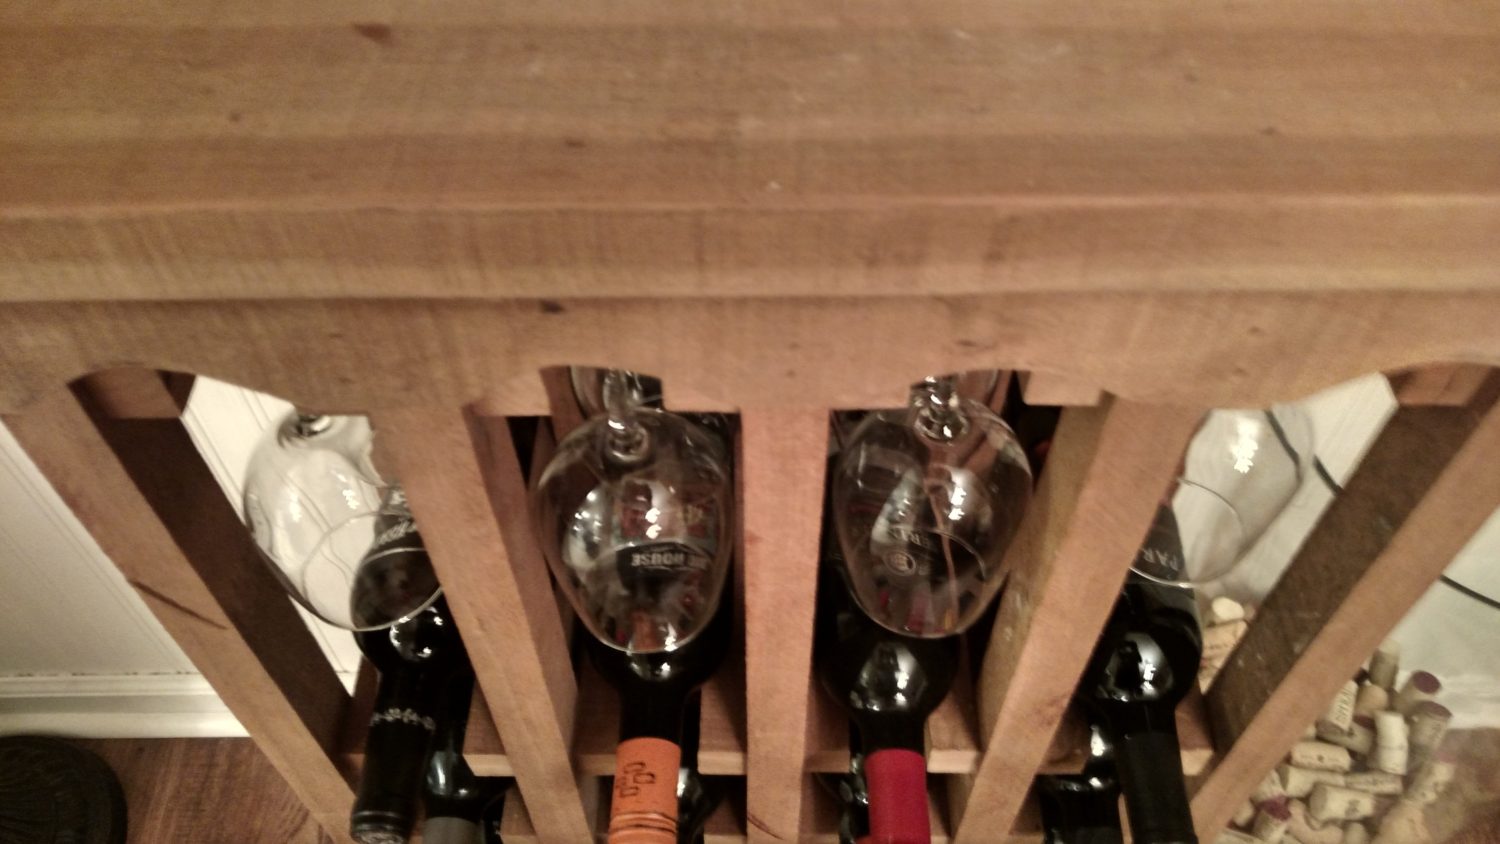
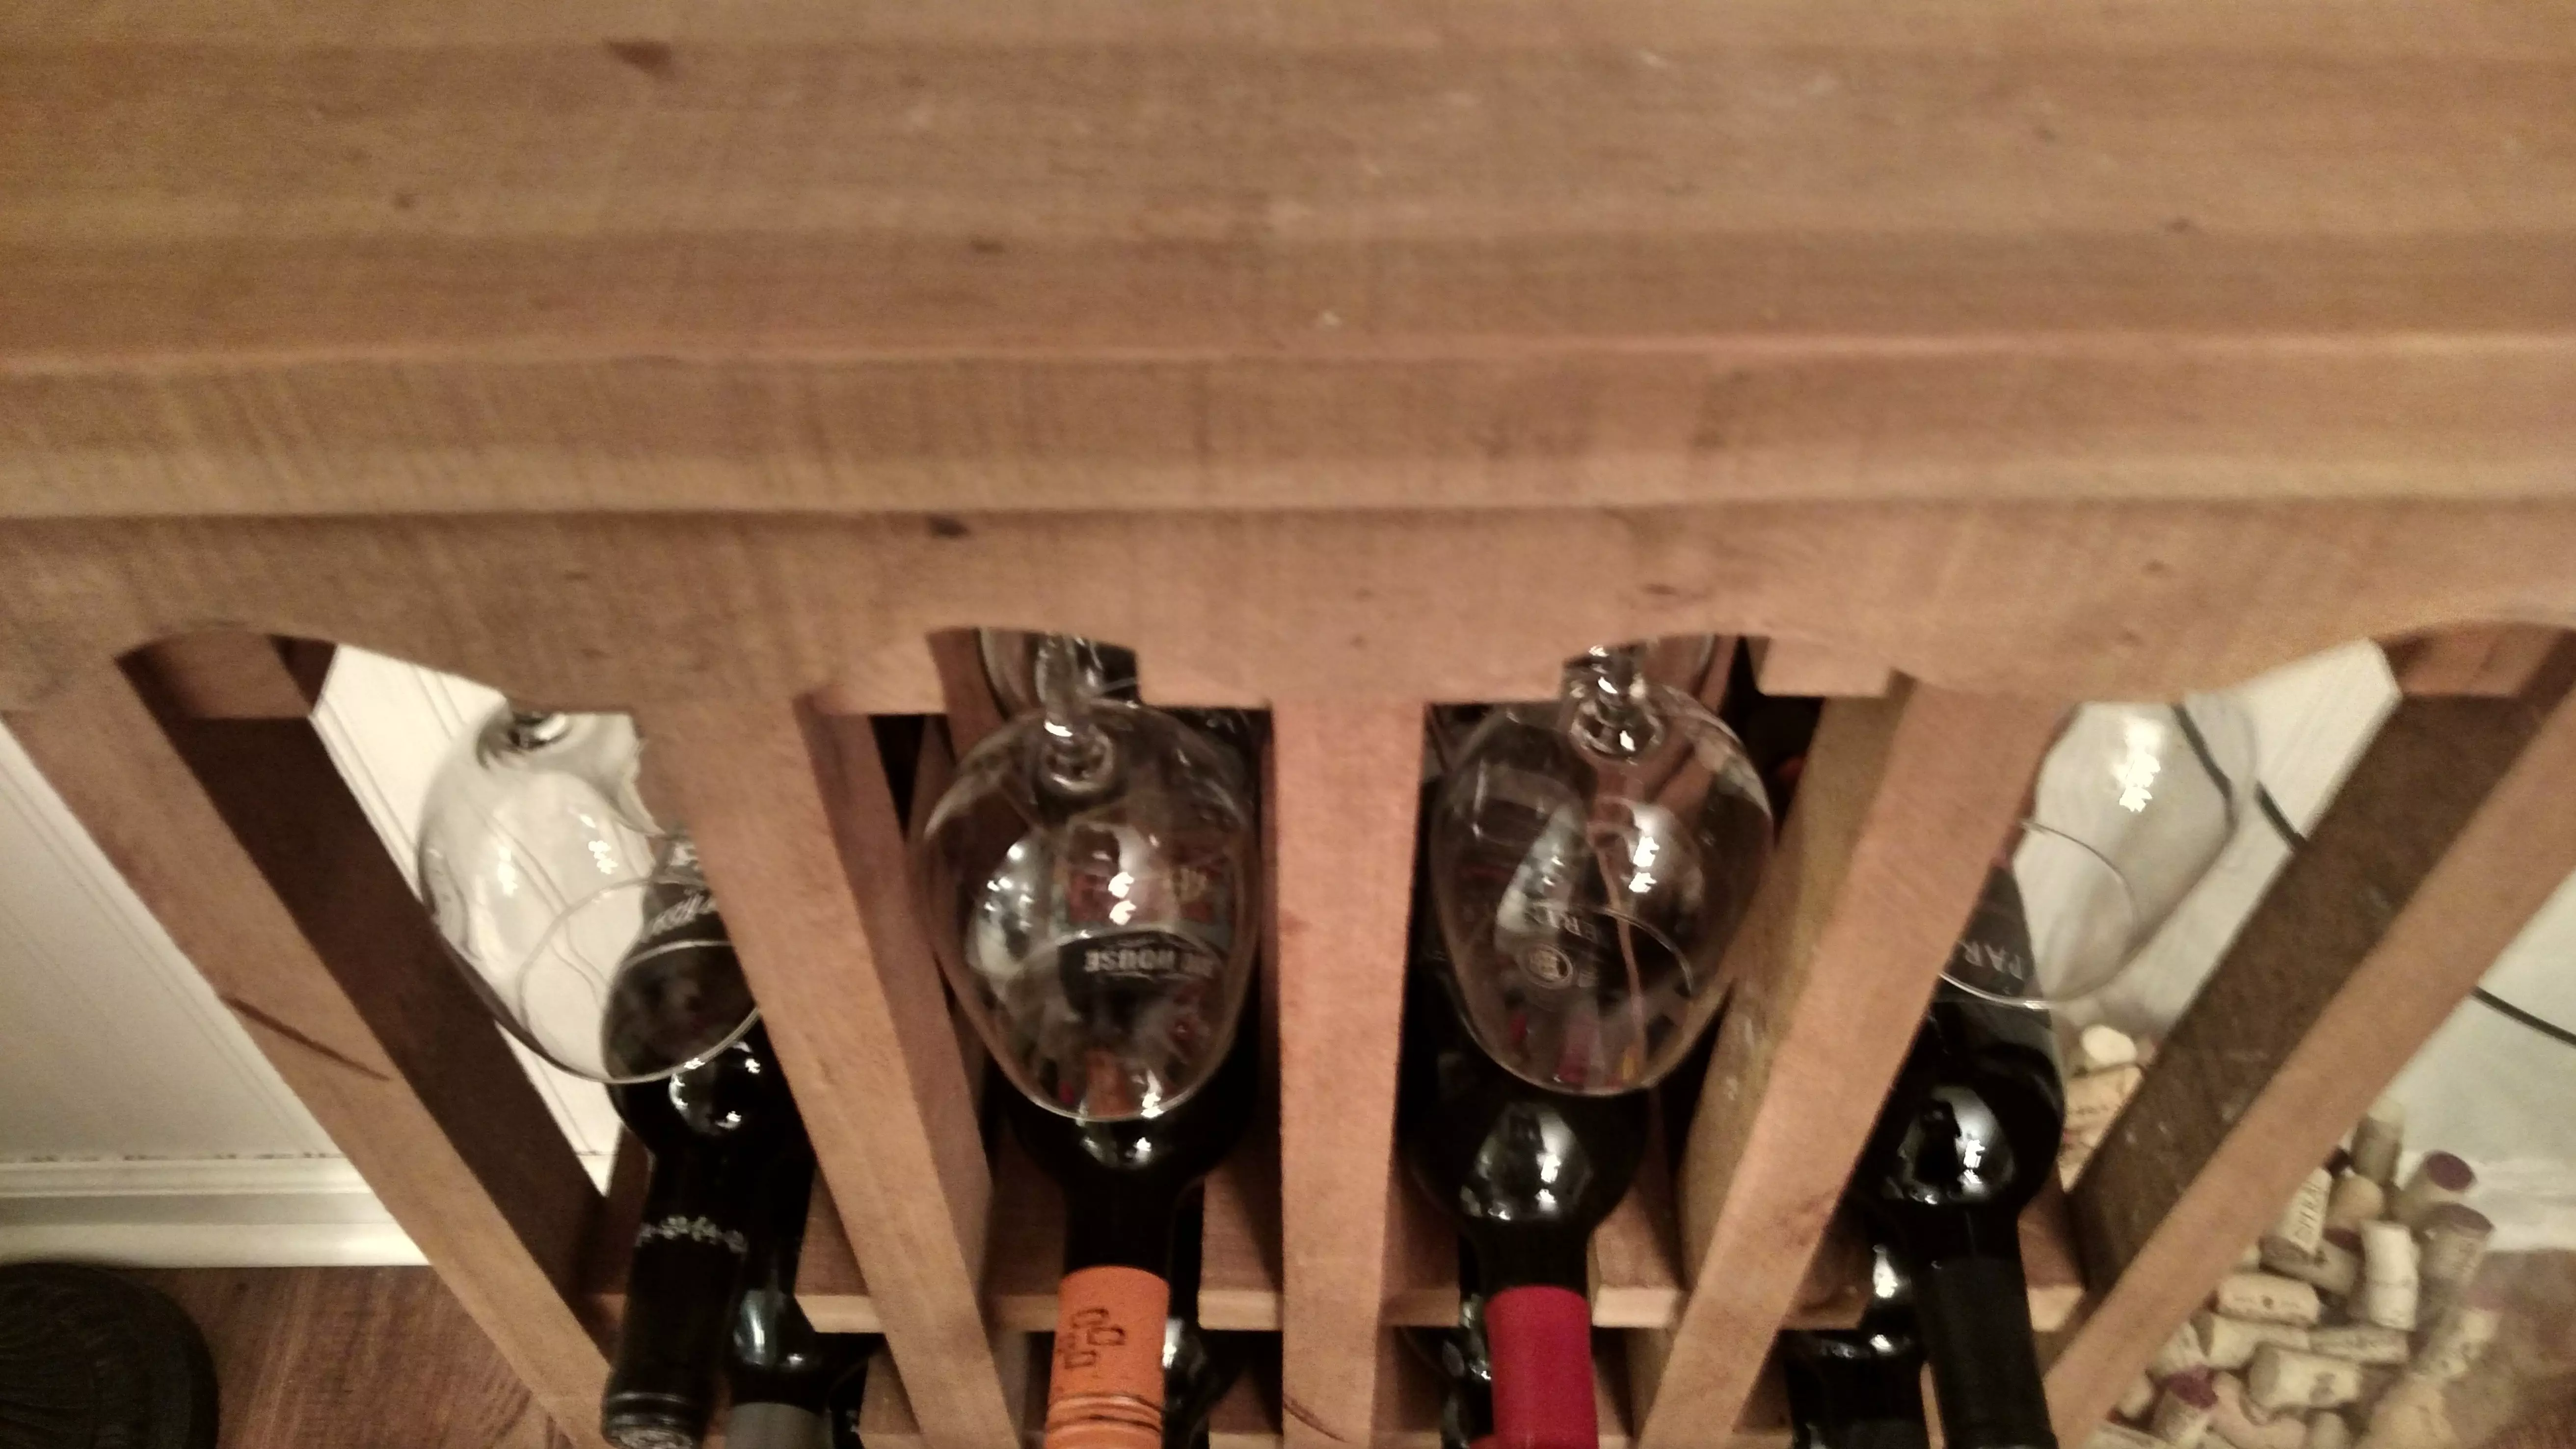
Sometimes, simple can be elegant. A few years back, when we featured our large 60 bottle DIY wine rack built from pallets and old barn wood – we had a …

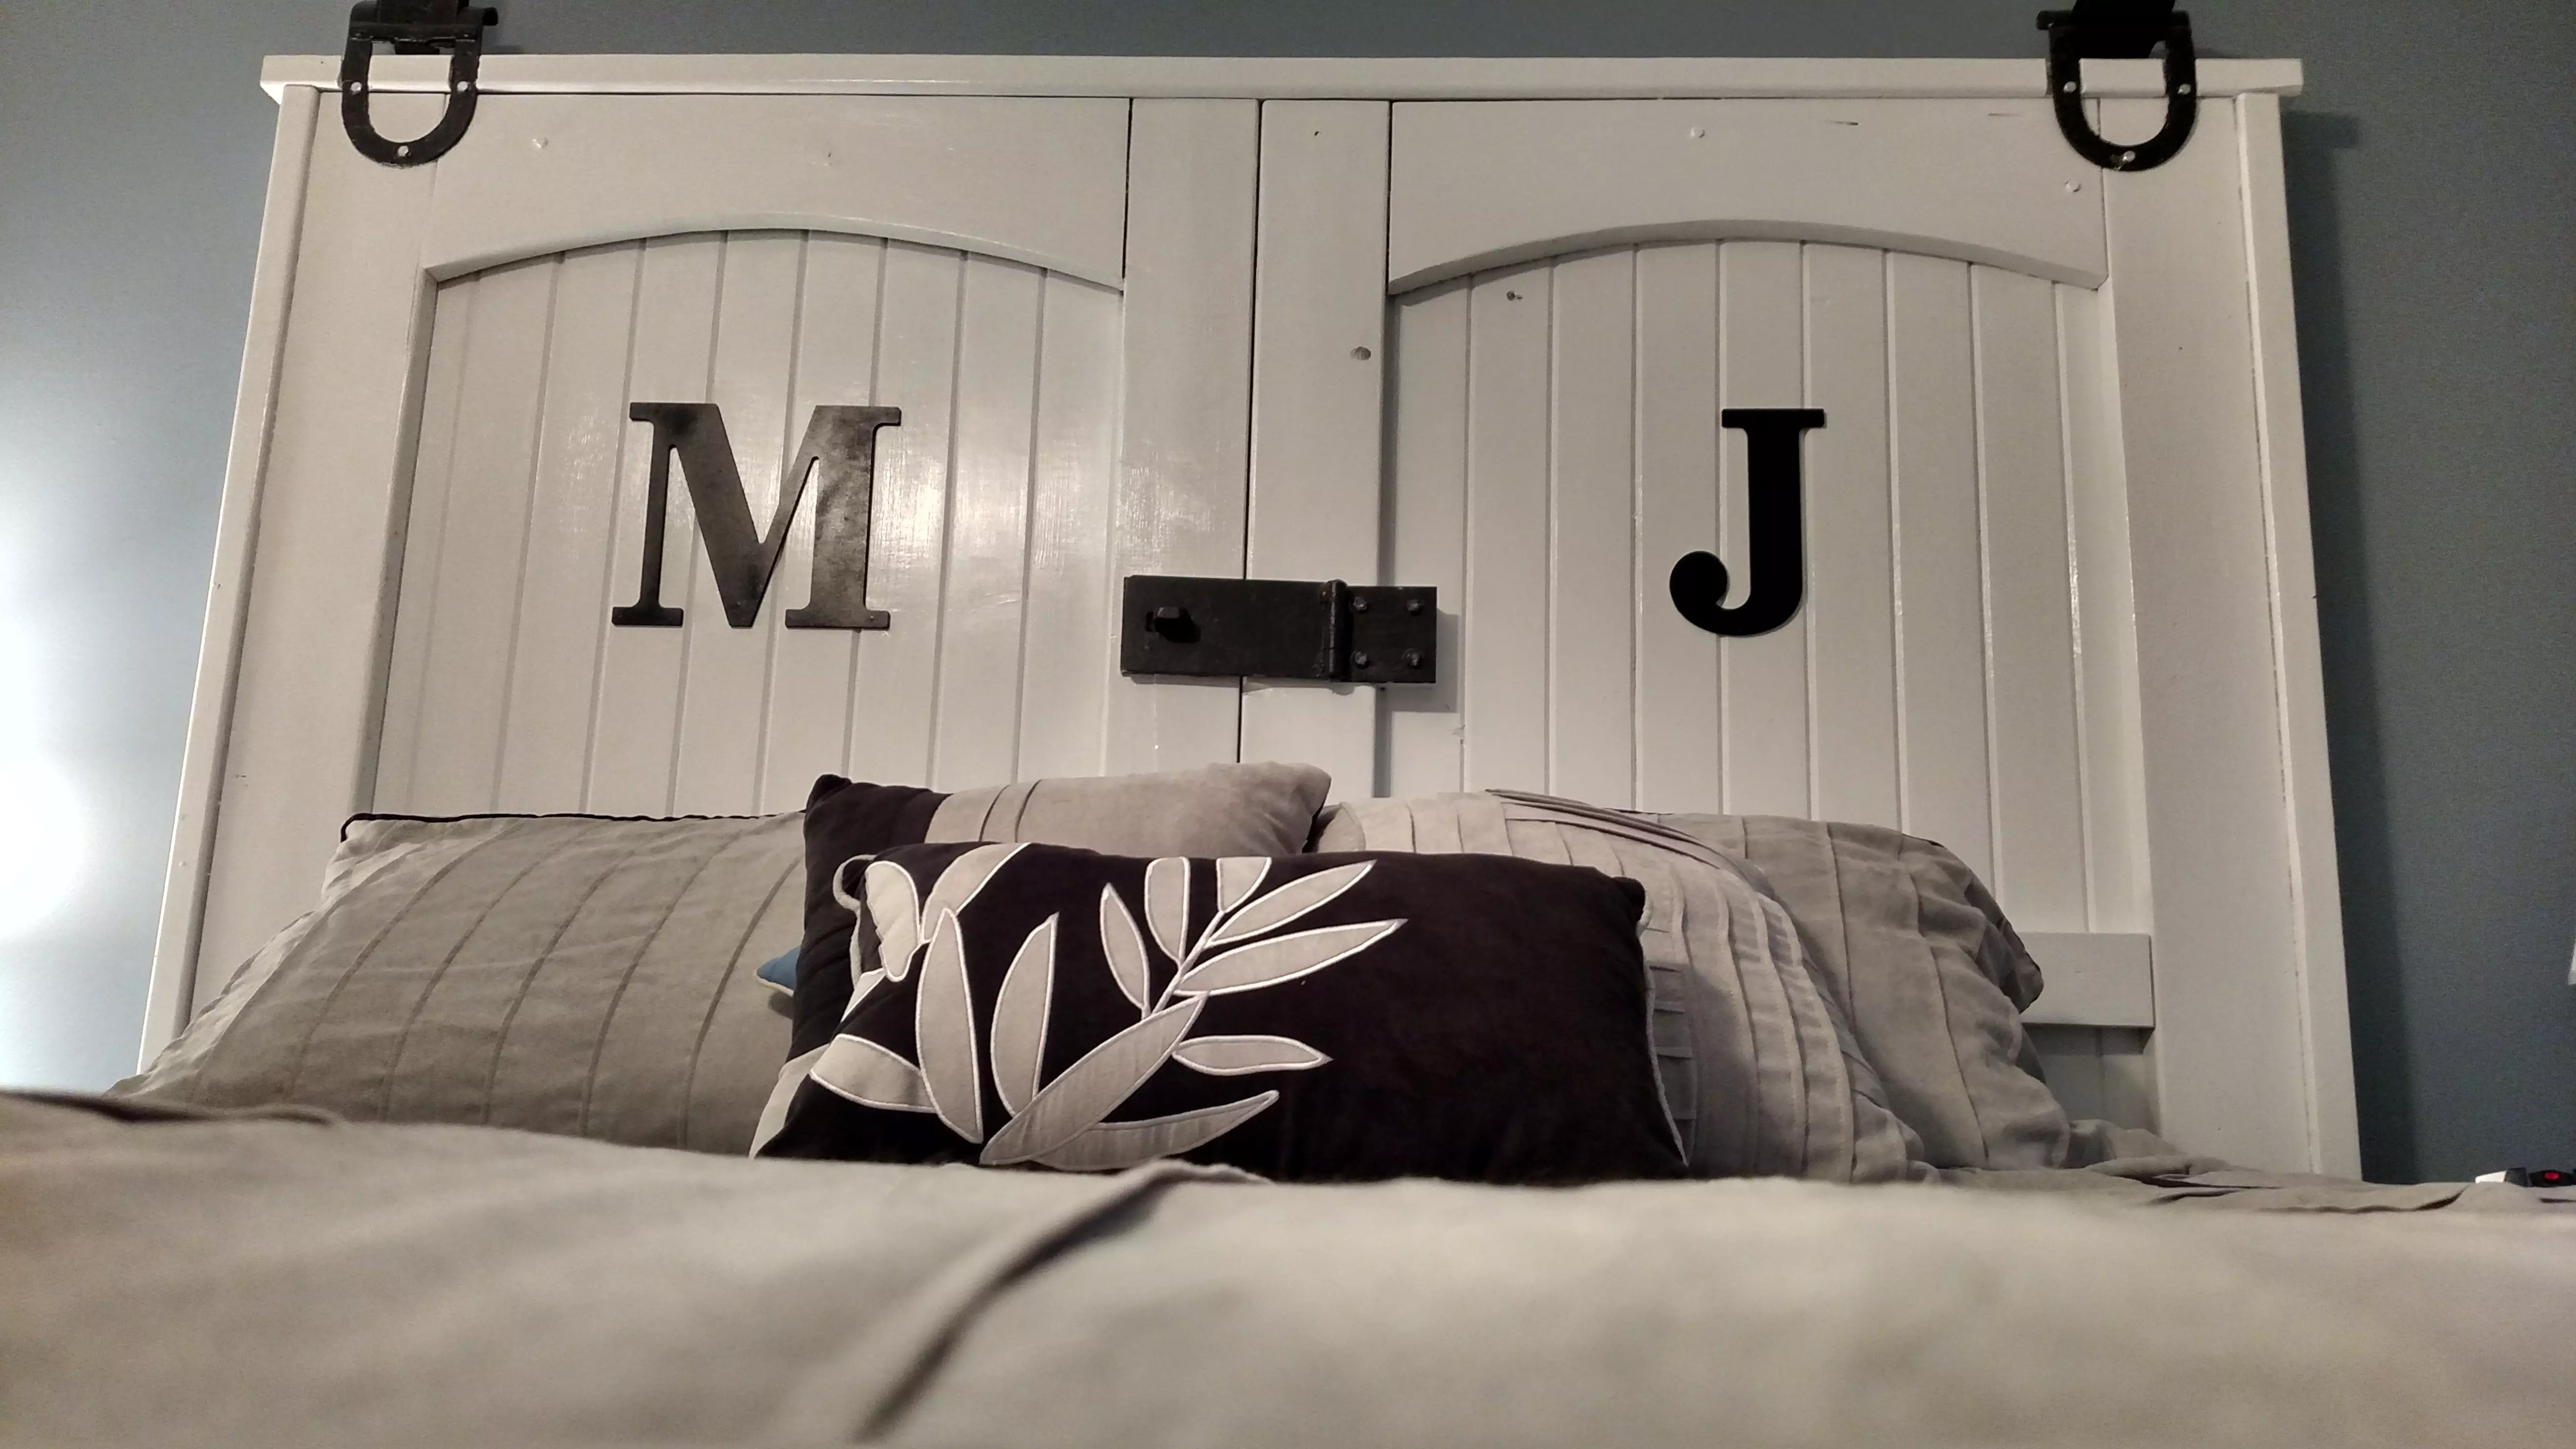
Whether you want to redecorate your room or your whole house – you don’t have to break the bank to do it. With a little leg work, you can salvage, recycle …

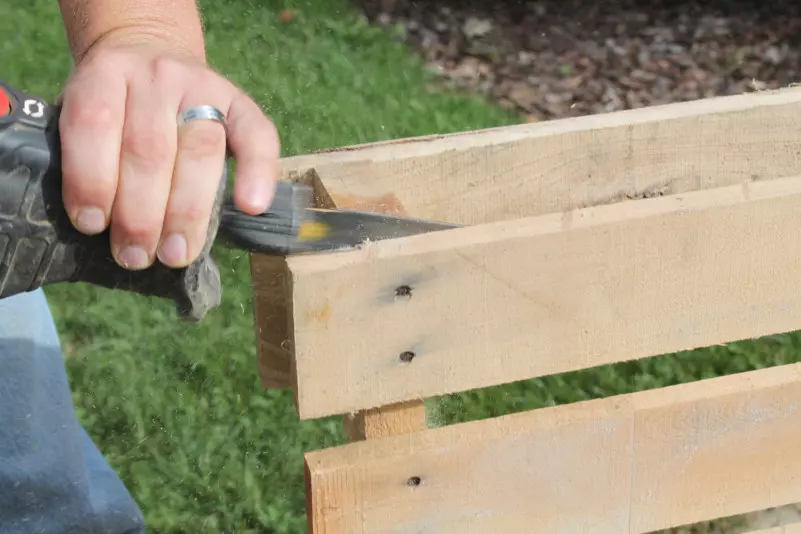
How to disassemble a pallet with ease. Using recycled pallet wood is a great way to make some really rustic, unique and functional pieces on a shoestring budget – learn …

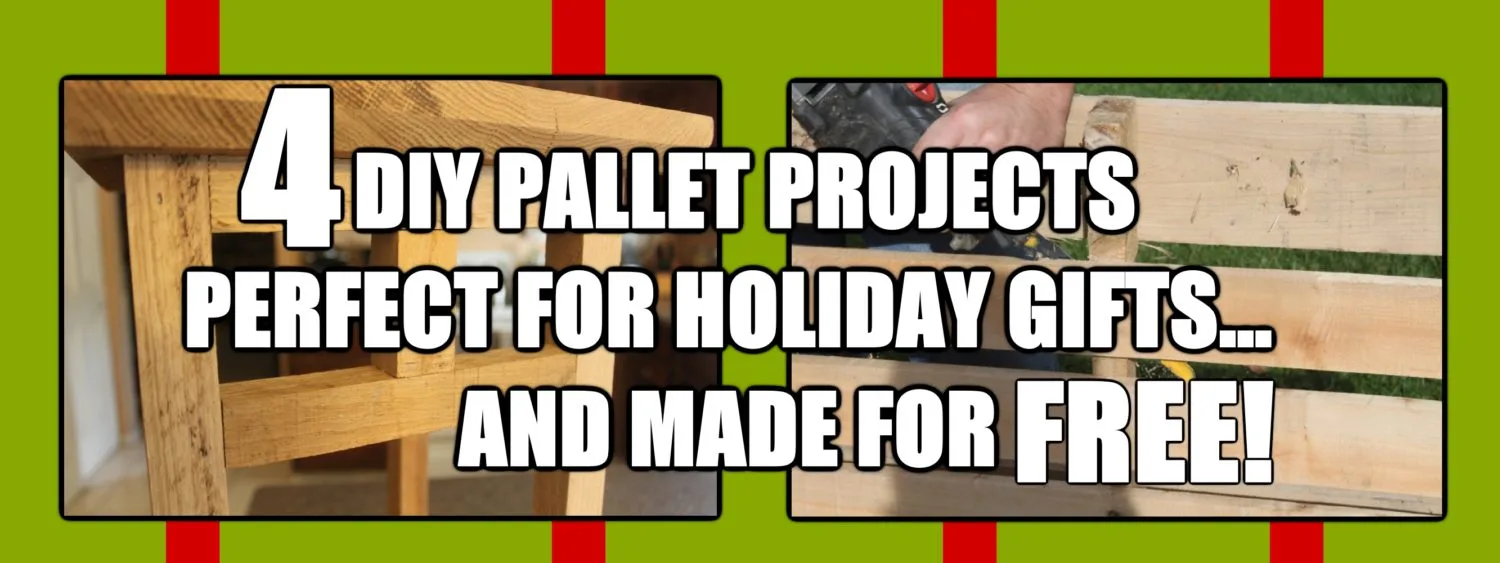
With Christmas just a few months away – now is a great time to start thinking about what to get those “hard to buy for” friends and family. Here’s a great …
Every year, as the spring and summer garden harvest swings into full gear – the robbing of our kitchen equipment begins! We start off using a few of our large …
In a way, it’s comical that a simple, common, disposable item such as a pallet could be responsible for creating so much at our little farm. To most, pallets are …

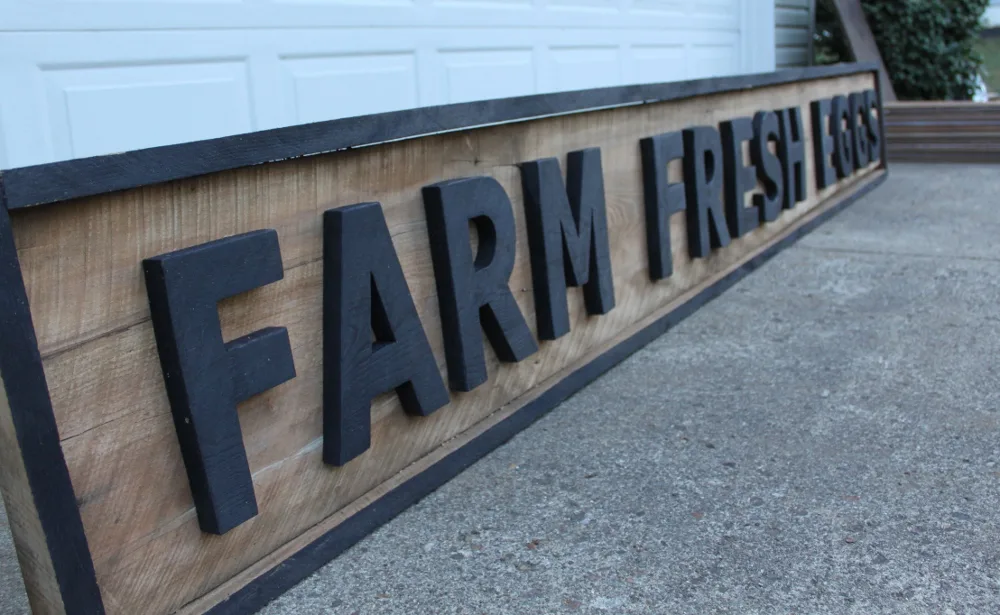
There is something about vintage signs that capture the essence of the good ol’ life of days gone by. They also seem to go with almost any decor. Whether it’s …
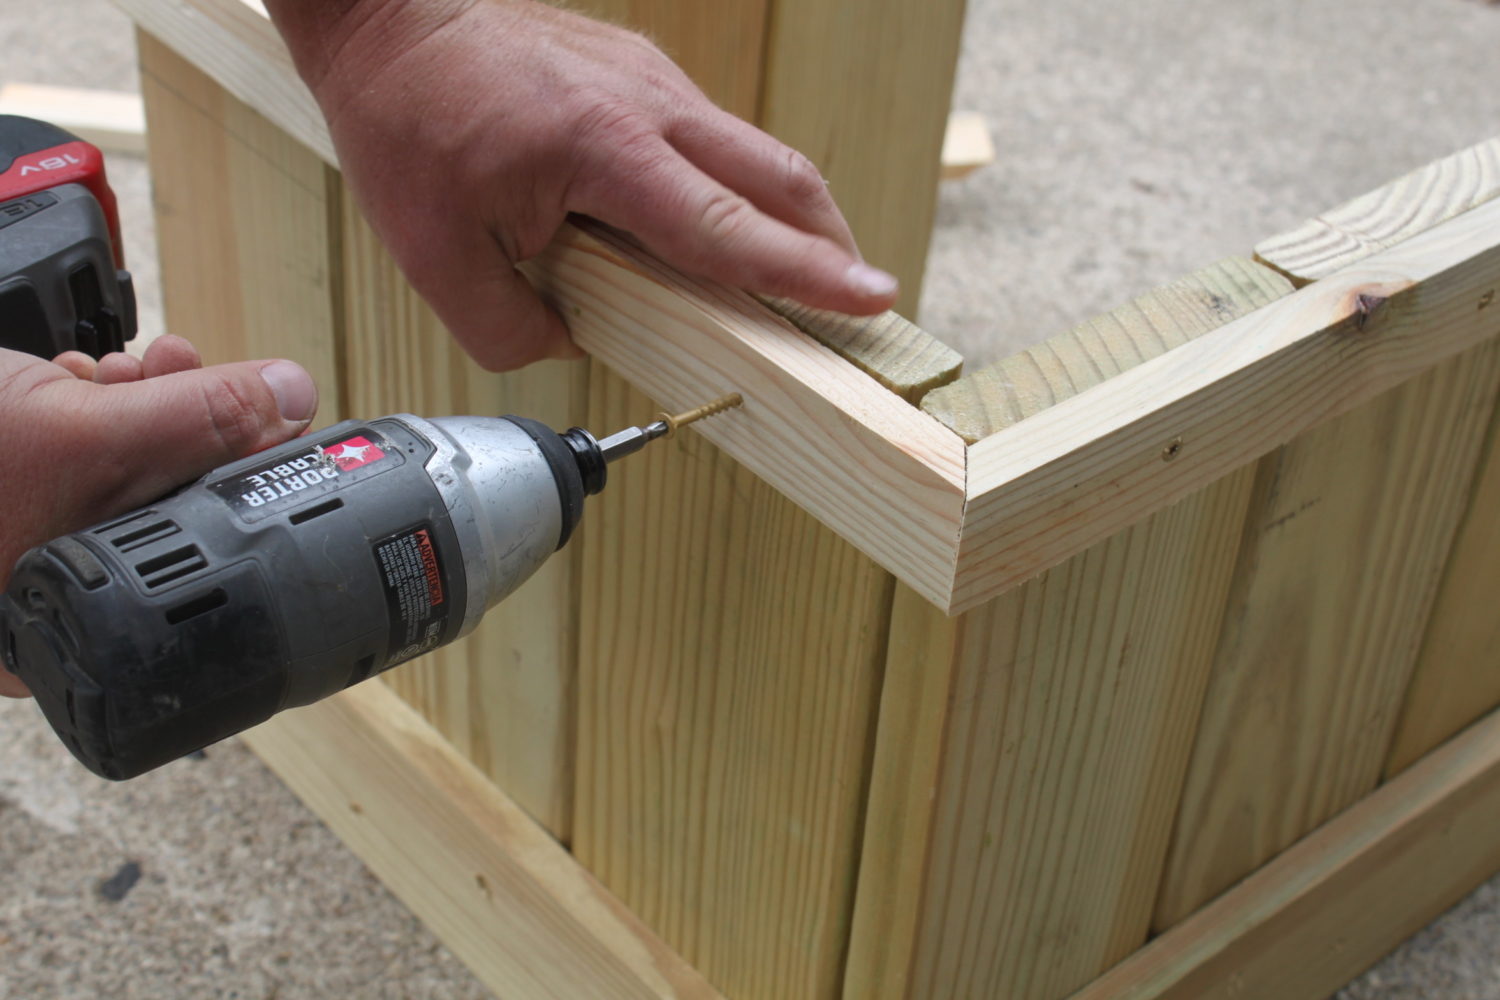

How to work with pallet wood! Whether at the house or at the farm, pallets have played a major role in helping us to build much of what we need on …
Creating a Mason Jar Centerpiece. With the garden all planted and growing, and a little bit of extra time before the heavy picking and canning season begins – we thought …