The Best Perennials To Divide In The Fall - And How To Do It To Get Free Plants!
There’s no easier way to fill your flowerbeds with free plants than by digging up, dividing and transplanting your existing perennials in the fall. And are there ever a lot of perennials that are perfect for fall dividing!
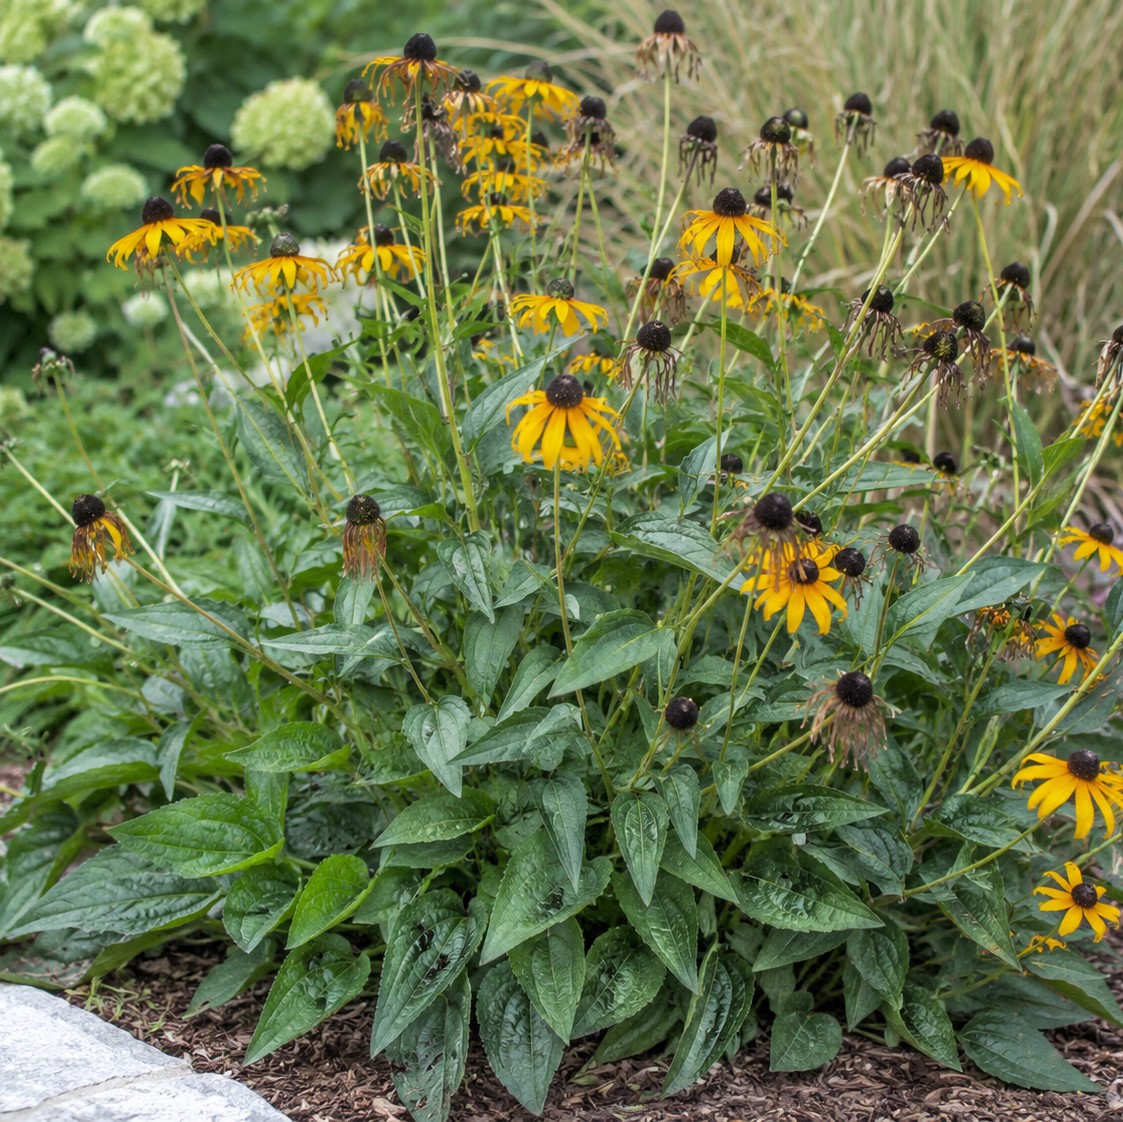
Daylilies, hostas, peonies, iris, black-eyed Susan, and coneflowers are all perfect for splitting. As are phlox, Shasta daisies, bee balm, asters, sedum and coreopsis.
Dividing overgrown perennials not only gives you plenty of new plants at no cost, it also helps keep your existing plants healthy, strong and blooming beautifully. When perennials grow in the same spot for too long, their roots can become thick, tangled and overcrowded.

As those roots compete for nutrients and moisture, plants begin to struggle. Growth slows, blooms become fewer and, eventually, some plants may stop flowering altogether. But dividing them in the fall gives old plants new life - and gives you more plants to fill your landscape for free!
The Best Perennials To Divide In The Fall
The Benefits Of Extra Plants For Your Flowerbeds
Of course, the bonus of dividing existing perennials is that you are left with additional plants. Or more importantly, free additional plants!
All of those extra divisions can actually help you more than you might realize. Not only will they provide even more color and flower power to your existing beds, they can also be used to create flowerbeds that are easier than ever to maintain.
One of the best ways to create low-maintenance, weed-free flowerbeds is by loading up your beds with plants. The tighter you pack them in, the less chance and space there is for weeds to develop. Nothing helps to keep weeds out naturally more than a thick coat of foliage.
If that wasn't enough, by filling your beds with plants, it also means less mulch and mulching chores. Let's face it, just like plants, mulch can be expensive to purchase! But by filling in large open areas with new plants, your need for mulch diminishes.

In fact, by filling our large bed spaces full of plants, we cut our mulch bill by 80% last year! With all of those perennial dividing advantages in mind, here is a look at how to divide your perennials like a gardening pro this fall!
How To Divide Perennials In The Fall
The best way to create a strong new start from a perennial plant is dividing from a healthy, mature plant. Try to select the largest of your plants for dividing. If a plant has good foliage and strong growth habits, divisions from the plant will likely have the same traits as well.
Selecting larger plants also allows for plenty of root area to create new stock. Finally, and perhaps most obvious of all, the larger the plant, the more likely it needs dividing to keep it from becoming overgrown.
Another big key is to avoid dividing when the soil is soggy or overly wet. Never attempt to transplant after heavy rains or watering. Always allow the soil to dry out before digging up and dividing plants.
Why is this so important? Wet, soggy soil makes it easy for mud to compact around roots. This, in turn, makes it hard for plants to get the oxygen and nutrients needed for survival. Especially when they are trying to re-establish as new transplants.
Get Those Roots!
In addition to avoiding wet soil, when digging out plants, always remove as much of the root mass as possible. The roots of a perennial plant are its lifeline. The more root stock you remove, the better chance of survival for new divisions.

Use a sharp shovel to dig an inch or two out from the edge of the root zone. For most perennials, their root zone will be equal to the outer most edge of the foliage. Loosen the soil around the entire plant first, and then dig deep under the roots to pop the plant up from the ground.
Divide Perennials In The Fall From The Bottom Up
When dividing plants - instead of trying to split perennial plants from the top down (through the foliage), divide upside down from the roots through the plant.
Once your perennial has been lifted from the ground, turn it over so the foliage is face down. Next, using a sharp shovel or knife, divide by cutting down through the roots. By flipping the plant over, it reveals the entire root structure, allowing you to split the plant in even sections.
Although you can split plants with a sharp shovel or even an axe, we prefer using a garden knife. It allows for clean, quick cuts with much more precision. That can be very important for getting a good stock of roots with each transplant.
A few years back, we invested about $25 in a Hori-Hori garden knife, and absolutely love it for this and so many other garden tasks! It slices through the toughest of perennials roots with ease. Affiliate Link: Black Iron Hori Hori Garden Knife [7 Inches, Japanese Stainless Steel]
When cutting, try to cut new starts in same-size sections. By doing this, the new plants will grow to near the same size as one another as they mature. This is great for keeping flowerbeds looking uniform and well-groomed. Finally, remember that smaller sections will need dividing less often than larger transplants.
Listen In To Our Latest Podcast Below

Transplant As Fast As Possible
One of the biggest mistakes gardeners make when dividing their plants is to keep their transplants lying around for days before planting. The faster a division is planted, the better chance it will have to settle in and establish roots before winter.
Transplant to a new location as soon as you dig and divide, being careful not to let the roots dry out completely. If you don't have a place for your new plants just yet, fall is the perfect time to create a temporary holding bed.
Most vegetable gardens usually have a bit of open space in the fall. Simply use an open row or area to create an over-winter holding bed. Holding beds are a great way to establish and keep new plants over the winter, and then use them in the spring when you are ready.
We used holding beds last year as we were building the new house at the farm. We weren't quite ready to plant into beds, but it gave us plants that were already growing and ready this year. It's also a great way to give a few extra plants away next spring to friends and family as a little spring gift!
Give Your Transplants A Light Boost With Compost
One of the best ways to give your new transplants a better chance of survival is giving them a boost with compost at planting time. Compost is not only full of nutrients, it also helps retain moisture around the roots of plants.
Even more, it helps to loosen soil, allowing new roots to establish much easier in the soil. When transplanting, we fill all of our transplant holes back in with a 50/50 mix of existing soil and compost. That little boost will help your plants get off to the best start possible!
One final note, don't worry if the foliage of your transplants begin to die or drops off after transplanting. Most perennials are finished growing by fall, and they are simply heading into dormancy. But by getting these plants split and in the ground in the fall, it allows the roots to be ready to grow strong the following spring.
Here is to dividing and transplanting your perennials this fall - and to healthier, more productive flower beds next year! Happy Gardening - Jim & Mary.
The Farm @ Old World Garden
Jim and Mary Competti have been writing gardening, DIY and recipe articles and books for over 16 years from their 46 acre Ohio farm. The two are frequent speakers on all things gardening and love to travel in their spare time.
As always, feel free to email us at thefarm@owgarden.com with comments, questions, or to simply say hello! You can sign up for our free email list in the subscribe now box in the middle of this article. Follow us on Facebook here : OWG Facebook. This article may contain affiliate links.
More Perennial Plants
- 3 Flowers & Plants You Need To Bring Indoors In October To Save!
- 7 Perennials You Should Cut Back In October – And How It Helps Your Plants Stay Healthy & Strong!
- 5 Bushes You Should Never Prune In Late Summer Or Fall – And Why!
- What To Do With Black-Eyed Susans After They Bloom - And Why It Matters For Next Year!