3 Big Things You Can Do In Late Fall To Help Your Tomato Plants Grow Better Next Year!
Want to help your tomato plants to grow stronger, better - and stay healthier and produce more next year? Believe it or not, some of the most important work you can do happens in late fall - long before you plant your first tomato next spring!
By the time cold weather arrives, most tomato plants have certainly seen better days. Their stems are worn, their leaves are spotted or dying, and any remaining fruit is struggling to ripen. After months of picking tomatoes, it’s easy to leave those tired plants standing and turn your attention elsewhere.
But what you do with those plants and the soil beneath them can have a big impact on next year’s crop. Old foliage and fallen fruit can carry problems into another growing season. Meanwhile, soil that supported a summer of heavy production can benefit from fresh organic matter and protection through winter.
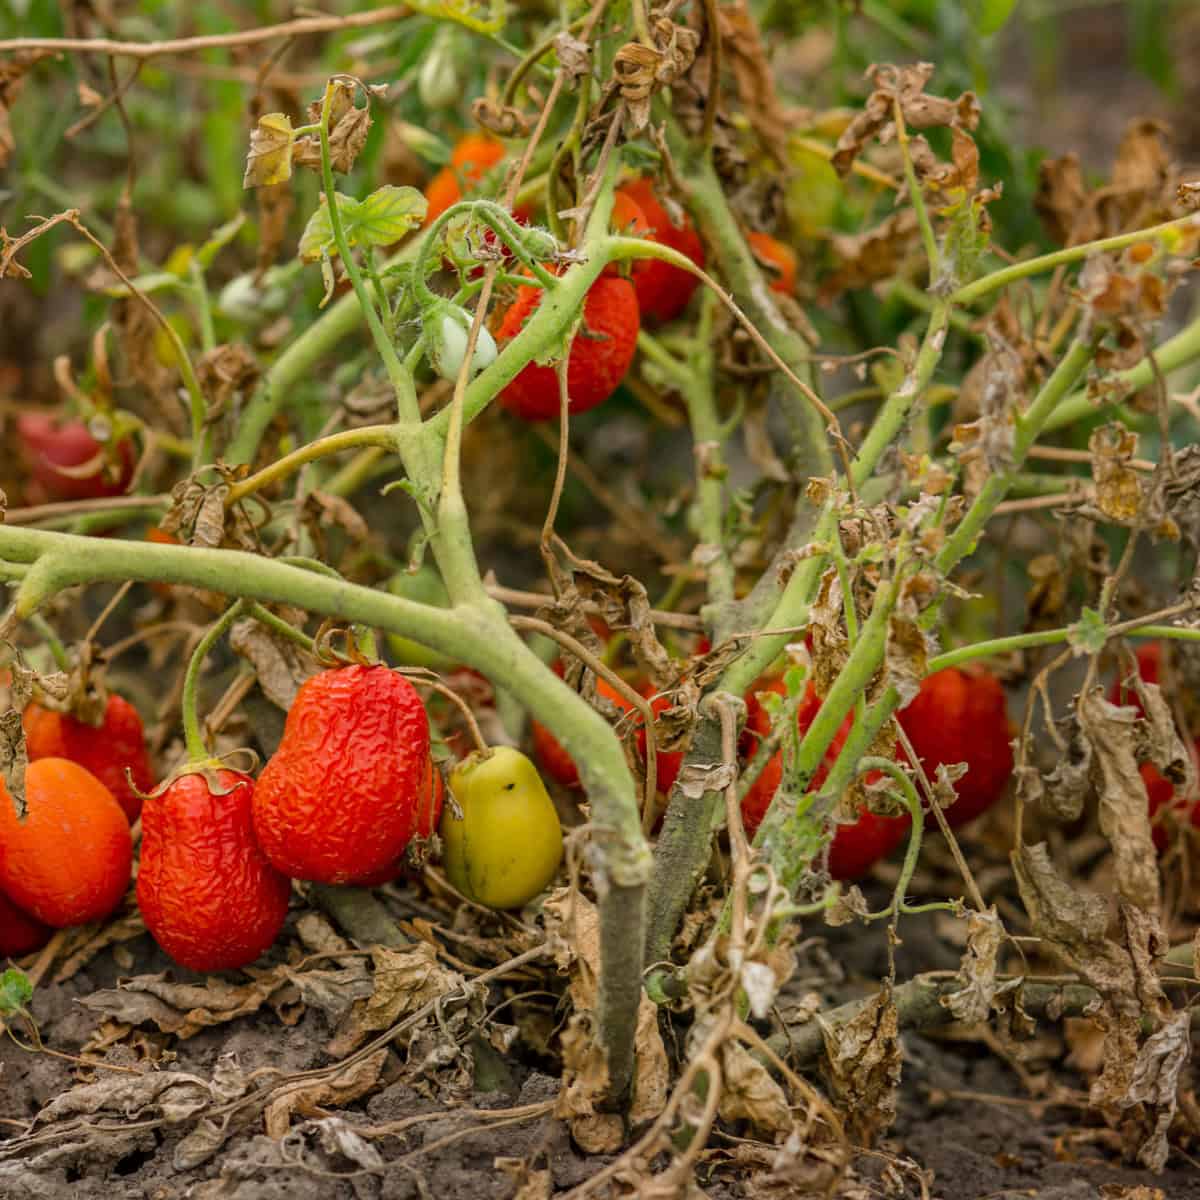
The good news is that preparing for a better tomato harvest doesn’t have to be complicated. In fact, three simple jobs can put you well ahead before spring arrives.
It all starts with removing old plants promptly, recharging and protecting the soil, and keeping tomato plants out of your home compost pile. Here’s how to tackle each task - and why each one matters!
How To Help Your Tomato Plants Grow Better Next Year!
1. Remove Old Tomato Plants Now
One of the biggest mistakes gardeners make in late fall is leaving finished tomato plants in the garden until spring.
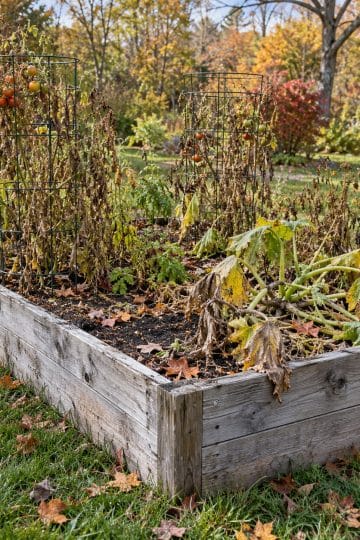
Once frost kills the foliage or the plants have stopped producing, there is little reason to keep them standing. Those tangled stems and decaying leaves can shelter pests and leave disease-contaminated material scattered across the soil.
Some tomato diseases can survive in infected plant debris. Leaving that material in place gives certain disease organisms an opportunity to persist between growing seasons. Removing it won’t eliminate every possible problem, but it takes away one potential source of trouble.
Start by cutting the vines away from their supports. If the plants are badly tangled, cutting them into manageable sections makes removal easier and reduces the amount of debris you scatter.

Next, pull the main root crown and as much of the larger root system as practical. There is no need to dig up the entire bed searching for every tiny root. Focus on removing the plant and gathering the material around it.
Pick up fallen tomatoes, too. Fruit left on the ground can drop seeds that sprout next spring. Those volunteer plants may grow in inconvenient places, crowd your planned planting, and make managing the bed more difficult.
Finish by collecting fallen leaves and broken stems. A careful cleanup now is much easier than trying to separate soggy tomato debris from the soil after winter.
Don’t Forget Your Tomato Cages, Stakes & Ties
Removing the plants is only part of cleaning up your tomato-growing space. The supports that held those plants deserve attention as well.
Tomato cages, stakes, and reusable ties can hold bits of foliage, dried sap, and soil. Putting them away dirty means carrying that buildup into another growing season.
Brush away loose material, then wash reusable supports with soapy water. If disease was a problem, disinfect appropriate surfaces with a product labeled for the material, following its directions for dilution and contact time.
Listen To Our Garden Podcast Below

Cleaning needs to come first - because dirt and plant residue can reduce the effectiveness of disinfectants. Allow supports to dry before storing them.
Inspect everything as you work. Replace broken stakes, repair bent cages, and discard ties that are brittle or difficult to clean. Getting those jobs done now saves time when planting season returns.
2. Recharge The Soil With Compost
Tomatoes spend months building roots, stems, leaves, and fruit. After supporting all that growth, the soil benefits from a fresh addition of organic matter.
Compost is one of the best ways to provide it. Finished compost helps improve soil structure, supports soil organisms, and supplies a modest amount of nutrients as it continues to break down.
It also helps soil manage water more effectively. Sandy soil can hold moisture better with regular additions of organic matter, while heavier soil can gradually become easier to work and better structured.
After removing your tomato plants, spread about an inch of mature compost over the growing area. Use compost that smells earthy and has a crumbly texture.
There is no need to deeply till compost into the ground. You can leave it on the surface or lightly work it into the uppermost layer of soil. In a no-till garden, top-dressing lets you add organic matter while keeping disturbance to a minimum.
Plant A Cover Crop To Protect Your Work
Once you’ve added compost, don’t leave the soil bare if you can help it. A cover crop is one of the best ways to help your tomato plants grow better next year. It can protect the surface, hold soil in place, and add roots and plant residue that benefit the bed.
For late-fall planting in cooler climates, cereal rye is often a useful choice because it tolerates cold and can establish later than many other cover crops. See our article: How & Why To Plant A Fall Cover Crop In Your Garden - Stop Weeds & Energize Your Soil!
Be sure you buy cereal rye, also called winter rye, rather than annual ryegrass. They are different plants, and annual ryegrass can be more challenging to manage in a vegetable garden.
Scatter seed and rake it lightly into the surface, and water if the soil is dry. Good seed-to-soil contact is important for germination.
Timing still matters. Even cold-tolerant rye needs suitable conditions to sprout and establish. If your ground is already frozen or winter has arrived in earnest, protect the bed with mulch instead of expecting seed to grow.
Cereal rye usually survives winter and resumes growing in spring. Plan to terminate it before it produces seed and allow roughly three to four weeks before transplanting tomatoes. Don’t assume a quick mowing will kill young rye - it can regrow.
If planting time has passed, shredded leaves make a useful alternative covering. They help reduce erosion and protect the soil surface until you can prepare the bed in spring.
3. Keep Old Tomato Plants Out Of Your Home Compost Pile
Composting garden material is usually a great way to recycle nutrients. But when it comes to old tomato plants, keeping them out of your home compost pile is a sensible precaution.
By fall, tomato foliage often has spots, yellowing, or other damage. Some problems are easy to recognize, while others are harder to identify. A plant can carry infected tissue without you knowing exactly what caused its decline.
The problem is that many backyard compost piles don’t heat evenly or stay hot long enough to reliably destroy plant pathogens. Material near the outside may never experience the same conditions as material in the center.
If infected debris survives the composting process, you could spread it back into your growing beds with the finished compost.
Bag the debris for disposal where permitted, or use a yard-waste program that specifically accepts diseased garden plants. Don’t dump it beside the garden or at the edge of the property, where it remains nearby.
Here is to getting ready now in late fall to help your tomato plants grow better next year! Happy Gardening, Jim & Mary.
The Farm @ Old World Garden
Jim and Mary Competti have been writing gardening, DIY and recipe articles and books for over 16 years from their 46 acre Ohio farm. The two are frequent speakers on all things gardening and love to travel in their spare time.
As always, feel free to email us at thefarm@owgarden.com with comments, questions, or to simply say hello! You can sign up for our free email list in the subscribe now box in the middle of this article. Follow us on Facebook here : OWG Facebook. This article may contain affiliate links.